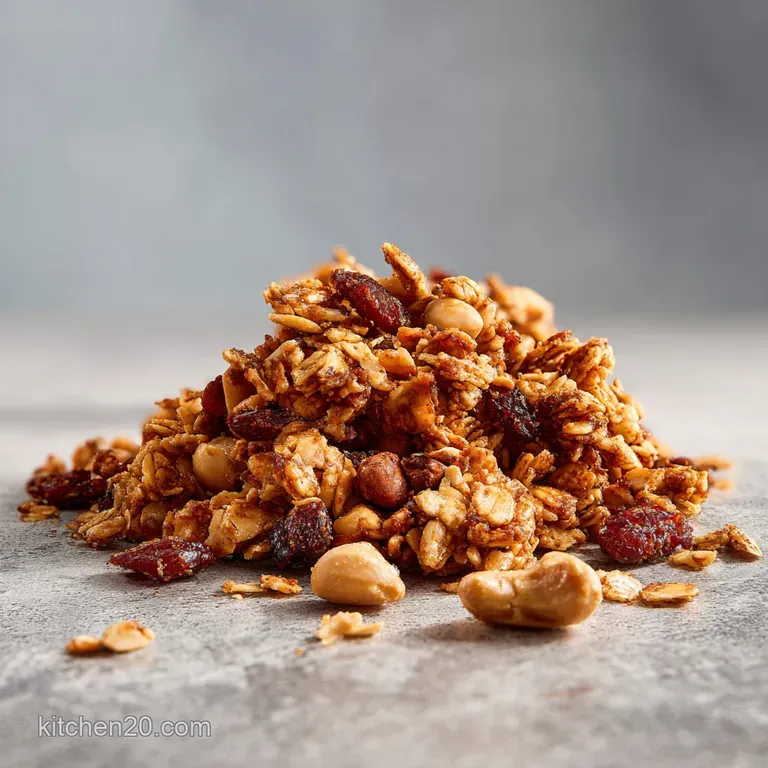
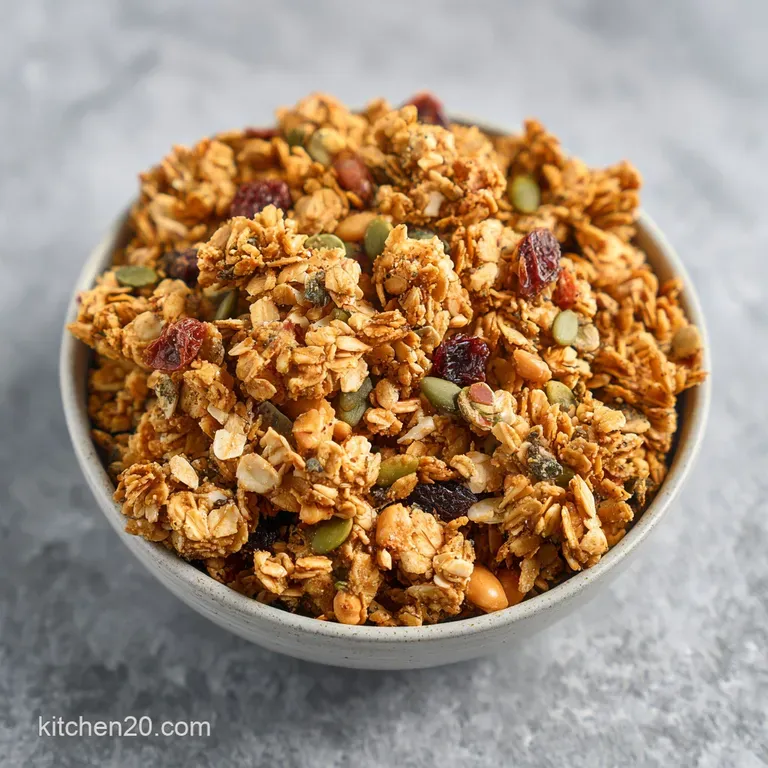
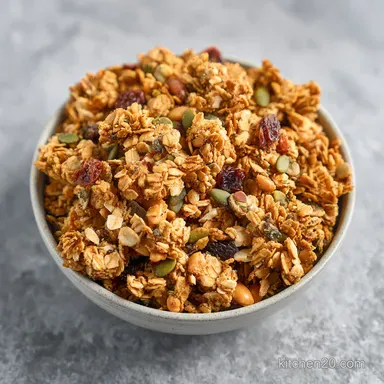
Peanut Butter Granola: Ultra-Crunchy Clusters
- Time: Active 10 minutes, Passive 25 minutes, Total 35 minutes
- Flavor/Texture Hook: Deeply nutty with a brittle, shatter like crunch
- Perfect for: High protein meal prep and efficient weekday breakfasts
- Why This Texture Stays So Crispy
- Picking the Best Quality Ingredients
- Planning Your Efficient Workflow and Specs
- Essential Gadgets for Better Prep
- Mastering the Step-by-Step Baking Process
- Troubleshooting the Most Common Mistakes
- Creative Swaps for Every Lifestyle
- Smart Storage and Zero Waste Tips
- Myths About Making Granola
- Recipe FAQs
- 📝 Recipe Card
Why This Texture Stays So Crispy
When we talk about what makes granola actually work, we have to look at how the liquid binder interacts with the dry surface of the oats. It isn't just about mixing things together; it’s about creating a stable matrix that hardens as it cools.
- The Binder Matrix: Peanut butter provides a high fat content that coats each oat flake, preventing moisture from the air from seeping in later.
- Sugary Cement: Maple syrup acts as a natural glue; as the water evaporates in the oven, the sugars crystallize, locking the oats together into those coveted clusters.
- Protein Structure: Using old-fashioned rolled oats is essential because their large surface area and intact fiber structure provide the "bones" for the granola.
- Compression Effect: Pressing the mixture firmly into the pan removes air pockets, allowing the "glue" to fuse the ingredients into a singular sheet.
| Thickness | Internal Visual | Rest Time | Finish Cue |
|---|---|---|---|
| 1 cm | Deep Golden | 45 minutes | Edges feel brittle |
| 1.5 cm | Toasted Brown | 60 minutes | Center is firm |
| 0.5 cm | Light Amber | 30 minutes | Snaps easily |
This table helps you decide how to spread your mixture. I personally prefer a 1 cm thickness because it balances a crispy exterior with a slightly substantial bite. If you spread it too thin, you lose the cluster potential; too thick, and the middle stays soft.
Picking the Best Quality Ingredients
Efficiency in the kitchen starts with selecting ingredients that do the heavy lifting for you. For this Peanut Butter Granola, every component serves a structural purpose. Don't just grab the first jar of peanut butter you see the type matters immensely for the final texture.
| Component | Science Role | Pro Secret |
|---|---|---|
| Natural Peanut Butter | Primary Emulsifier | Use "drippy" style for easier mixing |
| Old Fashioned Oats | Structural Base | Never use "Quick" oats; they turn to mush |
| Maple Syrup | Crystallizing Agent | Grade A Dark has the best flavor to stickiness ratio |
I always reach for "natural" creamy peanut butter the kind where the only ingredients are peanuts and salt. The lack of stabilizers and palm oils means it emulsifies better with the maple syrup, creating a much smoother slurry. If you're a fan of diverse textures, you might even consider swapping a portion of the fat for homemade pistachio nut butter which adds a distinct green hue and a more sophisticated flavor profile to the mix.
For the dry base, stick to old-fashioned rolled oats (270g). Steel cut oats are too hard, and quick oats are too thin. The 75g of raw peanuts adds a secondary level of crunch that mirrors the flavor of the binder.
A teaspoon of cinnamon and half a teaspoon of sea salt might seem minor, but they are the "flavor bridges" that connect the sweetness of the syrup to the savory depth of the nuts.
Planning Your Efficient Workflow and Specs
To maintain a streamlined kitchen, I recommend a 3 step timeline. This ensures you aren't hovering over the oven and can multi task effectively.
- Minute 0-5 (Prep): Whisk the wet ingredients while the oven preheats to 165°C.
- Minute 5-10 (Combine): Fold in the dry ingredients and press into the pan.
- Minute 10-35 (The Bake): Set the timer and walk away. No stirring allowed.
| Original Ingredient | Substitute | Why It Works |
|---|---|---|
| Maple Syrup (80ml) | Honey (80ml) | Similar viscosity. Note: Honey browns faster; watch the oven at 20 mins. |
| Coconut Oil (30ml) | Avocado Oil (30ml) | Neutral flavor and high smoke point. No coconut aftertaste. |
| Raw Peanuts (75g) | Almonds (75g) | Same protein density but a milder, woodier crunch. |
Using the right oil is a small but critical choice. Coconut oil is fantastic because it’s solid at room temperature, which helps the clusters stay firm after they cool. If you use a liquid only oil like avocado, the granola will still be crispy, but the clusters might be slightly more fragile.
Essential Gadgets for Better Prep
I’m a firm believer in using the right tools to reduce friction in the cooking process. For this recipe, you don't need a pantry full of specialized appliances, but a few specific items make the results much more consistent.
- Rimmed Baking Sheet (13x18 inch): You need the "Half Sheet" size. It provides enough surface area to spread the 270g of oats without them being too crowded, which leads to steaming instead of toasting.
- Parchment Paper: This isn't just for easy cleanup. It allows you to lift the entire sheet of cooled granola out of the pan at once, making it easier to break into large, clean pieces.
- Silicone Spatula: A sturdy spatula is better than a wooden spoon here. It allows you to scrape every last bit of the "liquid gold" peanut butter mixture from the bowl.
- Kitchen Scale: To get that professional, consistent crunch every time, weigh your oats (270g) and peanut butter (125g). Volumetric cups are notorious for being inaccurate with sticky ingredients like nut butter.
Chef's Tip: Freeze your peanut butter for 10 minutes before measuring it by weight it makes it less "drippy" and easier to handle if you're using a spoon to scoop it onto the scale.
Mastering the step-by-step Baking Process
- Whisk the liquids. Preheat your oven to 325°F (165°C). In your large mixing bowl, combine 125g peanut butter, 80ml maple syrup, 30ml melted coconut oil, and 1 tsp vanilla. Whisk until the mixture is velvety and completely emulsified.
- Incorporate the solids. Add the 270g oats, 75g chopped peanuts, 1 tsp cinnamon, and 1/2 tsp salt. Note: Adding the salt to the wet mixture ensures it's distributed evenly rather than clumping on one oat.
- The "Big Coat". Use your spatula to fold the oats into the liquid. Stop only when every oat flake is darkened and glossy. No dry spots allowed.
- The Compression. Pour the mix onto your parchment lined sheet. Use the back of the spatula to press it down into a tight, even rectangle. Note: This physical pressure is what creates the clusters.
- Initial Bake. Slide the pan into the center of the oven. Bake for 25 minutes at 165°C. Do not stir or disturb the sheet.
- Visual Check. At 20 minutes, check the color. You are looking for a deep, golden mahogany. It should smell intensely nutty and toasted.
- The Cooling Cure. Remove from the oven. It will feel soft to the touch this is normal! Let it sit completely undisturbed for at least 45 minutes.
- The Shatter. Once cold, the sugars and fats will have hardened. Use your hands to break the sheet into clusters.
| Method | Time | Texture | Best For |
|---|---|---|---|
| Oven Bake | 25 mins | Large, brittle clusters | Breakfast bowls & snacking |
| Stovetop | 12 mins | Loose, individual grains | Topping yogurt quickly |
| Air Fryer | 15 mins | Very dark, crispy edges | Small batches for one |
The oven method is my gold standard because the ambient heat dries the oats from all sides, creating a more uniform "snap" that the stovetop just can't replicate. The stovetop method is faster, but you'll end up with "granola sand" rather than clusters because the constant stirring prevents the binder from setting.
Troubleshooting the Most Common Mistakes
Even with a streamlined process, things can go sideways if you're not paying attention to the small cues.
Why Your Granola is Soft
If your granola comes out chewy or soft, it’s usually one of two things: under baking or premature storage. If you don't bake it long enough, the water in the maple syrup hasn't fully evaporated. If you pack it into a jar while it's even slightly warm, the residual steam will "wilt" the oats inside the container.
Why Your Granola Burnt
Nuts and honey/syrup have a low burn point. If your oven runs hot, that 165°C might actually be 180°C. Always use a standalone oven thermometer to verify. If the edges are black while the middle is raw, your layer was likely unevenly spread.
| Problem | Root Cause | Solution |
|---|---|---|
| No clusters | Stirring during bake | Leave it alone until fully cooled |
| Bitter taste | Burnt cinnamon/nuts | Reduce heat to 150°C and bake longer |
| Greasy texture | Too much coconut oil | Ensure you measure exactly 30ml |
Common Mistakes Checklist:
- ✓ Never stir the granola while it's in the oven if you want clusters.
- ✓ Use a heavy duty rimmed baking sheet to prevent warping in the heat.
- ✓ Check the "best before" date on your oats; old oats lose their ability to crisp.
- ✓ Allow the full 45 minutes of cooling; the "crunch" happens during the cool down.
- ✓ Avoid using "low-fat" peanut butter the stabilizers will ruin the texture.
Creative Swaps for Every Lifestyle
This Peanut Butter Granola recipe is a fantastic "base" for experimentation. Once you understand the ratio of 270g dry to roughly 230g wet, you can swap things around.
- The Power Pro Variation: Replace 30g of the oats with your favorite vanilla or unflavored protein powder. This turns it into a "Peanut Butter Protein Granola" that's perfect for post workout fuel. You might need an extra tablespoon of maple syrup to keep it from being too dry.
- The PB&J Twist: After the granola has cooled and been broken into clusters, toss in 1/2 cup of dried cranberries or freeze dried strawberries. It tastes exactly like a childhood sandwich.
- Nut Free Version: If you have a peanut allergy, you can use Sunflower Seed Butter (SunButter). It has a very similar fat content and provides a deep, toasted flavor that mimics peanuts surprisingly well.
If you find yourself wanting more variety in your morning routine, you might explore making a batch of silky peanut sauce for your savory meals, as it uses the same "drippy" natural peanut butter concept to achieve a perfect emulsion.
Smart Storage and Zero Waste Tips
The key to keeping your granola "shatter crisp" is moisture control. I use glass jars with airtight gaskets (like those IKEA or Ball jars). Glass is non porous and won't absorb any of the oils from the peanut butter, which can sometimes happen with plastic containers.
- Storage: Keep in a cool, dark pantry for up to 3 weeks. You can also freeze granola for up to 3 months! It actually tastes great straight from the freezer.
- Zero Waste: Don't throw away the "dust" at the bottom of the pan or the jar. Those tiny crumbs are flavor bombs. I collect them in a small container and use them as a "breading" for French toast or as a crunchy topping for a smoothie bowl.
- Reuse Your Peels: If you used fresh peanuts and have skins left over, they are full of antioxidants. Toss them into your garden compost or use them as a very subtle addition to a savory nut roast.
Scaling this recipe is straightforward. If you want to double it, use two separate baking sheets. If you try to pile double the amount of oats (540g) onto one pan, the layer will be too thick, and the middle will never get crispy.
For a half batch, use a smaller 9x13 inch pan and reduce the baking time by about 5 minutes.
Myths About Making Granola
There are so many "rules" floating around the internet that actually make the process harder than it needs to be. Let's clear some up.
One common myth is that you must use refined sugar for a good crunch. That's simply not true. Maple syrup and honey provide plenty of glucose to create a structural bond. The key isn't the type of sugar, but the temperature at which you bake it.
165°C is the sweet spot; any higher and the sugars caramelize too quickly, burning before the oats dry out.
Another misconception is that you need to add dried fruit before baking. Please, don't do this! Most dried fruits (like raisins or cherries) have a very high sugar content and will turn into hard, tooth cracking pebbles if they spend 25 minutes in the oven.
Always add your fruit after the cooling process is complete.
Finally, people often think that a "healthy" granola means using less fat. If you cut out the peanut butter or coconut oil, you're removing the very thing that makes the granola crisp. Without fat, the oats just become dry and chalky.
It’s better to have a smaller portion of high-quality, high fat granola than a bowl full of "diet" dust that doesn't satisfy your cravings. This Peanut Butter Granola is meant to be energy dense and incredibly satisfying. Enjoy the process and the crunch!

Recipe FAQs
Is it true that peanut butter and granola are inherently healthy?
No, this is a common misconception. While both ingredients provide fiber and protein, they are energy dense foods that can lead to excess calorie consumption if portion sizes are not monitored.
How to incorporate peanut butter into homemade granola?
Whisk the peanut butter with maple syrup, melted coconut oil, and vanilla extract until smooth before adding dry ingredients. This ensures a uniform coating that binds the oats into clusters during the 25-minute bake at 325°F.
Is it healthy to eat a spoonful of peanut butter every day?
Yes, in moderation. Peanut butter is a nutrient dense source of healthy fats and plant based protein, making it a balanced addition to a daily diet when consumed mindfully.
What is the unhealthiest brand of peanut butter?
Brands containing added hydrogenated oils, excessive refined sugars, or high fructose corn syrup are considered less healthy. Always check the label to ensure you are using a natural variety with only peanuts and salt as ingredients.
How to achieve the best granola clusters?
Press the mixture firmly onto your parchment lined baking sheet before putting it in the oven. Avoiding the urge to stir the granola during the 25-minute baking time is crucial for maintaining the structural integrity of these clusters. If you enjoyed mastering the texture of this batch, you will notice how similar emulsification principles apply to creating creamy nut-based spreads.
How to prevent the oats from burning during baking?
Strictly adhere to the 325°F oven temperature and the 25-minute bake time. Because this recipe uses a high density peanut butter coating, pulling the pan out as soon as it turns deep golden brown is essential to prevent the natural sugars in the maple syrup from scorching.
How to store the granola so it stays crunchy?
Wait until the granola has cooled completely in the pan for at least 45 minutes before storing. Transferring it to an airtight container while even slightly warm will trap moisture, causing the oats to lose their crisp texture.
Crunchy Peanut Butter Granola
Ingredients:
Instructions:
Nutrition Facts:
| Calories | 226 kcal |
|---|---|
| Protein | 7.2 g |
| Fat | 12.1 g |
| Carbs | 23.9 g |
| Fiber | 2.9 g |
| Sugar | 5.4 g |
| Sodium | 100 mg |
