Easy Focaccia Bread Recipe: Airy & Crisp
- Time: Active 15 minutes, Passive 24 hours 25 mins, Total 24 hours 40 mins
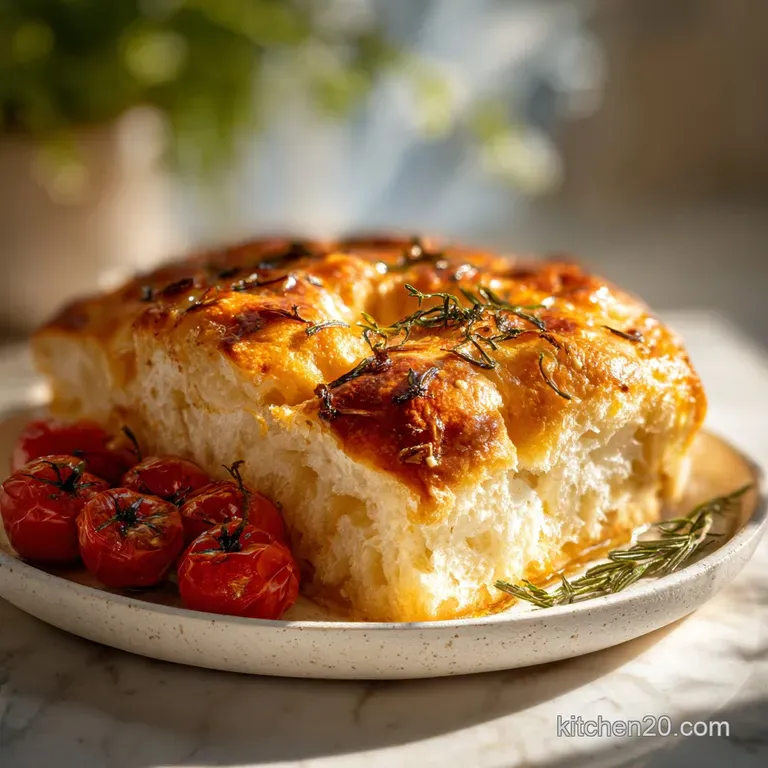
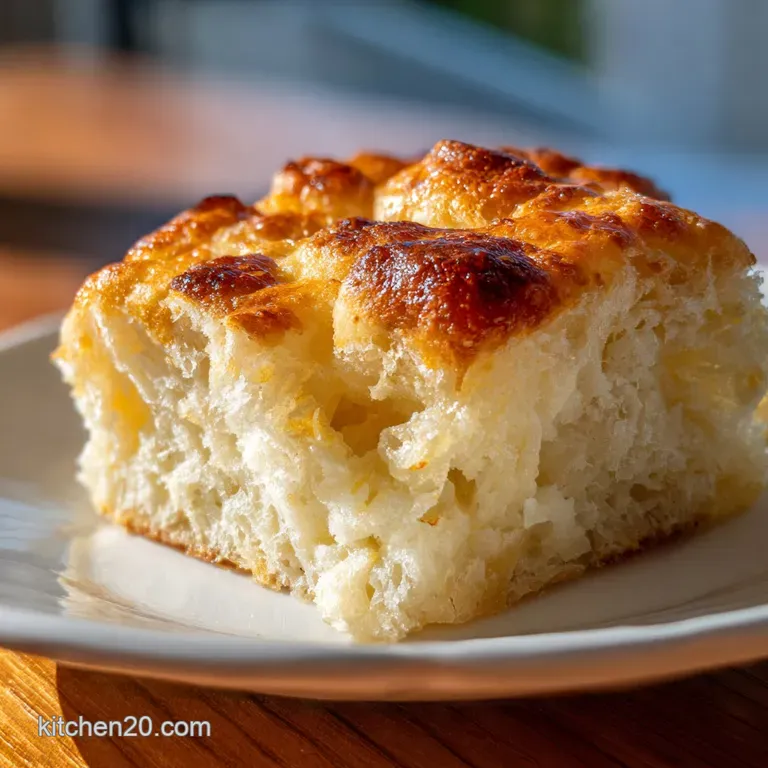
- Flavor/Texture Hook: Shatter crisp bottom with a velvety, honeycomb center
- Perfect for: Stress free hosting, gourmet sandwiches, or beginner bakers
- Mastering the Perfect Focaccia Bread Recipe
- Why This Bread Texture Wins
- Essential Component Breakdown
- Necessary Kitchen Tools
- Step-By-Step Production Guide
- Troubleshooting and Simple Fixes
- Scaling the Dough
- Creative Topping Inspirations
- Proper Storage Techniques
- Excellent Serving Suggestions
- Recipe FAQs
- 📝 Recipe Card
Mastering the Perfect Focaccia Bread Recipe
Close your eyes and listen. That specific, glass like shatter when a serrated knife hits the crust is the hallmark of a truly great bake. I remember the first time I pulled a tray out of the oven that didn't look like a dense brick, the smell of toasted rosemary and sizzling garlic filled my entire apartment, and I knew I'd finally cracked the code.
For years, I tried to rush it, using too much yeast and not enough water. The result was always fine, but never "platform shaking" good. It wasn't until I started treating the dough like a living thing that needed a long, cold nap in the fridge that everything changed.
This method is about connecting with the process, letting time do the heavy lifting while we focus on the finishing touches that make it special.
Trust me, once you see those giant bubbles wobbling under your fingertips before you dimple the dough, there's no going back. We're skipping the intense kneading and leaning into a high hydration environment that does all the work for us.
It’s a revolutionizing way to look at home baking, and I’m so excited to share what actually works with you.
Why This Bread Texture Wins
The Physics of the Bubble: High hydration (80%) creates intense steam during baking, which inflates the gluten network into a light, honeycomb structure.
Cold Fermentation Logic: A 24 hour fridge rest slows down yeast activity, allowing enzymes to break down starches into complex sugars for superior browning and flavor.
Conducting Heat with Oil: The 60ml of extra virgin olive oil in the pan essentially fries the bottom of the dough, creating a literal "shatter" effect upon the first bite.
| Method | Time | Texture | Best For |
|---|---|---|---|
| Cold Ferment | 24 hours | Deep flavor, huge bubbles | Dinner parties |
| Room Temp | 3-4 hours | Mild flavor, tighter crumb | Quick lunch prep |
| Sourdough | 2 days | Tangy, chewy, artisanal | Experienced bakers |
Choosing the cold ferment method is what sets this apart from basic rolls. If you're interested in how hydration impacts other bakes, you might notice similar principles in this Simple Homemade Pita recipe, where steam is also the primary driver of that famous pocket.
Essential Component Breakdown
| Ingredient | Science Role | Pro Secret |
|---|---|---|
| Bread Flour (500g) | High protein (12%+) creates the "net" to trap CO2 bubbles. | Always weigh it; volume measurements are too inconsistent for 80% hydration. |
| Warm Water (400ml) | Hydrates the flour and activates yeast at 95°F. | Use filtered water to avoid chlorine inhibiting yeast growth. |
| Instant Yeast (7g) | Provides the initial lift and leavening. | Store it in the freezer to keep it potent for months. |
| Honey (10g) | Provides immediate "food" for the yeast and aids Maillard browning. | Swap for maple syrup if you want a vegan friendly version. |
A quick note on the flour: you really want bread flour here rather than all purpose. The extra protein is what allows the dough to hold onto those massive bubbles without collapsing. It's the same logic I use for The Proper Crumb recipe when I want that specific structural integrity.
Necessary Kitchen Tools
For this focaccia bread recipe, you don't need a fancy stand mixer, but a few specific items make it much easier. A 9x13 inch metal baking pan is my top choice because metal conducts heat faster than ceramic, ensuring that crispy bottom we're after.
If you only have glass, you’ll need to bake it on the lowest rack to get enough heat to the base.
You'll also want a large glass or plastic bowl for the initial ferment. Since the dough grows significantly, make sure the bowl is at least three times the size of the initial shaggy mass.
A digital scale is non negotiable for me now; being off by even 20 grams of water can turn a perfect dough into a sticky mess that's hard to handle.
Chef's Tip: Freeze your olive oil for 15 minutes before drizzling it over the dough for the final dimpling. The cold oil stays on the surface longer, creating deeper, more defined "flavor craters" that don't just soak in immediately.
step-by-step Production Guide
- Whisk the dry base. Combine 500g bread flour and 10g fine sea salt in your large bowl. Note: This ensures the salt is evenly distributed before the liquid hits.
- Activate the yeast. Stir 7g instant yeast and 10g honey into 400ml warm water (95°F) until dissolved and slightly foamy.
- Mix the shaggy mass. Pour the liquid and 30g olive oil into the flour, stirring with a spatula until no dry streaks remain.
- Perform the first folds. Let the dough rest for 30 minutes, then with wet hands, pull the edge of the dough up and fold it into the center. Repeat 4 times.
- Start the cold ferment. Cover the bowl tightly and place it in the fridge for 24 hours. Expect the dough to double and look bubbly.
- Prep the pan. Pour half of the remaining 60ml olive oil into a 9x13 inch pan, coating the bottom and sides thoroughly.
- Transfer and proof. Gently tip the cold dough into the pan. Do not force it to the corners yet. Let it sit at room temp for 2 to 3 hours until it feels jiggly like Jell O.
- Dimple the surface. Drizzle the rest of the oil over the top. Use your fingertips to press straight down to the bottom of the pan until deep craters form across the surface.
- Add the aromatics. Press the 3 sprigs of rosemary needles and 3 cloves of shaved garlic into the dimples, then sprinkle with 1 tbsp flaky sea salt.
- Bake at 425°F (220°C). Slide it into the oven for 25 minutes until the top is deep mahogany and the edges are sizzling.
Troubleshooting and Simple Fixes
Why Your Focaccia Has a Soggy Bottom
This usually happens if the oven wasn't hot enough or if you used a ceramic dish that didn't conduct heat well. If you pull it out and the bottom is pale, immediately move the bread (out of the pan) onto a wire rack and put it back in the oven for 5 minutes.
The direct heat will crisp that base up instantly.
Rescuing Over Proofed Dough
If you left the dough on the counter too long and it starts to deflate or smells very boozy, don't panic. Gently degas it by folding it over itself, put it back in the pan, and let it rise for just 30 minutes before baking. It won't be as tall, but it will still taste brilliant.
| Problem | Root Cause | Solution |
|---|---|---|
| Dough won't stretch | Too cold or not rested | Let it sit at room temp for 20 more mins |
| No bubbles on top | Under proofed | Wait until the dough is room temp and jiggly |
| Garlic is burnt | Sliced too thin or not oiled | Press garlic deep into the dimples and coat with oil |
Common Mistakes Checklist ✓ Never skip the honey; it’s the fuel that gets the yeast moving after the cold slumber. ✓ Always use wet hands when handling the dough to prevent it from sticking to your skin.
✓ Preheat your oven for at least 45 minutes; the stone or rack needs to be truly hot. ✓ Don't be shy with the oil - it's an ingredient, not just a non stick agent. ✓ Let it cool for at least 15 minutes before cutting, or the steam will escape and leave it gummy.
Scaling the Dough
If you're cooking for a smaller crowd, you can halve this recipe easily. Use an 8x8 inch square pan instead of the 9x13. For the yeast, I recommend using a full 5g (about 1.5 teaspoons) even when halving the flour, just to ensure it has enough "oomph" to lift the smaller mass.
Scaling up for a party? Doubling the recipe works perfectly in a large commercial half sheet pan. When doubling, keep the salt and rosemary to about 1.5x the original amount rather than a full 2x. This prevents the bread from becoming overly salty.
You'll also need to increase the bake time by about 5 to 8 minutes since the larger surface area takes longer to heat through.
Creative Topping Inspirations
While the rosemary and garlic version is the classic Italian focaccia bread recipe, the dough is a blank platform for your imagination. I've had great success with a Mediterranean variation using pitted Kalamata olives and sun dried tomatoes pressed deep into the dimples.
The acidity of the tomatoes cuts through the richness of the olive oil beautifully.
For a sweet and savory twist, try thin slices of peach and a drizzle of balsamic glaze after baking. If you're feeling adventurous, you can even make a "Focaccia Garden" by using bell peppers, chives, and red onions to create a floral landscape on top before it hits the oven.
If you prefer a more tangy profile, you can adapt this into a sourdough focaccia recipe by replacing the instant yeast with 100g of active starter. You'll just need to extend the room temperature proofing times by about 4 hours.
Proper Storage Techniques
Focaccia is undoubtedly best on the day it's made, but you can keep it fresh for about 2 days at room temperature if wrapped tightly in foil. Avoid the fridge for baked bread, as it actually accelerates the staling process through a mechanism called starch retrogradation.
To Freeze: Slice the bread into squares and wrap them individually in plastic wrap, then place them in a freezer bag for up to 3 months. To Reheat: Don't use the microwave - it will make the bread rubbery.
Instead, pop a slice into a 350°F (180°C) oven or toaster oven for 5 to 8 minutes. It will come back to life with that original sizzle and crunch.
For zero waste, take any stale leftovers and cut them into cubes. Toss them with a little more olive oil and bake until hard for the best croutons you've ever had in your life. Or, use them as the base for a savory bread pudding.
Excellent Serving Suggestions
The high oil content makes this the ultimate sandwich base. Slice it horizontally and fill it with prosciutto, fresh mozzarella, and a handful of arugula. The bread is sturdy enough to hold up to juicy fillings without falling apart.
In Italy, it’s often served as part of an aperitivo. Cut it into long fingers and serve it alongside a bowl of high-quality olive oil and aged balsamic vinegar for dipping. It also pairs naturally with a cold glass of Vermentino or a crisp lager.
If you're looking for something more substantial, it’s the perfect companion to a hearty bowl of soup, soaking up the broth while maintaining its integrity.
Right then, you're ready to get that dough started. Just remember: don't rush the fridge time. That 24 hour wait is the difference between "good bread" and the "revolutionary bake" your friends will be texting you about for weeks. Let's crack on!

Recipe FAQs
What is the secret to making good focaccia?
High hydration and long, cold fermentation. The high water content (around 80%) creates huge air pockets when steamed, and the 24-hour rest in the fridge develops deep, complex flavor, mimicking sourdough tang.
What is the best flour for focaccia?
Bread flour with high protein content (12% or more). This protein builds a strong gluten network necessary to trap the high volume of gas created by the wet dough, preventing collapse.
Is it better to make focaccia with bread flour or all-purpose flour?
Bread flour is significantly better for texture. All-purpose flour lacks the necessary protein structure to support the massive bubbles achieved with high hydration dough.
Is focaccia bread healthier than sourdough?
Generally, sourdough offers a slight edge due to lower glycemic impact. However, this recipe uses a long cold ferment, which breaks down starches similarly to sourdough, making it more digestible than quick yeasted breads.
How to achieve the signature crispy bottom crust on focaccia?
Use a liberal amount of olive oil in a metal pan and bake hot. Metal conducts heat rapidly, essentially frying the dough base, which locks in a shatteringly crisp texture.
How do I get deeper dimples in my focaccia before baking?
Press firmly straight down through the dough until you feel the bottom of the pan. Do this after the final room temperature proof when the dough is jiggly and relaxed, using well oiled fingertips.
Can I make this recipe without waiting 24 hours in the fridge?
Yes, but you sacrifice flavor and texture complexity. A room temperature proof typically takes 3 4 hours, resulting in a lighter crumb and a much milder taste profile.
Easy Focaccia Bread Recipe

Ingredients:
Instructions:
Nutrition Facts:
| Calories | 221 kcal |
|---|---|
| Protein | 5.4 g |
| Fat | 7.2 g |
| Carbs | 32.5 g |
| Fiber | 1.1 g |
| Sugar | 0.9 g |
| Sodium | 715 mg |
