Heavenly Magic Cookie Bars: a Sweet Slice of Nostalgia
- Heavenly Magic Cookie Bars: A Sweet Slice of Nostalgia
- A Sweet Bit of History
- Key Benefits of Magic Cookie Bars
- Let's Transition to Ingredients
- Essential Ingredients Guide
- Cooking Like a Pro: A Guide to Mastering the Magic Cookie Bars Recipe
- Additional Recipe Information: Let’s look into into Deliciousness!
- Frequently Asked Questions
- 📝 Recipe Card
Heavenly Magic Cookie Bars: A Sweet Slice of Nostalgia
Oh my gosh, let me take you somewhere sweet! i still remember the first time i had magic cookie bars when my aunt whipped them up for a family cookout.
The layers of gooey goodness, the crunch of the graham cracker crust, and the hint of coconut just hit different.
Honestly, i could’ve eaten the whole pan myself! these treats aren’t just about dessert; they’re about nostalgia, family gatherings, and that feeling of home.
If you're looking for something comforting and scrumptious, the magic cookie bars recipe is where it’s at!
A Sweet Bit of History
Let’s dive a bit into the backstory. these bars are also known as 7 layers cookie bars because, you guessed it, they boast seven heavenly layers of flavor and texture.
They popped up in american kitchens a few decades ago, becoming an instant favorite for all occasions. nowadays, they still spark joy at everything from birthdays to holidays.
Who wouldn’t love a treat that’s so easy to whip up? and don’t even get me started on the easter 7 layer bars variations that pop up this time of year!
Now, i’m all for lazy weekend baking. you can whip these up in about 15 minutes of prep and 25 minutes baking , which means you can be enjoying these beauties in under 40 minutes ! the best part? anyone can make them.
Seriously, if you can press crumbs into a pan, you're on your way to making some double delicious cookie bars .
Your friends will be so impressed!
Key Benefits of Magic Cookie Bars
So while we’re riding this sweet wave of nostalgia, let’s talk about why these bars are an absolute crowd pleaser. first off, let’s not ignore those health benefits they are a nice treat when enjoyed in moderation!
The coconut adds a sprinkle of fiber while the sweetened condensed milk brings a hint of protein (let’s be honest, we’re not exactly entering a health food competition here).
These bars are definitely deserving of their reputation as seven layers of heaven magic bars !
They’re perfect for any occasion. birthday parties? yep! work potlucks? absolutely! they even make great holiday treats when you want to bring something that screams celebration without the stress.
Folks will fight over these bars i've seen it happen!
And let’s play favorites here: they’re so much easier to make than traditional brownies or cookie recipes. no fancy techniques, just mix, layer, and bake.
Less time fussing means more time enjoying with friends. plus, you can really get creative with the mix-ins. want to toss in some butterscotch chips or a sprinkle of nuts? go for it! the recipe is like a canvas, and the flavors are all yours for the taking.
Let's Transition to Ingredients
Ready to hop into what you need to make these dreamy bars?from graham cracker crumbs to that glorious sweetened condensed milk , these ingredients are as simple as they come.
So let’s grab that shopping list and start creating layers of happiness right in your kitchen!
Essential Ingredients Guide
Hey there, cookie lovers! if you’re diving into the world of baked goodies, there’s just something magical about the essential ingredients.
Seriously, once you know what to grab from the grocery store, you're already halfway to your next batch of seven layers of heaven magic bars or as some of us like to call them, magic cookie bars ! so, let’s break down this fantastic guide to make your baking experience smoother than melted chocolate.
Premium Core Components
When you’re gathering your core ingredients, precise measurements are vital. for instance, you’ll need 1 cup (120g) of graham cracker crumbs for that solid crust.
And if you’re more of a metric person, that’s around 120 grams . to avoid awkward guessing games, always have a scale handy.
Quality matters too! look for unsweetened coconut that has a nice, fresh smell. if it smells off, toss it back.
About storage, most of your pantry staples stay good for months if kept in a cool, dark place. however, for things like chocolate chips, give them a home in the fridge to prevent them from melting on you before you bake.
Signature Seasoning Blend
Now let’s chat about those signature spice combinations . cinnamon, nutmeg, or a pinch of sea salt can elevate your magic cookie bars to whole new heights! get creative try pairing herbs like thyme or mint with chocolate for a wild twist.
Fun fact: did you know that the classic cookie bar flavor combo typically includes nuts and chocolate?
Smart Substitutions
Life happens sometimes, you just don't have all the ingredients. no worries! if you find yourself out of nuts, you can substitute your craving with sunflower seeds or even a handful of pretzels for a sweet and-salty vibe.
Got a dairy intolerance? use coconut milk instead of sweetened condensed milk. during those moments of sheer desperation, consider using whatever’s in your pantry.
Really, creativity is the name of the game here, and you might just stumble upon a new favorite version of those 7 layer cookie bars .
Kitchen Equipment Essentials
Let’s not forget your tools! you need a 9x13-inch baking dish for those beautiful cookie bars. a well seasoned spatula and some measuring cups are also vital.
Don’t have a fancy mixer? no worries your good old spoon and elbow grease will do the trick. and remember, after baking, give your bars some time to cool fully before cutting them into squares.
Trust me, they’ll hold their shape a lot better.
Final Thoughts
So, now that we’ve run through the basics, you should be prepped and ready to tackle a simple yet delicious magic cookie bars recipe ! these bars are perfect for any gathering be it a holiday, a birthday bash, or just an afternoon treat with your favorite mug of coffee.
And just wait until you demonstrate your baking skills with these layered beauties! friends and family will feel like they’ve found a hidden gem in the dessert world.
Now, grab your ingredients, and let's jump into those lush step-by-step instructions for whipping up these heavenly treats. Get ready for some gooey goodness that’s sure to bring smiles all around!
Cooking Like a Pro: A Guide to Mastering the Magic Cookie Bars Recipe
So, you’re ready to dive into the world of professional cooking? well, grab your apron! today we’re not just dabbling; we’re getting down to the nitty gritty of perfecting that heavenly magic cookie bars recipe .
We're talking about the kind of treat that makes you a hit at every gathering, whether it's thanksgiving, fourth of july, or just a random tuesday night snack!
Essential Prep Steps: Set the Stage for Success
Before we dive into the actual baking, let's chat about mise en place. it’s just a fancy french term for having everything in its place.
Grab those 1 cup of graham cracker crumbs, ½ cup of melted butter , and the rest of the goodies ready.
You'll be amazed at how much smoother the process is when you've got everything measured out. trust me, no one wants to be scrambling for the butterscotch chips while their oven is preheated to 350° f ; it’s a recipe for stress!
Now, let’s talk about time management. seriously, it can make or break your cooking experience. set a timer when you pop those cookie bars in the oven for 25- 30 minutes .
And keep an eye on them once you start smelling that sweet aroma wafting through your kitchen, you're in the right zone.
As for organization, a clean workspace can work wonders. take it from me; i’ve knocked over flour and had a mini disaster more times than i can count.
Keep your tools within reach. and don't forget basic safety! use oven mitts when pulling your pans out no one wants to end their baking session with a trip to the er.
Step-by-step Process: Making Dreamy Layers
Okay, here’s where we get into the fun part. Let’s lay this out clearly:
- Preheat the oven. ( 350° F, remember?)
- Prepare your baking dish. Grease it or line it with parchment paper for easy removal later.
- Mix up that crust. Combine your graham cracker crumbs and melted butter and press it into the bottom of the dish evenly.
- Pour the sweetened condensed milk evenly across that lovely crust.
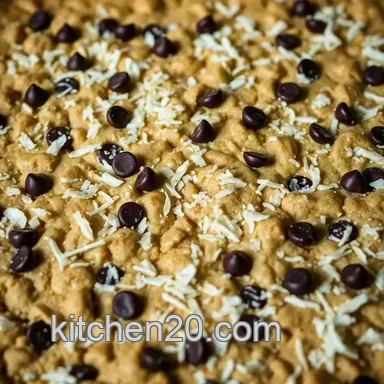
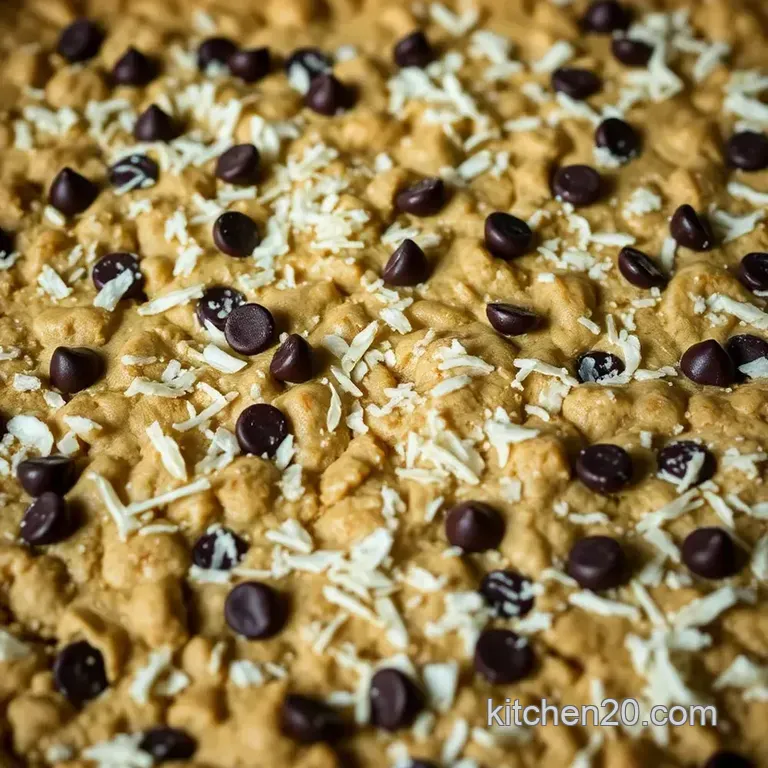
- Layer on your goodies. Chocolate chips, shredded coconut, and chopped nuts that's the order! If you’re feeling adventurous, drizzle some extra chocolate or caramel on top.
- Bake those beauties! Keep an eye on them until the top turns a golden brown, about 25- 30 minutes.
- Cool and slice. Let them set for a bit before cutting, or you'll end up with a gooey mess been there, done that!
Expert Techniques: From Novice to Pro
Now, let’s cover some expert techniques the kind of stuff that’ll make you say, “wow, i’m basically a pastry chef!” remember, the quality checkpoints are crucial.
The top should be golden brown, and if a toothpick comes out clean, you're golden.
If something seems off, like the layers aren’t setting right, don’t freak out. could be your oven temperature is a bit wonky.
Use an oven thermometer to check if it's accurately at 350° f . adjust accordingly!
Trouble? Don’t Sweat It!
Let’s face it, we all make mistakes in the kitchen. common oopsies include overbaking or underestimating your cooling time. you'll need patience here! allowing your magic cookie bars to cool for at least 10 minutes makes all the difference in the world.
And if they fall apart anyway? just call them "cookie crumbs" and serve them in a bowl with ice cream!
Success Strategies: The Sweet Secrets
Always remember quality assurance, folks. taste your layers as you go along to ensure that perfect balance. and if you're ever in doubt, check out some holiday magic cookie bars for inspiration.
Make-ahead options? absolutely! these bars store perfectly in an airtight container for about a week if they last that long around your crew!
Time to Wrap It Up!
So there you have it the ultimate guide to creating those dreamy, double delicious cookie bars we all know and love.
Don't shy away from using variations based on what you have at home. it’s all about adapting, right?
Curious to learn more? In the next section, we'll dive into some additional information that'll help amp up your baking game even more. Let’s keep that oven preheating!
Additional Recipe Information: Let’s look into into Deliciousness!
When it comes to magic cookie bars , or as some like to call them, seven layer bars , there’s a joyful experience wrapped in those gooey layers.
These bars carry a rich history, and they hold a special place in the hearts of many. picture this: family gatherings, holiday parties, and the nostalgic aroma wafting through the house.
Yep, that’s the magic of these layered delights!
Pro Tips & Secrets: Unlock Your Kitchen Magic
Okay, let’s get real. Everyone wants to nail that perfect magic cookie bars recipe . So, here are some insider tips from my personal kitchen experiments.
First, time saving techniques can make a world of difference. Pre-measuring your ingredients can cut down on prep time. If you’ve got kids, they love helping, especially when you say there’s sweet potential in the kitchen!
For flavor enhancement , don’t be shy with spices. a dash of cinnamon or an extra splash of vanilla extract can give your bars that secret kick that’ll have your friends asking, “what’s your secret?” trust me on this one.
And when it comes to presentation , let’s turn those bars into show stoppers! try cutting them into fun shapes; people love a cute dessert.
Just be sure to add a sprinkle of sea salt on top it balances the sweetness perfectly!
Perfect Presentation: Make Them Beautiful
Now, onto plating techniques. the way you serve these bars matters, folks! a layered bar cookie stacked high on a colorful plate can be quite the centerpiece.
You’ll want to play with those vibrant layers. maybe toss a matching side of fresh berries to really pop the colors.
Garnish ideas? Think toasted coconut flakes or a drizzle of melted chocolate over the top. Not only will they add to the visual appeal, but they’ll also elevate that flavor game even higher!
Storage & make-ahead: Keep the Magic Alive
If you find yourself with leftovers (unlikely, i know!), you’ll want to store them properly. these bars can last up to a week in an airtight container at room temperature.
But if you’re like me, they’ll probably vanish after a couple of days if they even make it that long!
You can also make these bars ahead of time! just whip up a batch and freeze them. when you need a quick treat for unexpected guests, you'll have your very own "pop-it-in-the-oven magic" ready to go.
Just thaw and serve!
Creative Variations: Mix It Up!
Feeling adventurous? Let’s talk creative variations ! Got a craving for something different? Swap in seasonal ingredients! Maybe some pumpkin spice for fall or add fresh cherries for a summer twist.
If you want to cater to different diets, go nut-free by substituting nuts with seeds. for a dash of holiday spirit , try adding a layer of peppermint extract and crushed candy canes.
Who knew making easter 7 layer bars could be so festive?
Complete Nutrition Guide: Know What You’re Eating
It’s always good to know what’s going into your treats, am i right? these bars are about 200 calories per serving perfect for a sweet treat without overindulging.
And with all those layers combining healthy fats from nuts and a bit from coconut, you can convince yourself you’re being all sorts of nutritious.
Considering dietary modifications? Feel free to adjust by using dairy-free options or limiting sugar if that suits your palate.
Wrapping It Up: Get Baking!
So there you have it! with a bit of creativity and some magic cookie bars recipe tips, you’re all set to impress your friends and family with layers of sheer happiness.
Remember, cooking is about adventure, and every layer tells a story. so, roll up those sleeves and get baking! you never know what delicious magic you’ll create, and honestly, your kitchen will smell fabulous.
Happy baking, friends!
Frequently Asked Questions
What are magic cookie bars and why are they so popular?
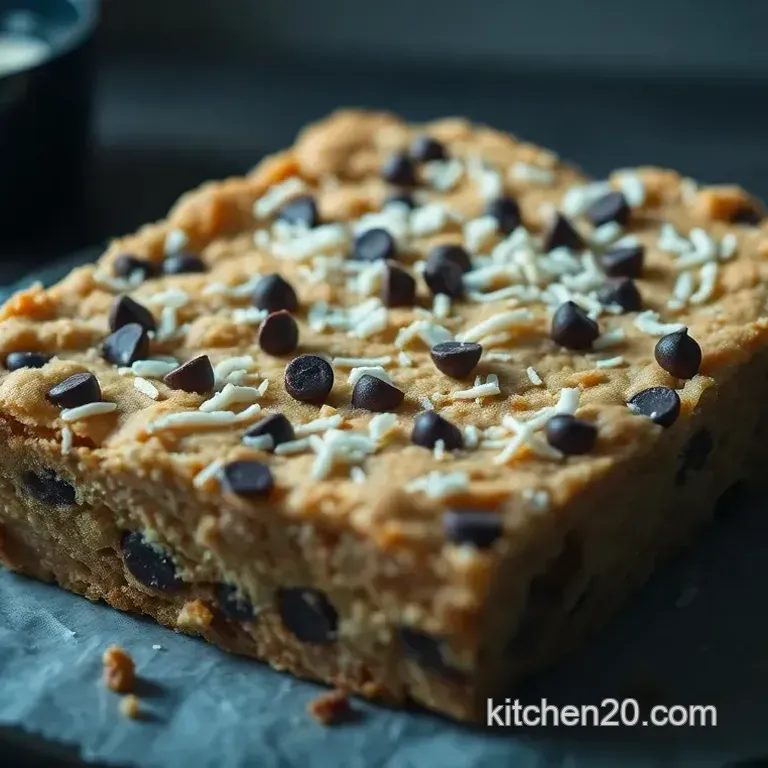
Magic cookie bars, often referred to as Seven Layer Bars, are a nostalgic treat combining a buttery graham cracker crust with layers of chocolate chips, shredded coconut, and nuts.
Their unique texture and sweet flavor make them a favorite for gatherings and potlucks, earning them a special spot in American dessert culture.
How do I store leftover magic cookie bars?
Store any leftover magic cookie bars in an airtight container at room temperature for up to a week. If you want to keep them longer, you can refrigerate them, but let them come to room temperature before serving to enjoy the gooey goodness!
Can I make substitutions in the magic cookie bars recipe?
Absolutely! If you're looking for a nut-free option, you can omit the nuts or replace them with seeds. You can also substitute graham crackers with digestive biscuits or vanilla wafers, and if you prefer a different chocolate flavor, try using dark, white, or dairy-free chocolate chips!
What tips do you have for beginners trying this magic cookie bars recipe?
Begin by ensuring your layers are evenly distributed for consistent texture and flavor. Allow the bars to cool completely before cutting to prevent them from falling apart. Lastly, don't hesitate to get creative with mix-ins like dried fruits or different chocolate varieties!
How can I make my magic cookie bars even more indulgent?
For an extra indulgent treat, serve your magic cookie bars warm with a scoop of ice cream or drizzle with chocolate or caramel sauce. They pair beautifully with a cup of tea or coffee for a delightful contrast to the sweetness!
How do I know when my magic cookie bars are done baking?
Your magic cookie bars are ready when the top is golden brown and the edges look set. If you gently press the center, it should feel firm but not completely spring back. A toothpick inserted in the middle should come out with a few moist crumbs attached, not wet batter.
Heavenly Magic Cookie Bars A Sweet Slice Of Nost