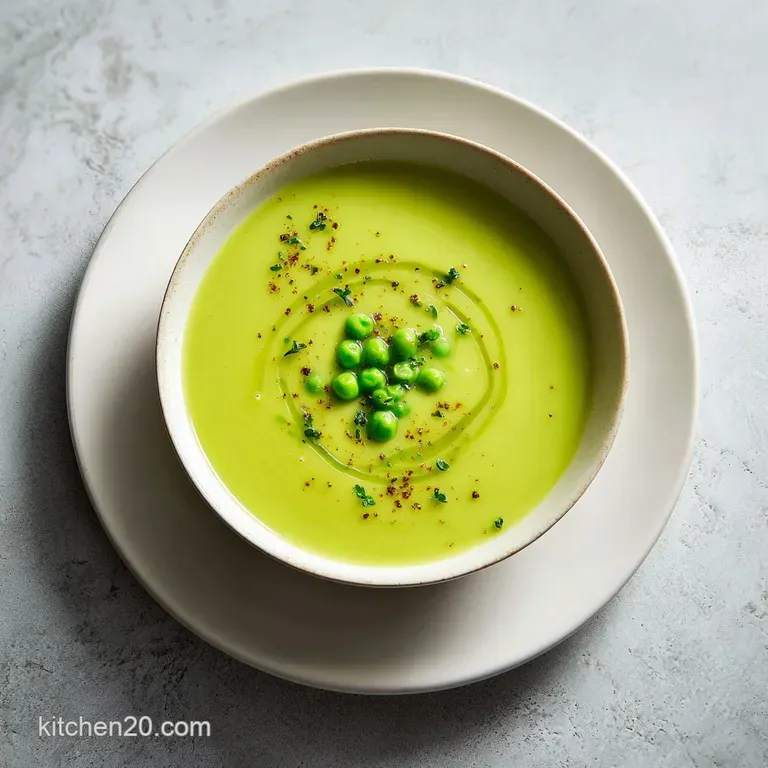
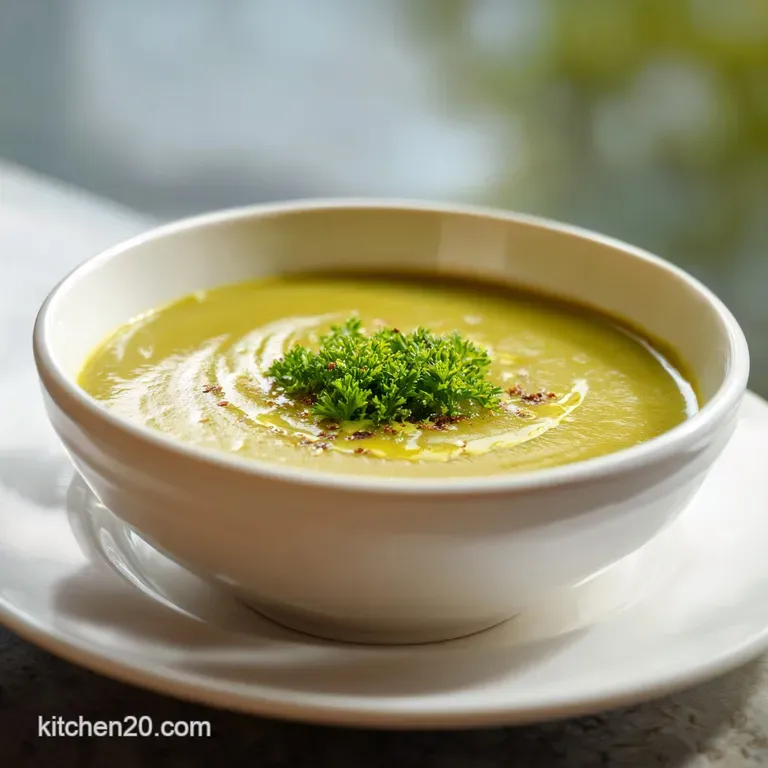
Moms Best Ever Split Pea Soup
- Time: Active 15 minutes, Passive 75 minutes, Total 1 hours 30 mins
- Flavor/Texture Hook: Velvety, smoky, and deeply savory
- Perfect for: Chilly Sunday lunches or holiday leftover repurposing
- Why Everyone Loves Moms Best Ever Split Pea Soup
- Fast Cooking Versus Classic Simmering
- The Science of Perfect Legumes
- Essential Elements for Savory Depth
- The Building Blocks
- Tools for a Silky Finish
- Steps for Layering Rich Flavor
- Solutions for Common Soup Snafus
- Creative Twists on the Classic
- Storing and Reheating for Later
- What to Serve on Side
- Recipe FAQs
- 📝 Recipe Card
Why Everyone Loves Moms Best Ever Split Pea Soup
The kitchen always transformed when Mom brought out the heavy stockpot on a rainy Tuesday. I remember the rhythmic sound of her knife hitting the wooden board, dicing onions while the ham bone sat waiting on the counter.
The moment that bone hit the hot oil, a smoky sizzle filled the air, signaling that something soul warming was on the way. It wasn't just a meal, it was her way of revolutionizing a simple pantry staple into a platform for family connection.
We've all had those thin, watery soups that leave you wanting more, but this isn't that. This recipe is about the slow breakdown of starches and the release of gelatin from the bone, creating a texture so velvety it coats the back of your spoon.
It's the kind of dish that connects generations, a reliable classic that I've optimized over the years to ensure the peas melt perfectly every single time. Trust me, once you smell that garlic and thyme mingling with the ham, you'll understand why this is the only version we ever make.
Fast Cooking Versus Classic Simmering
When you are looking to get dinner on the table, you have to choose your method wisely. While the stovetop is the classic way to build deep, complex layers of flavor, modern technology offers some shortcuts.
We have tested several ways to get that same "all day" taste in a fraction of the time, so you can pick the path that fits your schedule.
| Method | Cook Time | Texture | Best For |
|---|---|---|---|
| Traditional Stovetop | 75 minutes | Thick and chunky | Maximum flavor development |
| Pressure Cooker | 20 minutes | Very smooth/pureed | Busy weeknight efficiency |
| Slow Cooker | 6-8 hours | Soft and integrated | Set it and forget it prep |
Choosing the stovetop method allows you to monitor the evaporation, which is the secret to getting that perfect thickness. If you find the liquid is disappearing too fast, you can simply add a splash of water. This hands on approach is similar to the care required for a Hearty Navy Bean Soup recipe, where the texture of the beans is everything.
The Science of Perfect Legumes
The Starch Expansion Strategy: When split peas heat up, their starch granules absorb liquid and swell until they eventually burst, naturally thickening the liquid without any added flour.
Pectin Breakdown: The acidic balance from apple cider vinegar is added at the end because adding it too early can toughen the skins of the peas, preventing them from softening.
Gelatin Extraction: Simmering the ham bone releases collagen which turns into gelatin, giving the soup a silky mouthfeel and a "body" that water or broth alone cannot provide.
Essential Elements for Savory Depth
Understanding your components is like building a software network, each part must communicate with the others to create a seamless user experience. Here is how our main players function in the pot.
| Component | Science Role | Pro Secret |
|---|---|---|
| Split Peas | Primary thickener | Rinse well to remove dust but never soak. |
| Ham Bone | Flavor and fat source | Leave some meat on the bone for extra texture. |
| Aromatics | Foundation layer | Sauté until translucent to release natural sugars. |
The key to this recipe is the divided vegetables. We add half at the start to melt into the base and the other half later so you still have some visible, tender bites of carrot and celery. It’s a small tweak that is revolutionizing how we think about texture in blended soups.
The Building Blocks
- 2 tbsp extra virgin olive oil: Used for searing the ham and softening aromatics.
- 2 cups yellow onion: Finely diced for a sweet, savory foundation.
- 1.5 cups carrots: Peeled and diced. Why this? Half provides sweetness, half provides texture.
- 1.5 cups celery: Diced. Why this? Adds a necessary earthy, salty backbone.
- 4 cloves garlic: Minced for that pungent, aromatic kick.
- 1 tsp dried thyme: The classic herb pairing for peas and ham.
- 1 lb dried green split peas: Rinsed and sorted. Why this? The star of the show; they provide the creaminess.
- 1 meaty ham bone: The ultimate flavor bomb. Why this? Provides smoke, salt, and gelatin.
- 6 cups low sodium chicken broth: Use low sodium so you can control the salt.
- 2 cups water: To balance the richness of the broth.
- 2 bay leaves: Adds a subtle floral depth.
- 1 tsp black pepper: For a gentle heat.
- 2 tbsp apple cider vinegar: Why this? Brightens the heavy flavors at the very end.
- 1/4 cup fresh parsley: For a pop of color and freshness.
- 1 tsp salt: Add only at the end after tasting.
| Original Ingredient | Substitute | Why It Works |
|---|---|---|
| Ham Bone | Smoked ham hocks | Similar smoky profile. Note: Hocks have more skin/fat and less meat. |
| Dried Thyme | Fresh Thyme | Use 3x the amount. Adds a brighter, more herbal note. |
| Chicken Broth | Vegetable Broth | Works well, though it lacks the depth of chicken fat. |
If you happen to have leftovers from a big holiday meal, you can use those bones for this soup or even for a Hoppin John Recipe if you are in the mood for black eyed peas instead. Both dishes rely on that smoky pork foundation to really shine.
Tools for a Silky Finish
You don't need a high tech lab to make a great soup, but having the right "hardware" makes the process much smoother. A heavy bottomed Dutch oven, like one from Lodge or Le Creuset, is my top choice because it distributes heat evenly, preventing the peas from scorching on the bottom.
You'll also want a sturdy wooden spoon for scraping up the "fond" (those little brown bits) after searing the ham bone. For those who prefer a completely smooth texture, an immersion blender is a game changer.
I personally like mine a bit chunky, so I just use a potato masher to break up about a third of the peas at the end.
Steps for Layering Rich Flavor
- Heat the oil. Place your large pot over medium heat and add the olive oil.
- Sauté the foundation. Add the onion and half of the carrots and celery. Note: This first batch will melt into the broth for flavor.
- Bloom the aromatics. Stir in the garlic and dried thyme for 1 minute until fragrant and sizzling.
- Deglaze the pot. Pour in the chicken broth and water, using your spoon to scrape any bits off the bottom.
- Add the core. Stir in the rinsed split peas, the ham bone, bay leaves, and black pepper.
- Simmer it down. Bring to a boil, then reduce heat to low and cover partially.
- Monitor the breakdown. Cook for 45 minutes, stirring occasionally to prevent sticking.
- Add texture. Stir in the remaining carrots and celery. Note: This ensures you have actual vegetable pieces in the finished bowl.
- Final stretch. Cook for another 30 minutes until peas have completely shattered and soup is thick.
- Brighten it up. Remove the bone and bay leaves. Shred any meat from the bone and return it to the pot. Stir in the vinegar and parsley.
Solutions for Common Soup Snafus
Sometimes the "software" of your cooking doesn't run perfectly on the first try. Split peas can be finicky depending on their age or the mineral content of your water. If your soup isn't looking like the velvety dream you expected, don't panic.
The Problem of Crunchy Peas
If you've been simmering for over an hour and the peas are still firm, you likely have "old" peas. As dried legumes sit on the shelf, they lose moisture and their cell walls become tougher. Another culprit could be hard water; the minerals can prevent the peas from softening.
Simply add a pinch of baking soda to the pot to help break down those stubborn skins.
Dealing with Excess Salt
Ham bones vary wildly in salt content. If you find the soup is a salt bomb, do not add more water, which will just thin it out. Instead, peel a large potato, cut it into quarters, and simmer it in the soup for 15 minutes. The potato acts like a sponge, absorbing excess salt.
Discard the potato before serving.
| Problem | Root Cause | Solution |
|---|---|---|
| Too Thick | Over evaporation | Stir in 1/2 cup hot broth or water at a time. |
| Too Thin | Not enough simmering | Simmer uncovered for 15 mins to reduce liquid. |
| Lack of Flavor | Needs acidity | Add an extra teaspoon of vinegar or lemon juice. |
Common Mistakes Checklist
- ✓ Rinsing the peas thoroughly to remove field dust and debris.
- ✓ Adding salt too early (this can toughen the peas).
- ✓ Forgetting to stir the bottom - split peas love to stick and burn.
- ✓ Using an old ham bone that has gone "off" in the freezer.
- ✓ Omitting the vinegar; that hit of acid is what makes the flavors "pop."
Creative Twists on the Classic
While Mom's version is the gold standard, our kitchen is all about connecting new ideas with old traditions. You can easily adapt this recipe to fit your dietary needs or flavor preferences without losing the heart of the dish.
- The Smoky Vegan: Swap the ham bone for 2 tsp of smoked paprika and a tablespoon of liquid smoke. Use vegetable broth and add extra sautéed mushrooms for that "meaty" bite.
- The Spicy Southern: Add a pinch of cayenne pepper or a diced jalapeño to the aromatics for a gentle heat that cuts through the richness.
- The Creamy Curry: Stir in a tablespoon of yellow curry powder and swap the water for full fat coconut milk for a tropical, spiced up version.
Storing and Reheating for Later
This soup is a champion of meal prep. In fact, it often tastes better the next day because the flavors have had time to fully synchronize.
Fridge Storage: Keep it in an airtight container for up to 4 days. Note that the soup will turn into a thick "brick" when cold. This is normal! Just add a splash of water or broth when reheating.
Freezer Guidelines: This freezes beautifully for up to 3 months. I recommend freezing in individual portions so you can grab a quick lunch whenever you need it. Thaw in the fridge overnight before reheating on the stove over low heat.
Zero Waste Tip: Don't throw away that ham bone! Even after making soup, it can be boiled one more time with onion scraps and peppercorns to make a light "ham stock" for future bean dishes or risottos.
What to Serve on Side
To make this a complete experience, you need something to dip into that velvety goodness. The classic choice is a thick slice of crusty sourdough bread slathered in salted butter. The acidity of the sourdough perfectly matches the smokiness of the peas.
If you want something lighter, a crisp green salad with a sharp lemon vinaigrette provides a refreshing contrast to the heavy, warm soup. For a bit of crunch, try making homemade croutons by tossing bread cubes with olive oil and garlic salt, then baking them at 400°F (200°C) until they are golden and "shatter" when you bite into them.
This soup is a platform for whatever you have in the pantry, making it a truly versatile part of your cooking repertoire.

Recipe FAQs
What are common mistakes in split pea soup?
Not stirring the bottom during simmering. Split peas have high starch content and will stick and scorch easily on the bottom of the pot if you don't stir frequently.
Is split pea soup considered healthy?
Yes, it is generally very healthy. Split peas are high in protein and fiber, making the soup incredibly filling and good for digestion, though the sodium level depends heavily on the ham bone used.
Why does my stomach hurt after eating split pea soup?
This is often due to high fiber content overwhelming the system. If you are not used to eating large amounts of legumes, introduce them slowly, and consider blending the soup smoother to reduce digestive distress.
What's the best liquid to use in split pea soup?
A combination of low-sodium chicken broth and water offers the best balance. Use broth for depth and water to control the sodium released from the ham bone.
Why are my split peas still hard after simmering for an hour?
The peas are likely old, or you added salt too early. Old peas have tougher skins; adding salt at the start can inhibit the softening process. Try adding a pinch of baking soda to help them break down.
How to ensure my split pea soup has a velvety texture instead of being grainy?
Simmer until the peas completely disintegrate, and finish by stirring in an acid. The long breakdown releases the starch needed for creaminess; the acid, like vinegar, brightens the overall flavor profile, similar to balancing acidity in a Spring Roll Peanut Sauce recipe.
Is it true that soaking split peas before cooking reduces the necessary simmering time significantly?
No, this is a common misconception for split peas. Unlike dried beans, split peas do not require soaking; in fact, soaking can sometimes lead to a mushier texture or cause them to break down unevenly during cooking.
Moms Split Pea Soup Recipe
Ingredients:
Instructions:
Nutrition Facts:
| Calories | 313 kcal |
|---|---|
| Protein | 22.5 g |
| Fat | 6.4 g |
| Carbs | 43.4 g |
| Fiber | 15.5 g |
| Sugar | 5.8 g |
| Sodium | 645 mg |
