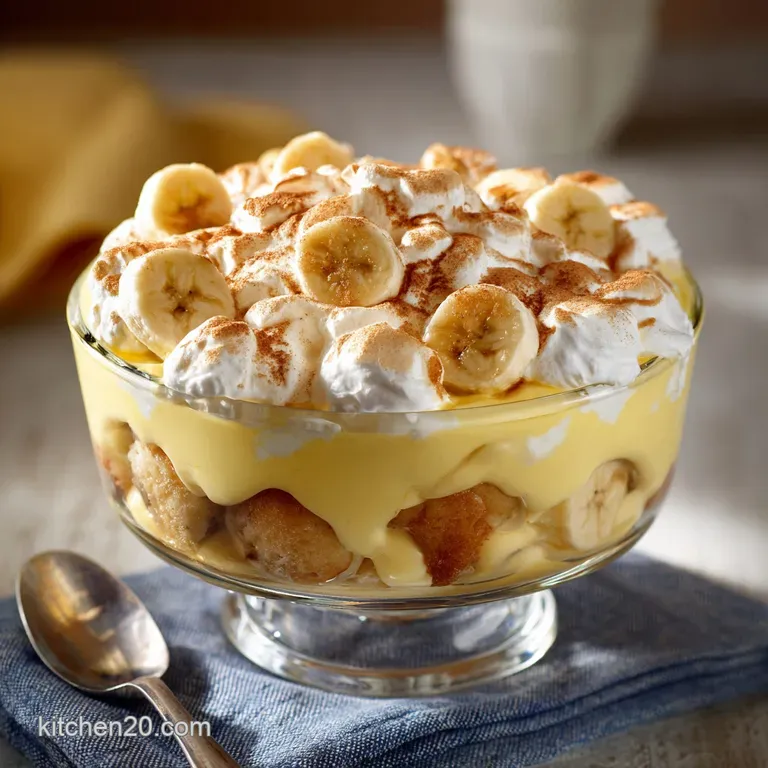
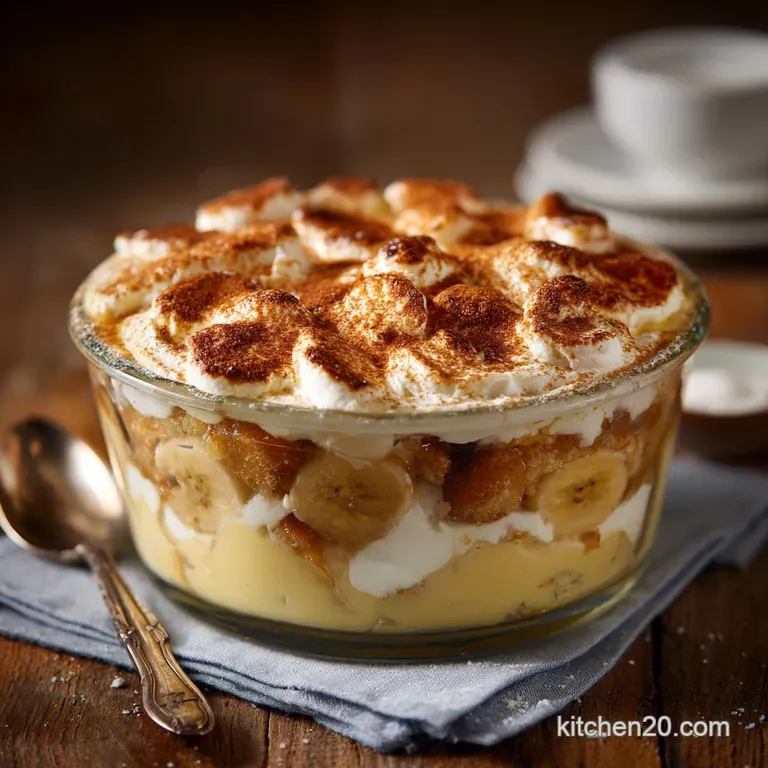
Oldfashioned Banana Pudding the Authentic Recipe with Baked Meringue
- Rediscovering the Charm of Proper Old-Fashioned Banana Pudding
- Essential Building Blocks for the Perfect Banana Pudding Base
- The Step-by-Step Guide to Assembling Your Dessert Masterpiece
- Troubleshooting Tips for Baking Old-Fashioned Banana Pudding
- Mastering the Details: Serving, Storage, and Variations
- Recipe FAQs
- 📝 Recipe Card
Rediscovering the Charm of Proper Old-Fashioned Banana Pudding
Look, I’m just going to say it: If you’re using the box mix that takes three minutes and a microwave, bless your heart, but you aren’t making banana pudding. You are making vaguely banana flavored goo.
This dessert, the one they serve at church potlucks and holiday gatherings, the one Grandma brought out after Sunday dinner, requires a little effort. It’s worth every single whisking minute, I promise you.
This isn’t fast food. This is classic, deeply nostalgic Southern comfort food, done right. We are talking about old fashioned banana pudding from scratch. It’s rich. It’s comforting. And yes, we are putting a baked meringue on top, because that’s the way the good Lord intended it to be served.
The Defining Differences: Why Homemade Custard Matters
The biggest difference between the instant stuff and the real old fashioned banana pudding recipe is texture. Period. The instant mixes use chemical thickeners that give you that bouncy, slightly artificial texture. Our homemade banana pudding base uses real egg yolks and cornstarch.
This creates a velvety, smooth, almost liquid gold custard that melts in your mouth.
You control the vanilla, too. I use a full tablespoon of real vanilla extract in my custard, and sometimes I even scrape in half a vanilla bean if I’m feeling fancy. That depth of flavor? You just can’t replicate that with a powder packet.
It’s the difference between hearing a song on an old radio and hearing it live in concert.
Nostalgia in a Dish: Tracing the Southern Roots of This Classic Dessert
My first memory of banana pudding involves me trying to sneak a spoonful before it had completely cooled. I got caught, naturally. But the warm, heady scent of vanilla and caramelized banana is just imprinted on my brain forever.
While banana puddings existed for ages, the use of store-bought vanilla wafers really solidified this dessert as a staple in the South in the mid-1900s. It’s efficient. It’s crowd pleasing. It’s a love language.
The beauty is watching those crisp little cookies give way to the creamy custard after they’ve had a nice, long soak in the fridge. That softening is the true magic.
Essential Building Blocks for the Perfect Banana Pudding Base
Right then. Let’s get to the nitty gritty ingredients. Remember, we are building a structure here. If the foundation is weak, the whole thing falls apart.
Selecting the Best Bananas: Ripe, Not Mushy
This is a rookie mistake I made constantly when I first started baking: using overripe bananas. I figured if they were good for banana bread, they were good for pudding. Wrong.
For this old fashioned banana pudding recipe, you want bananas that are ripe, bright yellow, and firm. They should have maybe a few small brown specks, but absolutely no major black patches. Why?
- Texture: They need to hold their shape under the weight of the custard. Mushy bananas turn to instant baby food.
- Flavor: Slightly firm bananas offer a fresh contrast to the deep, rich custard.
Slice them thinly (about 1/4 inch thick) and don't slice them until the custard is ready to go. You don’t want sad, brown, oxidizing slices waiting around.
Beyond the Basics: Pantry Ingredients and Necessary Equipment Checklist
When I say whole milk, I mean whole milk. Don't try to substitute skim here. This is not the place for calorie cutting; the richness of the fat is critical for the mouthfeel of the custard. Also, make sure those egg whites for the meringue are at room temperature. Cold whites never whip up properly.
It’s just physics.
| Ingredient Tip | Why It Matters |
|---|---|
| Whole Milk | Crucial for a truly luxurious, full bodied custard. |
| Room Temp Yolks/Whites | Yolk mixes better into the custard; whites achieve maximum volume for the meringue. |
| Cornstarch over Flour | Gives a cleaner, shinier, smoother custard texture. |
Equipment Check: You must have a sturdy, heavy bottomed saucepan for the custard. This prevents scorching. Also, if you hate whisking (and who doesn't after five minutes?), an electric mixer for the meringue is essential.
Demystifying Custard: Key Ratios for a Silky Smooth Texture
Custard making is really just chemistry. You are thickening milk using a combination of starch (cornstarch) and protein (egg yolks).
The key ratio here is about 4 egg yolks for every 3 cups of dairy. This ensures it sets firmly enough to hold the pudding together, but remains silky. If you skimp on the yolks, you'll end up with a watery base. If you use too many, it’ll be tough and rubbery.
And don’t forget the salt! That tiny 1/4 teaspoon is a game changer. It pulls the sweetness back from cloying territory and actually enhances the vanilla flavour. It’s brilliant.
Related Recipes Worth Trying
- CarbConscious Keto SugarFree Banana Pudding Southern Comfort Dessert — Craving Southern comfort This velvety Keto SugarFree Banana Pudding uses a banana illusion trick for perfect texture Its a healthier lowsugar dessert...
- Fudgy Brown Butter Banana Bread Bars Faster Than a Loaf — These ultramoist Banana Bread Bars are fudgy fast to bake and infused with deep brown butter flavour A quick comforting bake thats perfect for afternoon tea
- The Best Homemade Banana Pudding Recipe from Scratch — Tired of thin custard This classic banana pudding recipe features a silky homemade vanilla bean custard caramelised bananas and a crisp meringue topping...
The step-by-step Guide to Assembling Your Dessert Masterpiece
Okay, we’ve made the perfect custard (we’ll get into the technique in the next section), and it’s had a little time to cool slightly. It should still be warm, but not boiling hot.
First, grab your 9x13 dish. You want to start by spreading a super thin layer of warm custard across the bottom. Why? This is my trick for preventing the bottom layer of vanilla wafers from sliding around when you are trying to layer the rest of the dessert. It acts as glue.
Then, we layer: wafers, then bananas, then custard. Repeat that twice more. You should have three solid layers. Make sure you use enough custard on top of each banana layer to really soak those wafers below.
The entire process takes maybe ten minutes. It’s satisfying work. Now, let’s talk technique so we don't end up with sweet scrambled eggs.
Troubleshooting Tips for Baking Old-Fashioned Banana Pudding
This is the section where I save you from my own tragic past mistakes. Pay attention, especially to the tempering process.
Phase One: Achieving the Velvety Texture of Homemade Vanilla Custard
The critical moment in making this homemade banana pudding custard is the tempering. You are trying to combine hot milk with raw egg yolks without cooking them immediately.
CRITICAL WARNING: When tempering, pour the hot milk mixture into the egg yolks in a very thin stream while whisking the yolks like your life depends on it. If you add the eggs directly to the hot pot, they will scramble instantly. Whisking rapidly is non-negotiable here.
Once the custard is back on the heat, you must stir constantly until it thickens. It will happen suddenly. When it coats the back of a spoon and you see big bubbles starting to break the surface, immediately pull it off the heat. Finish with butter and vanilla. Don’t let it boil hard, or it gets gluey.
The Art of Layering: Structuring Wafers, Bananas, and Custard
A common question I get is: "How do I prevent the wafers from being mush?" Honestly, they are supposed to be soft. That’s the classic texture.
However, if you hate the idea of a wet, soggy layer on the bottom, here’s what you do: Do your layering while the custard is still slightly warm (not hot!). Warmth speeds up the softening process, which means you can start chilling the pudding sooner.
Also, be generous with the bananas, but don't overlap them like shingles. Single, neat layers are best for even soaking.
Phase Two: Whipping Up and Baking the Classic Meringue Topping
For a proper old-fashioned banana pudding, you need the meringue. The key to a high, glossy meringue is ensuring your bowl is grease free. Use metal or glass, not plastic (plastic retains fat).
My meringue success checklist:
- Wipe the bowl with half a teaspoon of vinegar first (optional, but guarantees clean walls).
- Whites must be room temperature.
- Add the sugar slowly, 1 tablespoon at a time, once soft peaks have formed.
- Whip until those peaks are stiff and the meringue looks beautiful and glossy.
Temperature Management: Preventing a Weeping Meringue
"Weeping" is when the meringue separates and releases sugary, sticky liquid underneath, often while cooling. It looks sloppy and the texture is weird.
The number one way to prevent a weepy meringue? Ensure the meringue touches the edges of the dish all the way around. Seal it in. This prevents condensation from forming along the custard's edge.
Also, use a low oven temp (350°F / 175°C) and bake just until golden. Overbaking dries it out and encourages weeping later.
When is it Done? Achieving the Perfect Golden Brown Crust
You are not cooking the pudding at this point; you are only baking the meringue. You are looking for a gentle, all-over golden brown color. This usually takes about 8 to 10 minutes. Keep a close eye on it, especially if your oven runs hot.
As soon as those lovely peaks are bronzed, pull it out immediately. It will continue to firm up as it cools.
Mastering the Details: Serving, Storage, and Variations
Optimal Cooling Time: Ensuring the Best Flavor and Consistency
I cannot stress this enough: Do not rush the chill. This best banana pudding ever needs at least four hours in the fridge. Overnight is even better.
The refrigeration process does two vital things:
- The custard sets up completely, turning from a warm sauce into a sturdy sliceable base.
- The vanilla wafers absorb the moisture, softening into that wonderful cake like texture.
Serving it warm means it will collapse into a soupy mess. Wait!
Preparation Strategies: Can This Dessert Be Made Ahead of Time?
Yes, absolutely. This is a perfect dessert for making ahead.
- Custard: You can make the vanilla custard two days in advance. Just store it covered, with the plastic wrap pressed directly against the surface.
- Assembly: Assemble the whole pudding (including the meringue) the day before serving. However, the meringue will become slightly damp and sticky after about 18 hours. If you want pristine meringue, assemble everything but the topping 24 hours ahead, then whip and bake the meringue just 4 hours before serving.
Keeping Leftovers Fresh: Proper Refrigeration and Shelf Life
Cover any leftovers loosely and store them in the fridge. This dessert is usually fine for 3 to 4 days. Be aware that the bananas will continue to ripen inside the pudding, potentially browning slightly and softening even more. The meringue will also get stickier and softer the longer it sits.
Eat it within 48 hours for the absolute best quality.
Alternative Crusts: Switching Out Vanilla Wafers
Look, vanilla wafers are classic, but sometimes you need a little crunch or a different flavor profile. Here are a few options that work really well:
- Shortbread Cookies: These absorb the custard more slowly, giving you a firmer pudding base. Great for slicing.
- Chessmen Cookies: These bring a slight buttery, shortbread flavor and look really pretty layered.
- Graham Crackers: Use these if you want a slightly spicier, more rustic feel. (I sometimes crush them and mix them with butter for a press-in crust, too.)
Nutritional Snapshot: Understanding the Calories and Macros
Let’s be honest. This is an Old-Fashioned Banana Pudding. It's rich. It uses whole milk, butter, and four egg yolks. This is a treat, not a Tuesday night snack. While the nutritional snapshot (provided in the outline) gives you a baseline, the point here is pure comfort. Don't worry about the macros.
Just enjoy the sweet, creamy, deeply satisfying goodness of something truly homemade.

Recipe FAQs
Why is the four hour chilling time so important? Can’t I just dive in right away?
Rushing the chill is a proper dessert tragedy! This long rest is essential because it allows the homemade custard to set firmly and, crucially, gives the vanilla wafers time to absorb moisture and soften into that characteristic, melt-in-your mouth texture.
I'm nervous about making the custard how do I avoid lumps or ending up with sweet scrambled egg?
The key is "The Tempering Tango": slowly whisk the hot milk mixture into the yolks, then ensure you whisk constantly once the mixture is back on the heat until it thickens; Pro tip: immediately cover the finished custard directly with cling film to prevent that dreaded skin from forming.
What’s the secret to keeping the bananas fresh and stopping them from browning in my OldFashioned Banana Pudding?
Use bananas that are ripe but still quite firm, as overripe ones will turn mushy upon layering; to minimize oxidation and browning, only slice the fruit right before assembly, or briefly dip the slices in a bit of lemon juice or lemon lime soda.
My meringue sometimes shrinks or starts "weeping" water what am I doing wrong?
Weeping usually happens when the sugar hasn't fully dissolved or the meringue is underbaked; ensure your bowl is spotlessly clean, whip until the peaks are stiff and glossy, and make sure the meringue touches the sides of the dish completely before baking to seal it.
How long can I keep this pudding, and is it suitable for making a day ahead?
This dish is superb for making a day ahead, as the textures improve overnight; once chilled, keep any leftovers covered in the refrigerator for up to 3 days, although the baked meringue topping may start to soften slightly after the first 24 hours.
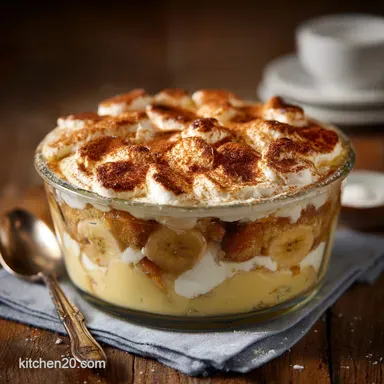
Oldfashioned Banana Pudding With Meringue
Ingredients:
Instructions:
Nutrition Facts:
| Calories | 283 kcal |
|---|---|
| Protein | 6.3 g |
| Fat | 5.9 g |
| Carbs | 29.3 g |
| Fiber | 0.0 g |
| Sugar | 3.1 g |
| Sodium | 27 mg |
