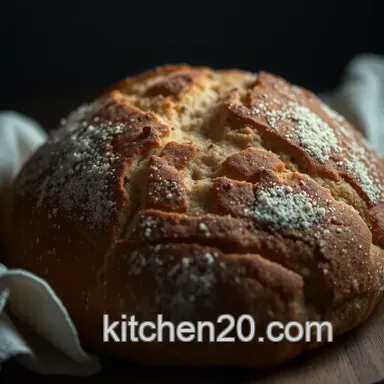
Super Simple Granary Bread Recipe
Digging Into the Heart of Homemade Granary Bread
Ever had one of those days where you just crave a warm slice of bread? i remember this one rainy afternoon, rain tapping on my window, and all i wanted was a slice of homemade granary bread slathered with butter.
You know that feeling when scents from the oven wrap around you like a cozy blanket? well, i made it happen! trust me, “ print pin super simple granary bread making homemade granary bread is so much easier than you think! ” this recipe, with just five simple ingredients , is blissfully easy.
A Slice of History
So where does this magic loaf come from? the tradition of british granary bread hails from, you guessed it, britain! it’s been around for ages, with grains adding that delightful nutty flavor and rustic texture we all love.
Bread back then was a hearty staple, perfect for filling bellies after a long day. today, this recipe is a fan favorite for families looking to bring comfort food into their kitchens.
With only 20 minutes of prep time , this is what i call an easy bread for beginners . no fancy stuff, just good ol’ bread making fun.
What You Need to Know
Let’s chat about the nitty gritty, shall we? making this bread doesn’t require any special equipment . just a bowl, a spoon, and your trusty baking tray are all you need.
It's about as low-tech as it gets, which i honestly love simple bread making might be my love language!
This recipe yields 12 slices of delicious, light and fluffy granary bread . plus, it won’t break the bank. a quick visit to the grocery store for the basic granary bread ingredients will keep your wallet comfortable.
Bread Worth Loving
Why is homemade granary bread a star in my kitchen? Let’s break it down:
- Health Benefits: Packed with fiber from whole grains, this is not just your average loaf. It’s nutritionally rich and keeps you full longer.
- Nutty Flavor: The malted grain bread flour gives this loaf its character. It’s like a party for your taste buds!
- Versatile Use: Whether it’s breakfast with jam, a lunch sandwich, or paired with a cozy bowl of soup, this bread does it all. It’s perfect for any occasion kind of like the MVP at a potluck.
- Quick Granary Bread Method: You’ll be amazed at how fast you can whip this up even if you’re not wearing your best apron.
Alright, so let’s say you want to bake this bad boy yourself. i promise you’ll be incredibly proud when the smell wafts through your house and the crust crackles as you slice into it.
It’s one of those satisfying moments where you realize, “wow, i just made something amazing!”
Ready to Get Bakin'?
Now, are you ready to make your own homemade granary bread ? Grab your ingredients and let’s roll!
In my experience, there’s nothing quite like baking bread at home so many memories and experiences come with each loaf. whether you’re baking with kids, or just enjoying some alone time, the process is as rewarding as the final product.
Next up, I’m going to give you the scoop on exactly what you need to get started on this delicious granary bread recipe . Let's dive right into the ingredients!
Essential Ingredients Guide
Cooking can be a real joy, especially when you’re armed with the right ingredients . but, let's face it sometimes grocery shopping can feel like a scavenger hunt.
So, let’s break it down and focus on what you really need to master that super simple granary bread you’ve been dreaming about.
Premium Core Components
First things first, let’s talk measurements. You’ll want to grab the following:
- 500 g (4 cups) of granary bread flour (make sure it’s labeled as malted grain bread flour).
- 7 g (about 2 teaspoons) of fast action dried yeast .
- 1 teaspoon of salt (more on the personal preference side).
- 2 tablespoons of olive oil .
- 300 ml (1.25 cups) of lukewarm water.
Now, quality indicators can really make or break your loaf. look for flour with specks of grain for that authentic nutty flavor this brings that gorgeous depth to your bread! storage guidelines say your flour will last a few months in a cool, dark place.
But honestly, i try to use ours up faster homemade bread, right?
Signature Seasoning Blend
With this easy granary bread recipe , seasoning usually takes a back seat, but it doesn't have to! you could add things like caraway seeds or sunflower seeds for some killer flavor and crunch.
It’s all about those small herb selections and pairings . for instance, fresh rosemary could jazz up that dough and take your bread to a whole new level.
Smart Substitutions
Not all of us have a pantry stocked like a cooking show, so here are some quick emergency replacements . don’t have granary flour ? no problem! you can try whole wheat or even all-purpose flour but fair warning, your loaf might come out differently.
And for those with a twist of dietary modifications, you can use gluten-free flour , though it might be a little tricky with the texture.
Just keep experimenting; baking is just a series of fun trials and errors!
Kitchen Equipment Essentials
Let’s get down to the nitty gritty of kitchen tools. You only need a few must have tools for this recipe:
- 1 large bowl (the bigger, the better for kneading).
- 1 wooden spoon (or, hand it over like your old pal in a campfire story).
- 1 baking tray for transformation into oven baked granary bread .
- 1 sharp knife for those final slashes on your dough.
If you're looking for equipment alternatives, a mannequin hand would do the kneading... just kidding! You really don’t need fancy gadgets this recipe is all about no special equipment .
Tips for Successful Bread Making
Whew, you’ve got all the basics down now! Here’s the secret sauce —yeah, not really a sauce, but more like clever insights.
- Measure with precision! Seriously, a scale can be your best friend.
- Enjoy the art of kneading ! It’s therapeutic; think of it as bread yoga.
- Always remember to check the temperature of your water . If it’s too hot, say bye-bye to yeast.
And when you’re storing your homemade nutritious bread recipe , keep it wrapped up nice in foil or an airtight container, and it should last for a few days.
But let’s be real who can resist the allure of fresh bread sitting on the counter?
With all that behind you, you’re ready to take the plunge into this easy bread for beginners adventure! in the next section, we’ll roll right into making your very own light and fluffy granary bread .
Are you excited? i know i am!
Professional Cooking Method: Mastering Bread Making
When it comes to professional cooking methods, making homemade bread is one skill that brings a special kind of joy.
Today, we're diving into the world of easy granary bread with a recipe that’s as approachable as your neighborhood diner.
Whether you’re a seasoned baker or just starting out, this step-by-step guide will have you whipping up a comforting loaf in no time!
Essential Preparation Steps
First off, let’s talk about mise en place . it sounds fancy, but it just means getting everything ready before you start cooking.
For our bread, gather your 5 simple ingredients : granary bread flour, fast action yeast, salt, olive oil, and lukewarm water.
Seriously, you don’t need any special equipment to make this bread just a bowl and a spoon!
Time management is also key. you’ll want to dedicate about 20 minutes for the initial prep. but then give the dough 2 hours to rise! use this time to clean up your kitchen and get a cozy space set up.
Trust me, an organized kitchen not only keeps your sanity intact but also helps your bread rise with confidence.
Oh, and don’t forget safety considerations ! Always keep that workspace tidy and watch out for sharp knives while you’re slashing your loaf. No one wants a bread making session gone wrong!
Step-by-step Process
Now, onto the step-by-step process ! Here’s how to create a light and fluffy granary bread in clear, numbered instructions:
- Combine Dry Ingredients : In a large bowl, mix 500g of granary bread flour , 7g of fast action dried yeast , and 1 teaspoon of salt . Get in there! Stir it up well.
- Add Wet Ingredients : Next, pour in 2 tablespoons of olive oil and 300 ml of lukewarm water . Keep stirring until you have a slightly sticky dough.
- Knead the Dough : Flour your surface and knead that dough for 10 minutes . Remember, stretch and fold! It’s all about activating those gluten strands.
- First Prove : Shape the dough into a ball, pop it back into the bowl, and cover it with oiled clingfilm. Let it prove for 60 minutes .
- Shape the Loaf : After an hour, knock out the air. Shape it into an oval, place it on an oiled baking tray, and cover it to prove for another 60 minutes .
- Preheat the Oven : After 45 minutes of proving, crank that oven to 210° C ( 190° C fan) .
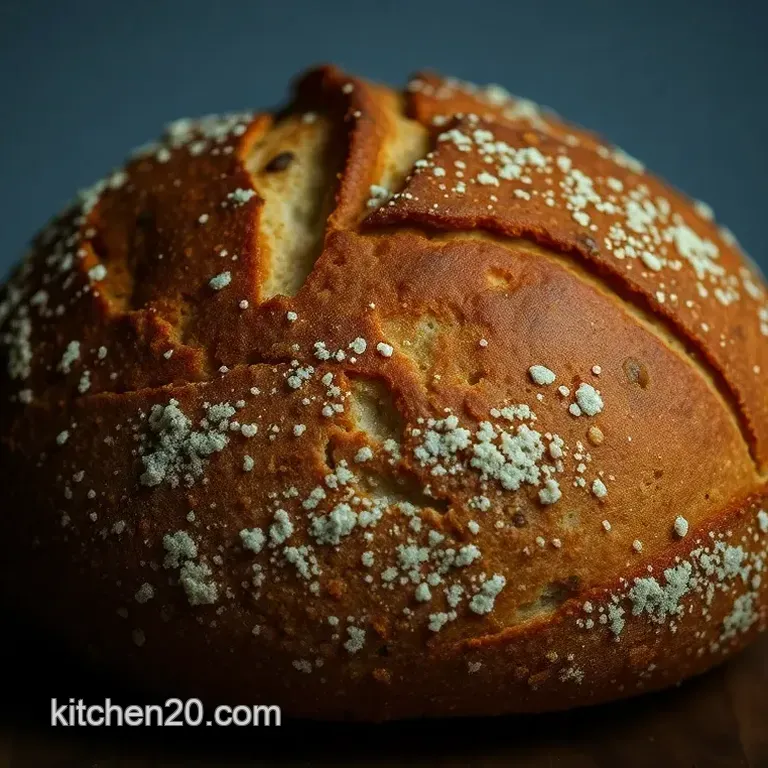
- Final Prep : Slash the top a few times with a sharp knife and sprinkle with flour.
- Bake : Cook that bad boy in the oven for 30 minutes .
- Check for Doneness : After baking, turn it over (with oven gloves, please) and tap the bottom. It should sound hollow!
- Cool : Let it rest on a wire rack to cool down if you can resist!
Expert Techniques
If you want to be a bread making pro , here are some expert techniques to keep in mind. if your dough feels too sticky, sprinkle a little extra flour while kneading.
You can always add flour until you reach that perfect, smooth dough texture.
Another tip check that your water is lukewarm ; it should feel warm to the touch but not boiling. you want to wake up those yeast cells, not put them to sleep! also, keep an eye on your dough during proving.
If it doubles in size, you’ve nailed it!
Success Strategies
Let’s chat about some success strategies . common mistakes include adding too much flour while kneading. you want a slightly tacky dough, as this will yield a more nutty flavored granary bread .
If your bread doesn’t rise, check your yeast maybe it was old!
Also, you might want to try make-ahead options. The dough can be frozen after the first proving. Just let it defrost and prove again the next day easy peasy!
With these tips, your nutritious bread recipe will impress family and friends alike. Who wouldn't want to sink their teeth into a slice of oven baked granary bread ?
Speaking of baking, if you're feeling adventurous, stick around for more additional information in our next segment! we’ll dive deeper into exploring fun variations of this recipe and storage tips for your homemade bread.
Happy baking, y’all!
Pro Tips & Secrets
Oh my gosh, let's make this homemade granary bread experience even better! with just 5 simple ingredients , you can create a loaf that’s not only tasty but also makes your house smell like a bakery! here are some chef approved tips.
First off, always check your yeast. using fast action yeast ? great! just remember, it has to be fresh . nobody wants flat bread, right? and if you’re short on time, use lukewarm water.
It speeds up that kneading and proving process, making your dough rise faster.
Next up, don’t skimp on the kneading techniques . knead until it’s smooth and elastic think of it as giving your dough a little workout! and remember to let it rise in a warm spot.
I usually pop it in the microwave (with no heat on, of course) or by a sunny window. it makes a world of difference, trust me!
Perfect Presentation
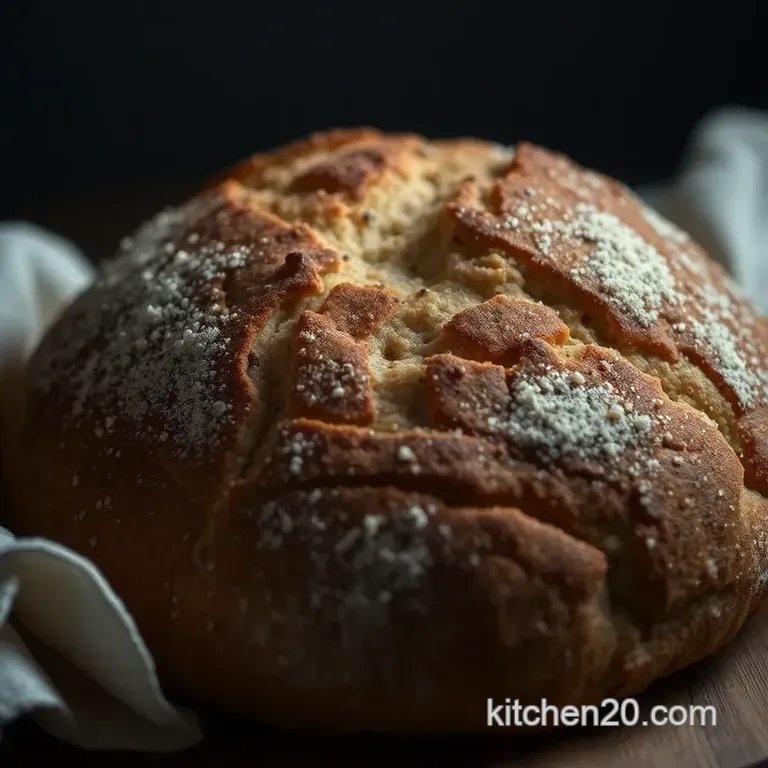
Now, you’ve got this heavenly loaf of nutty flavored granary bread , and you want it to look as good as it tastes. Presentation is key!
For slicing, use a sharp knife, and cut the loaf when it’s completely cool. you want those clean edges, not smashed bread.
Plus, sprinkle some extra flour on top before baking. it gives that rustic vibe you know, like the artisan style bread you see at fancy bakeries.
As for garnishing? a simple sprig of rosemary or a few sunflower seeds on top after slashing adds a lovely touch.
Pair it with colorful spreads or toppings to really entice the eyes. you eat with your eyes first, right?
Storage & make-ahead
Now for the nitty gritty how to keep that bread fresh. after it cools completely, wrap it in foil or store it in an airtight container .
It’ll stay fresh for about 3 to 4 days , but honestly, it likely won’t last that long!
Looking to meal prep? you can freeze it too. slice the loaf before freezing for easy access later. just pop the slices in a toaster straight from the freezer yup, no thawing required! that’s the quick granary bread method for you.
Creative Variations
Feeling adventurous? Here’s where you can get crafty!
Want to bring seasonal flavors into play? try adding pumpkin seeds in the fall or some sun-dried tomatoes for a mediterranean spin.
And if you’re catering to dietary needs, swap half the granary flour for a gluten-free mix. you might get a slightly different texture, but hey, that’s the beauty of homemade bread baking!
And don’t forget flavor adaptations sneak in some herbs like thyme or basil. Each bite could be a surprise, and who doesn’t love that?
Complete Nutrition Guide
Let’s break it down. This easy granary bread recipe has about 164 calories per slice great if you're looking for a nutritious addition to your meal.
Thanks to the malted grain, each loaf comes packed with fiber and is low in sugar . need to watch sodium? adjust the salt in your recipe easy peasy! with hearty carbohydrates and fiber, this bread is a fantastic meal supporter.
When considering portion sizes, keep it to one or two slices for an energy boost without overloading those carbs.
Expert FAQ Solutions
I know you’ve got questions! “What if my dough doesn’t rise?” First, check your yeast and water temp. If it’s too cool, it’ll slow that rising action.
“What’s the best way to check if my bread is done?” Simple! Tap the bottom. It should sound hollow like a drum. If not, pop it back in for a few more minutes.
And if you want to get really fancy, try making garlic bread out of the leftovers! Just slather some butter mixed with garlic on a slice, pop it in the oven, and boom!
Wrapping It All Up
Making homemade granary bread is genuinely one of those comfort food recipes that feels like a hug. seriously, once you dive into simple bread making , you’ll wonder why you never tried it earlier.
It’s easy, fun, and a skill that just keeps giving.
So gather your granary bread ingredients , roll up your sleeves, and start kneading. Easy or not, you’re gonna impress yourself and everyone around you. Happy baking!
Super Simple Granary Bread Recipe