Super Simple White Bread

The Joy of Homemade Bread: A Simple Journey
You know that moment when the smell of fresh bread wafts through your house? it's like a warm hug on a chilly day! i remember the first time i baked bread.
I was a nervous wreck, pacing around the kitchen, checking the oven every five minutes. but let me tell you, making bread is easier than you might think ! one of my go-to recipes is the super simple white bread .
With just five ingredients , you'll be rocking your own loaf in no time . seriously, it takes about 20 minutes of hands-on time , and the results? so worth it !
A Bread with History
So, where did this whole bread thing come from? bread has been around for thousands of years; you could say it’s a classic! the british white bread recipe, especially, has roots that run deep in our culture.
Today, you can find it everywhere from family dinners to fancy brunches. it’s a staple that brings people together, and nowadays, there's nothing quite like the nostalgia of baking bread at home .
Now, if you’re worried it’s going to take all day, don’t be! with 30 minutes in the oven and some loving attention, your kitchen will transform into a bakery.
It’s rated as an easy bread recipe , making it perfect for folks just starting out on their baking journey.
And it won't break the bank either a loaf like this is as cost effective as it gets, yielding about 12 slices ! who doesn’t love a win-win?
Health Benefits and More
Let’s chat health benefits for a moment. when you whip up this easy white bread , you control what goes in, which means seeking healthier bread alternatives is totally possible.
This recipe keeps it simple and doesn’t overload on preservatives like store-bought bread. plus, you can feel good knowing all you've got are some wholesome ingredients: strong white bread flour , fast action dried yeast , olive oil , water, and a pinch of salt.
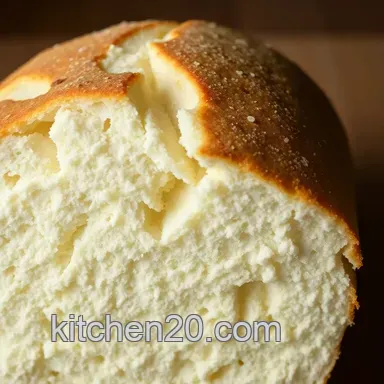
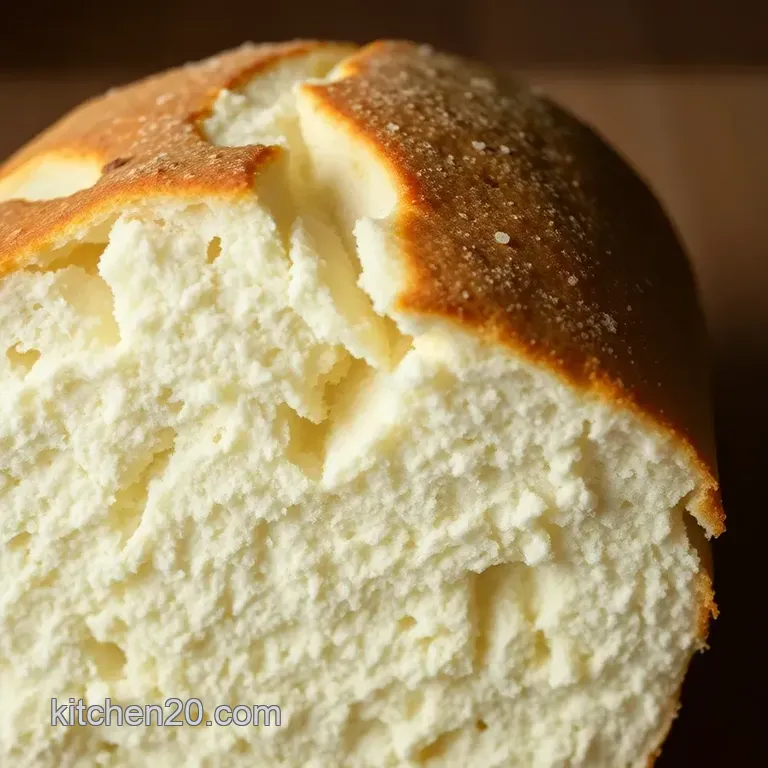
There’s also something uniquely satisfying about biting into a slice of warm, soft white bread . think fresh sandwiches, buttery toast, or simply enjoying it as it is! it's the kind of bread that works for every occasion, from a cozy family breakfast to a really ensoiastic movie night with friends.
Why not serve it alongside a hearty stew or some chili? your loved ones will think you're a domestic god or goddess!
And here’s a fun twist: while many bread recipes can get complicated with their fancy techniques and countless ingredients, this one keeps it light.
No-knead bread recipes are popular, but sometimes you might miss the satisfaction of a little bread dough kneading . honestly, it’s therapeutic!
The Magic of Proving
Okay, let’s get into a little bread dough magic. you know that moment when you cover your dough and just let it chill? this proving bread dough step is where the real magic happens.
It’s super rewarding to see that dough rise and grow into something fluffy and delightful. usually, you give it about 1 hour and 30 minutes in total between two rises.
Just enjoy the anticipation like waiting for a gift you know will be amazing!
When your loaf is all brown and ready to slice, the golden crust is just waiting for a slather of butter or a dollop of jam.
And here’s a tip: if you bake more than you can eat, don’t sweat it! this bread freezes beautifully. just pop it in the freezer, and you’ll always have fresh homemade bread on hand.
Ready to Bake?
Alright, are you ready to dive into the ingredients section? trust me, you’ll be surprised at how easy it is to get started on your bread baking adventure.
You'll find that each step is super simple, fulfilling, and makes for one delicious outcome. so, let's gather our kitchen essentials and get this bread party started!
Essential Ingredients Guide
Baking is all about having the right ingredients and knowing a few tricks of the trade . whether you're diving into homemade bread recipes or experimenting with new flavors, having a solid foundation can make all the difference.
Trust me, it’s like having that one friend who just gets you you need them in your corner !
Premium Core Components
Let's start with those premium core ingredients . You want to pay extra attention to quality. It can really elevate your bread game. Here’s a quick guide:
Strong white bread flour: for every bread lover, this is a non-negotiable. you need about 500 g (4 cups) for that lovely yeasty goodness.
When choosing, look for a high protein content this helps create that perfect chewy bread texture .
Fast Action Dried Yeast: Just 7 g (about 2 ¼ teaspoons) will do. Search for the bright, fresh kind! If it’s dull, toss it the yeast should be your bestie in rising days.
Salt: A single teaspoon enhances flavor. Always go for kosher or sea salt for the best taste.
Olive Oil: Just two tablespoons will not only add richness but help keep your bread soft. You might want to choose an oil that screams “quality,” because let’s be real, good oil makes everything better !
Lukewarm Water: Use about 350 ml (1 ½ cups) . Not too hot, not too cold aim for that cozy bath water temperature to get that yeast active and happy!
Quality Indicators
Quality matters. look for freshness in your flour and yeast check the date! proper storage also goes a long way, and here’s a quick tip: keep your flour in a cool, dry place and in an airtight container to maintain its freshness longer.
Signature Seasoning Blend
Okay, now let’s spice things up. Sure, easy white bread sings lovely on its own, but sometimes we want to add a little flair. Here’s how to make it sing!
Essential Spice Combinations: Consider incorporating some garlic powder, onion powder, or even a touch of paprika if you're feeling adventurous. These can totally change the game.
Herb Selections and Pairings: Think rosemary or thyme especially if you’re leaning towards a more artisan loaf. They can really elevate the flavor profile of your bread.
Flavor Enhancers: A sprinkle of sugar can help with browning, while a dash of vinegar can strengthen your dough!
Smart Substitutions
We all know life is unpredictable, and sometimes you’re missing an ingredient. Here’s where smart substitutions come in clutch!
Common Alternatives: Don’t have strong white bread flour? All-purpose flour can work, though it might yield a less chewy bread.
Dietary Modifications: gluten-free flour can work too, but remember, the texture might be different. You may also need a binding agent like xanthan gum.
Emergency Replacements: No olive oil? Melted unsalted butter can step up to the plate, and it’ll give you a lush flavor, trust me!
Kitchen Equipment Essentials
You don’t need a million gadgets to bake gorgeous soft white bread . Here are your must haves:
Large Mixing Bowl: Trust me, you need something spacious for mixing.
Wooden Spoon: Just a good ol’ spoon for combining all those lovely ingredients.
Baking Tray: Use a non-stick one or line it with parchment paper for easy release.
And remember, your hands are still the best tools you’ve got for kneading that dough .
Final Thoughts Before We Bake
So there you go! you’ve got your essential ingredients laid out, some fantastic tips for bread baking , and smart substitutions to stash in the back of your mind.
Remember, the world of bread is vast, and you don’t need fancy equipment or a culinary degree to get started.
If you’re ready to roll up your sleeves and dive into baking, get your ingredients ready because soon we’ll jump into the super simple white bread recipe.
Trust me, this could become a game changer in your kitchen. so let's keep this momentum going and whip up that delicious, fresh homemade bread !
Mastering the Art of Professional Cooking
When you dive into the world of cooking, you'll soon discover that professional cooking methods can elevate your dishes from home cooked to gourmet.
Get ready to unlock tips and tricks that'll have you working like a pro in the kitchen. let's break it down, step by step!
Essential Preparation Steps
First off, let’s chat about your mise en place . it’s a fancy french term but simply means “everything in its place.
” you want to have all your ingredients measured and prepped before even thinking about cooking. trust me, your future self will thank you when you’re not scrambling around looking for that one spice.
Time management is next on the list. if you’re like me, you’ve started cooking only to realize you forgot to chop the garlic or preheat the oven! so, a little prep goes a long way.
Set a timer to keep track of cooking times and make sure you’ve got everything else rolling smoothly.
Organization is key, too! use bowls for chopped veggies, spices, and all your ingredients. keep things tidy. safety considerations are a must always use cutting boards and dull knives can lead to accidents.
So keep your knives sharp, and your fingers safe!
Step-by-step Process
Now, let’s get into the nitty gritty! Follow these clear, numbered steps:
- Gather Your Ingredients : Make sure you have everything on hand before you begin.
- Preheat Your Oven : Depending on your dish, you may need to set that oven between 350° F and 450° F .
- Follow the Recipe Precisely : Pay attention to measurement and follow the instructions like you mean it.
- Control the Temperature : Use an instant read thermometer to check that meats and breads hit those exact temperatures like 165° F for chicken, or 190° F for that perfect loaf.
- Visual Cues for Doneness : Your eyes are your best tool. A loaf of bread should have a golden crust and sound hollow when tapped.
Expert Techniques
Alright, let’s get pro! one critical step in a lot of baking recipes, like our super simple white bread , is kneading.
Bread dough kneading builds that glorious gluten structure. knead for about 10 minutes , and don't be afraid to get a little workout in while you're at it!
For quality checkpoints, always check texture and appearance. if your dough’s sticky, it needs more flour; if it's crumbly, a little water can help.
If you’re struggling, remember that patience wins think about that chewy bread texture we’re after!
Success Strategies
We all make mistakes, and that’s part of the fun! Here are common pit stops in the journey that you can avoid:
- Measuring Errors : Always measure flour properly. Too much flour can lead to dense bread!
- Neglecting Proving : Let that dough rise! A good proving time can be the difference between a dense brick or a light-as-a-feather loaf. Aim for about 1 hour at room temperature.
- Ignoring Temperature Changes : Sudden shifts can collapse your dough.
Ensure quality assurance by tasting your dishes as you go. If something feels off, adjust seasoning before serving.
Wrapping It Up
In the end, professional methods can transform your home cooking into something spectacular. if you take your time to prep, stay organized, and follow these pro techniques, you'll create fresh homemade bread and delicious dishes that’ll impress your friends and family.
So there it is, friends! On to more delicious adventures in our next section Additional Information. This could be about variations of bread recipes, or diving deeper into key baking tips to make your kitchen endeavors a total win!
Keep cooking, and don’t forget, Print Pin 5 from 1 vote Super Simple White Bread is easier to make than you might think !
Additional Recipe Information
Baking fresh homemade bread can feel like a daunting task, but i promise you, it’s simpler than it looks! with just five simple ingredients , you can whip up a loaf of super simple white bread that’s soft, fluffy, and perfect for any occasion.
So let’s dive into some tips and tricks to make your bread making journey even better!
Pro Tips & Secrets
First off, my number one tip? don’t rush the proving process . giving your dough time to rise will make a world of difference in texture.
I usually find a cozy spot in my kitchen, maybe near a sunny window, and let it do its thing for about an hour.
Speaking of time saving, if you want to shorten your total time, consider prepping the dough the night before. just pop it in the fridge after kneading and let it slowly prove overnight.
Enhancing flavors is fun, too! Feeling adventurous? Try adding a splash of honey or a sprinkle of garlic powder for some added depth. Trust me, your taste buds will thank you!
Perfect Presentation
Now onto the pretty part presentation matters! you want your bread to look as good as it tastes, right? when it’s time to slice, use a serrated knife to avoid squishing that beautiful fluffy texture.
For garnish, i love taking fresh herbs think rosemary or thyme and placing them on the plate. that green against the golden crust? gorgeous!
Color combos really pop, too. A platter of this golden crusty white bread alongside vibrant, colorful spreads or fresh veggies can turn any gathering into a feast.
Storage & make-ahead
If you’re anything like me, you want to savor every last bite of that fresh bread. storage is key. make sure to wrap your loaf tightly in plastic wrap or store it in an airtight container.
It can easily last for 2-3 days at room temp. for longer storage, freezing bread is your best friend! slice the bread first, then wrap each slice with plastic wrap before tossing them in a freezer bag.
This way, you can have a slice whenever you crave that fresh homemade bread taste!
When it’s time to eat, simply reheat your slice in the toaster or oven. Just be careful not to toast it for too long, or you might lose that soft, chewy texture!
Creative Variations
Feeling experimental? How about some creative variations ? You can easily customize this bread. Want something seasonal? Try adding pumpkin puree in the fall it gives a lovely color and flavor!
For those watching their carbs, there are healthy bread alternatives like swapping out some of the white flour for whole wheat or even almond flour. Go nuts! Literally!
With all these options, even the pickiest eaters can find a version they love. Just remember, the key is to have fun while baking!
Complete Nutrition Guide
Let’s talk about the nutrition in homemade bread . this easy white bread recipe has about 173 calories per slice and provides some protein and fiber , making it a filling addition to any meal.
If you swap out the strong white flour for whole wheat, you’ll boost the fiber and make it even healthier.
Portion control is crucial too aim for one or two slices, especially if you’re adding toppings like butter or spreads.
Expert FAQ Solutions
Now, i can hear some of you already “what if my bread won’t rise?” or “why is my crust too hard?” don't fret! kneading the dough properly and making sure your yeast is fresh is vital.
Also, if you notice your dough isn’t rising in the proving stage, look for a warmer spot in your kitchen yeast loves a cozy environment.
Before you dive into baking, have a game plan! Gather all your baking necessities. It’s like preparing for a mini adventure in your kitchen!
Conclusion
I hope you're excited to try this super simple white bread recipe! remember, bake with love, and don’t stress about it too much.
Every loaf is a chance to learn and perfect your technique! whether you’re munching on slices with butter or concocting a sandwich masterpiece, this bread is sure to impress.
So go out there, grab those kitchen baking essentials , and get started! happy baking!
Super Simple White Bread