The Worlds Cutest Diy Garden Markers Personalize Your Patch
Recipe Introduction
Quick Hook
Fancy jazzing up your garden? Ever wondered about The World's Cutest Garden Markers ? These little beauties add so much charm, honestly . They are unique and personalize your space.
Brief Overview
Handmade garden signs are totally timeless. They have been decorating gardens for centuries. This project is super easy and takes around 30 minutes to 2 hours.
You'll have unique plant labels in no time. It is ideal for a small garden, or a large veg patch.
Main Benefits
These DIY garden markers add a fun, personal touch to your garden. They’re also sustainable! Use up old river stones.
It's the perfect activity for a sunny afternoon with the kids. Plus, cute garden decor always makes gardening more enjoyable.
Let's dive in to making some Personalized plant markers , shall we? It's easier than you think. Don't stress about needing artistic talent.
I certainly don't have any. If I can do it, you definitely can.
These Garden craft ideas bring such joy to me. Remember that time my rosemary sprouted into a little bush? I proudly marked it with a stone I painted like a little hedgehog.
Total win. The goal is to get creative, and have Inspiration.
What you'll need to create River Rock Garden markers. Smooth river stones are great. You can also use wooden craft sticks, air-dry clay, even broken terracotta pots.
I am personally excited about doing one using Seashells. And of course, some paints and markers. Easy peasy.
Ingredients & Equipment
Okay, so let's talk about what you'll need to whip up The Worlds Cutest Garden Markers . Honestly, this is less about "cooking" and more about crafting! We're channelling our inner Kirsty Allsopp here.
Get ready for some DIY garden markers magic. You are sure to have inspiration to create Handmade garden signs . Let's dive in!
Main Ingredients
Remember, these amounts totally depend on how many markers you wanna make. No pressure!
-
Base Materials:
Choose your weapon!
- River Rock Garden stones: As many as you can find. Smooth and flat is best.
- Wooden craft sticks: Again, as many as you need. Jumbo or regular, your call!
- Air-dry clay: About 1 lb / 450g . This stuff is super easy to work with.
- Terra cotta pots: Small ones, around 2-3 inches/5-7 cm diameter. Broken terracotta works well
- Seashells
-
Painting & Decorating:
- Acrylic paints: Loads of colours! Definitely go for outdoor quality.
- Paint brushes: Different sizes are handy. A fine tip is a must for detail.
- Permanent markers: Waterproof ones. Fine tip is key.
- Mod Podge or clear sealant: Outdoor grade! This is super important.
- Optional: Glitter, beads, buttons. Go wild.
Seasoning Notes
Forget herbs and spices! We're talking about adding personality! Think fun colour combos. Maybe some floral patterns.
- Essential spice combinations: Not really applicable, but go for bold colours!
- Flavor enhancers and aromatics: Again, not food, but consider textures. Think smooth stones vs. rough clay. This is your change to make Personalized plant markers !
- Quick substitution options: Don't have acrylics? Permanent markers work in a pinch. Just seal them well.
Equipment Needed
Keep it simple! You likely have most of this stuff already!
- Paint brushes
- Small containers for paint
- Water container: For rinsing brushes, of course!
- Newspaper/Craft mat: Trust me, you'll want this!
- Oven: Only if using oven bake clay.
- Baking sheet: Again, just for oven bake clay.
- Optional: Small bowl for water marbling (if using that technique).
And that's it! Time to unleash your inner artist and create some seriously cute markers for Outdoor plant identification . Your flowers are going to love these Plant labels ! This will create some extra Cute garden decor in your garden.
Why not look into these Garden craft ideas to create more unique looks.
The World's Cutest DIY Garden Markers: Personalize Your Patch!
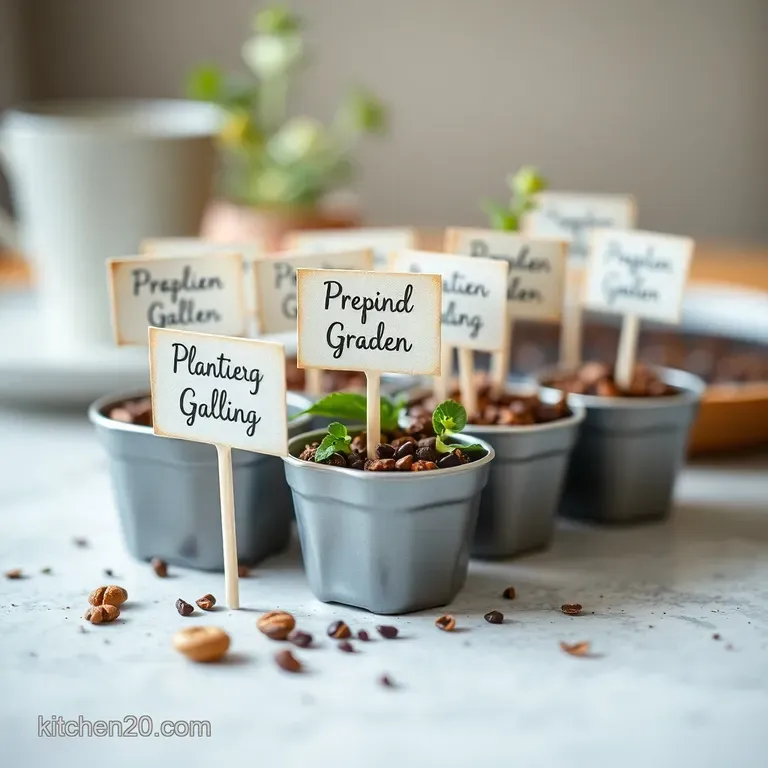
Honestly, you guys, are you tired of those boring plastic plant labels? I know I am. They always break. Let's make The Worlds Cutest Garden Markers ! Imagine how adorable handmade garden signs will look in your garden.
Plus, it's a fun way to get creative! We're talking serious cute garden decor potential here.
Prep Steps: Get Your Craft On!
Okay, first things first. Let's get organized. This is the essential mise en place. Gather your river rock garden stones (or whatever base you are using).
Grab your paints, brushes, and sealant. You will need water too. For a time saving organization tips , lay out everything on a protected surface.
Newspaper works fine! Remember, safety first!. Don't eat the paint. I am joking, Have Inspiration and be creative!
step-by-step Process: From Plain to Plantastic!
Ready to get started? Here are the basic steps:
- Prepare your base material. Wash stones or prepare clay.
- Paint a base coat on craft sticks or stones if you want.
- Add your design with acrylic paints or permanent markers. I love a good Sharpie!
- Write the plant's name clearly. Make it look pretty!
- Let the paint dry COMPLETELY. This is crucial, guys.
- Seal the marker with Mod Podge or clear sealant.
- Let the sealant dry.
- Place your amazing Personalized Plant Markers in your garden.
Pro Tips: Level Up Your Marker Game
Want to make your DIY garden markers extra special? Here are a few tricks. First, use outdoor acrylic paint. It will last longer.
Seal, seal, seal! More coats of sealant equal more protection. Don't just slap it on and call it a day.
You can also get the kids involved. This can be part of their garden craft ideas that can help them for Outdoor plant identification .
Just supervise the paint. Common mistake? Not letting the paint dry completely! This leads to smudging. Trust me, I've been there.
Recipe Notes for The Worlds Cutest Garden Markers!
Hey, garden gang! Honestly, making these garden markers is proper therapeutic. I was just saying to me mate Carol the other day, "These DIY garden markers are easier than making a cuppa, love!" Here are some extra bits to help you along, all nicked from my own trials and errors!
How Should I Display these Cute garden decor ?
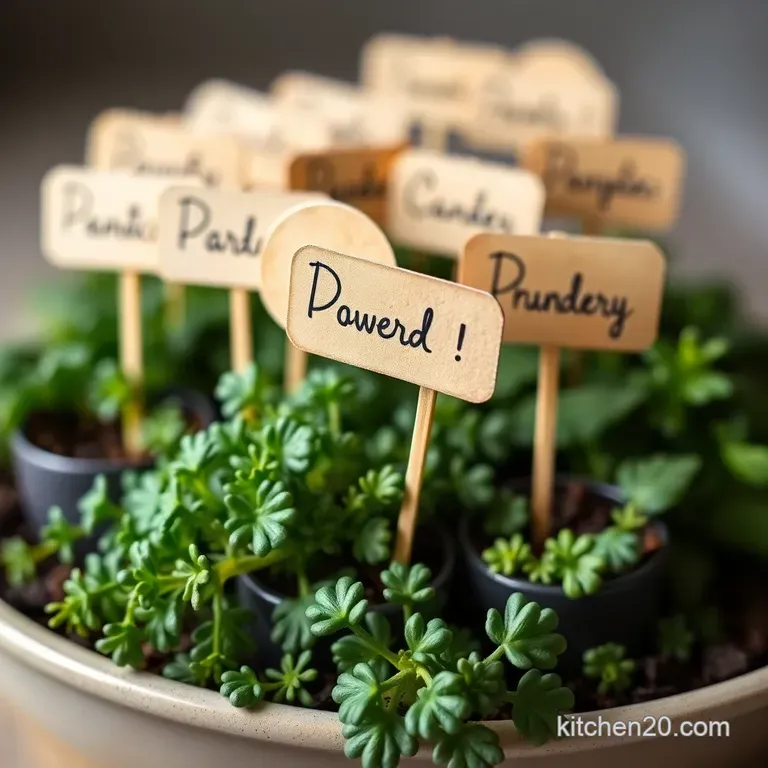
Right, presentation is key, innit? I like to nestle my handmade garden signs amongst the plants. Kinda like little garden gnomes guarding me herbs! Think about using different heights for visual interest.
Place taller markers at the back, shorter ones at the front. Sorted! You could even present a few as a River Rock Garden Feature!
A chilled glass of elderflower cordial always goes down a treat while I'm admiring my handiwork. You know?
Storing Your Personalized plant markers
Okay, so these aren't exactly edible, but proper storage ensures they last! Acrylic paints are generally robust, but sealing is a must.
Don't skip this step or the sun will have it's way with your colours. I give mine a good scrub once a year.
Simple!
Plant labels Variations: Get Creative!
Fancy a change? Go wild with seasonal swaps! Think autumn leaves embedded into clay markers. Ooooh, imagine! For a dietary adaptation , you could use plant based inks and glues to keep it all vegan friendly.
These can also be used for Outdoor plant identification .
Garden Craft Ideas & Nutritional Info
Well, these Garden craft ideas won't give you energy, but they'll definitely give your garden a boost! I hope you Have Inspiration to make your garden special.
They're zero calories of pure joy, plus, think of the steps you'll get going up and down the garden to admire them.
Haha!
So there you have it! Grab those paints and get cracking. Honestly, these The Worlds Cutest Garden Markers make such a difference and they have the personal touch.
You will feel proud of them when you see them! Now get out there and make something utterly adorable! I just know you can do it.

Frequently Asked Questions
What materials work best for making The Worlds Cutest Garden Markers?
That's a brilliant question! For the base, you can use river stones, wooden craft sticks (like the ones you get for ice lollies!), air-dry clay, or even broken bits of terracotta pots or sea shells. The key is to choose something weather resistant and easy to paint.
Just remember to seal them properly to protect your masterpiece from the elements nobody wants a soggy marker!
How do I make sure my DIY garden markers last outside in all weather?
Durability is key, isn't it? Firstly, use outdoor grade acrylic paints, as they're more resistant to fading and water damage. Then, the secret weapon: a good sealant like Mod Podge or a clear varnish. Apply several coats, paying special attention to edges and corners, to create a protective barrier.
Think of it as giving your markers a little raincoat!
Can I get my kids involved in making these The Worlds Cutest Garden Markers?
Absolutely! This is a fantastic activity to get the little ones involved. Just supervise them with the paints and sealants. Give them each different types of bases, like a stone and some wood so they can decide which one they prefer to make.
Why not let them paint fun designs or even write the names of the plants themselves (with a little help, perhaps!)? It’s a great way to encourage their creativity and get them interested in gardening.
I'm not much of an artist, can I still make The Worlds Cutest Garden Markers that look good?
Of course, you can! You don't need to be the next Van Gogh to create charming garden markers. Try using stencils, simple shapes, or even just dots and stripes. Permanent markers are your friends for writing plant names neatly. Remember, it's all about adding a personal touch. Even a wonky drawing has character!
And of course, follow our tips above!
Are there any alternatives to Mod Podge for sealing the garden markers?
If you don't have Mod Podge to hand, don't worry! A clear polyurethane varnish works just as well for sealing and protecting your garden markers from the elements. Look for one that's specifically designed for outdoor use.
You can also use a waterproof sealant spray, just be sure to apply it evenly in a well ventilated area.
How can I make glow in the dark The Worlds Cutest Garden Markers?
That’s a brilliant idea for adding a magical touch to your garden! Simply incorporate some glow-in-the-dark paint into your design. You can either paint the entire marker with it, or use it to highlight specific details, like the plant name or a small illustration.
Just remember that they will need to be charged by light during the day to glow at night.
The Worlds Cutest Diy Garden Markers Personalize

