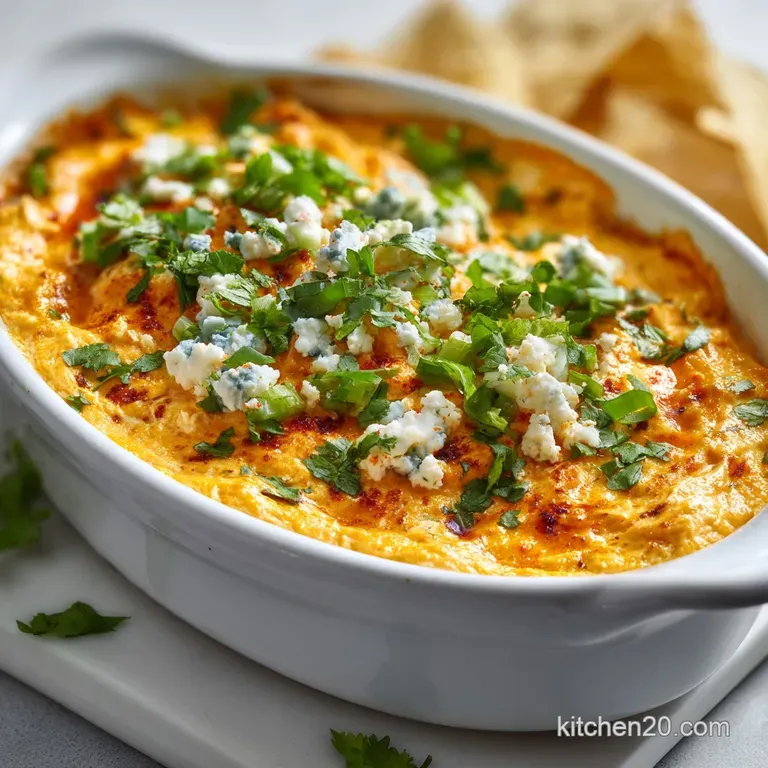
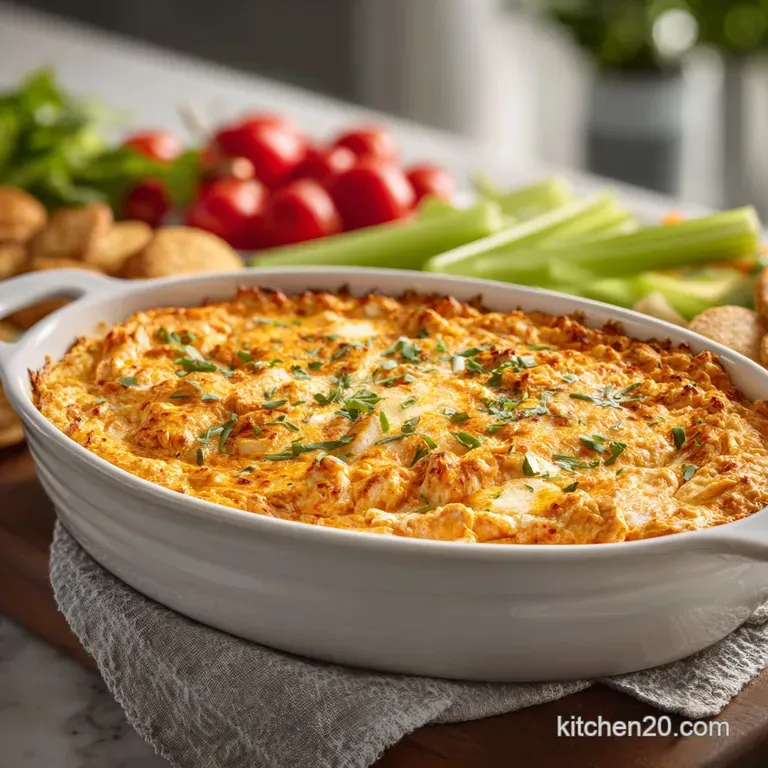
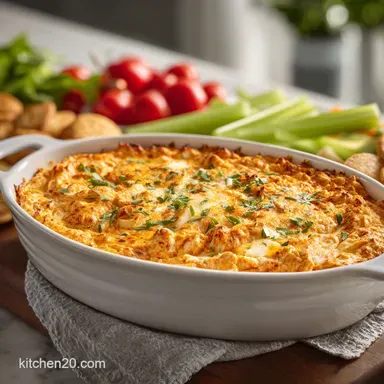
Buffalo Chicken Dip the Ultimate Game Day Appetizer
- Time: Active 10 minutes, Passive 20 minutes, Total 30 minutes
- Flavor/Texture Hook: Velvety, tangy base with a golden, bubbly cheese crust
- Perfect for: High stakes game days, casual backyard hangouts, or any crowd-pleasing social platform
- The Physics of the Dairy Emulsion Stability
- Component Analysis for Peak Performance
- Sourcing the Right Elements for Success
- Systematic Execution of the Flavor Build
- Precision Checkpoints and Troubleshooting
- Adjusting for Different Crowd Sizes
- Debunking Buffalo Chicken Dip Myths
- Preservation and Waste Reduction Strategies
- Presenting Your Creation with Style
- Recipe FAQs
- 📝 Recipe Card
The Physics of the Dairy Emulsion Stability
- Protein Networking: Hand shredding the chicken creates more surface area for the cream cheese and ranch to cling to, preventing the sauce from pooling at the bottom.
- Fat in-Water Balance: The lactic acid in the cream cheese acts as a natural stabilizer, keeping the fat from the cheddar and the oil from the ranch connected in a silky matrix.
- Maillard Reaction: Searing the chicken with 1 tbsp of neutral oil before mixing adds a layer of complex savory flavor that offsets the sharp acidity of the vinegar based hot sauce.
- Controlled Melt: Freshly grating your Monterey Jack and Cheddar ensures no anti caking starches interfere with the "pull" factor of the final bake.
| Servings | Chicken Adjustment | Pan Size | Cook Time |
|---|---|---|---|
| 5 people | 1 cup chicken (250g) | 8 inch skillet | 15 minutes |
| 10 people | 2 cups chicken (500g) | 9x9 inch baker | 20 minutes |
| 20 people | 4 cups chicken (1kg) | 9x13 inch baker | 30 minutes |
While this dish is a beast on its own, it’s part of a wider ecosystem of snacks. If you're looking for something with a bit more of a handheld vibe, you might want to try our Chicken Sauce Wraps recipe which uses a similar flavor profile but in a portable format.
Component Analysis for Peak Performance
| Ingredient | Science Role | Pro Secret |
|---|---|---|
| Cream Cheese | Primary Emulsifier | Use full fat blocks only; low-fat versions have too much water and will "weep" during the 20 minutes bake. |
| Monterey Jack | Moisture & Stretch | This cheese has a high moisture content and a low melting point, creating that classic velvety pull. |
| Cayenne Sauce | Acidic Catalyst | The vinegar cuts through the heavy fat of the dairy, brightening the overall flavor profile instantly. |
Sourcing the Right Elements for Success
- 2 cups cooked chicken breast: Hand shredded (approx. 500g). Why this? Shredding by hand creates irregular edges that trap the sauce better than cubes.
- Substitute: Canned chicken (drained) works if you’re in a rush, but the texture is softer.
- 1 tbsp neutral oil: For the initial sear. Why this? High smoke point prevents acrid flavors during the quick pan flash.
- Substitute: Butter provides more flavor but can burn faster.
- 8 oz full fat cream cheese: Softened (225g). Why this? Room temperature cheese integrates without leaving white lumps in the sauce.
- Substitute: Neufchâtel cheese for a slightly lighter, tangier profile.
- 0.5 cup Frank’s RedHot Original: The heat source. Why this? It has the specific vinegar to pepper ratio needed for that classic buffalo profile.
- Substitute: Any aged cayenne pepper sauce with a similar consistency.
- 0.5 cup high-quality Ranch dressing: The cooling agent. Why this? Adds herb notes and buttermilk tang that balances the spice.
- Substitute: Blue cheese dressing if you prefer a funkier, more traditional wing experience.
- 0.5 tsp garlic powder: The aromatic base. Why this? Distributes more evenly than fresh garlic in a thick dip environment.
- Substitute: Onion powder or a dash of celery salt.
- 1 cup Monterey Jack cheese: Freshly grated (115g). Why this? Melts smoother than pre shredded because it lacks potato starch coatings.
- Substitute: Mild Provolone or Muenster for similar melting properties.
- 0.5 cup sharp Cheddar cheese: Freshly grated (60g). Why this? Provides the punchy flavor and golden color on the top crust.
- Substitute: White cheddar or Smoked Gouda for a deeper, woodsy twist.
Chef's Tip: Freeze your blocks of cheese for 10 minutes before grating. It makes the Jack and Cheddar much firmer, so they don't turn into a gummy mess against the grater.
Systematic Execution of the Flavor Build
- Preheat your oven to 350°F. Note: A consistent temperature ensures the cheese melts before the sauce begins to break.
- Flash sear the chicken. In a skillet, heat 1 tbsp neutral oil over medium high heat. Add your 2 cups shredded chicken and 0.5 tsp garlic powder. Sizzle 2-3 minutes until the edges look golden and slightly crisp.
- Incorporate the heat. Pour 0.5 cup Frank’s RedHot directly over the chicken in the skillet. Toss 1 minute until the sauce reduces slightly and coats every fiber.
- Build the base. In a large mixing bowl, combine 8 oz softened cream cheese and 0.5 cup Ranch dressing. Smash them together with a spatula until the mixture is completely smooth and streak free.
- Connect the platforms. Fold the hot buffalo chicken into the cream cheese mixture. Work quickly until you have a uniform, pale orange lava like consistency.
- Integrate the melt. Stir in half of the Monterey Jack and half of the Cheddar cheese. This ensures cheese is throughout the dip, not just on top.
- Transfer to baker. Spread the mixture into a 9x9 inch baking dish or a 10 inch cast iron skillet. Smooth the top with the back of a spoon.
- Apply the crust. Sprinkle the remaining Monterey Jack and Cheddar over the top in an even layer.
- Execute the bake. Place in the center of the oven for 20 minutes until the edges are bubbling and the cheese is molten.
- Final Char (Optional). Switch to broil for 1-2 minutes until the cheese develops brown, toasted spots and a slight crackle.
If you enjoy the spicy kick of this dip but want to experiment with different delivery methods, you should check out our How to Make recipe which takes these same flavors and rolls them into crispy pizza sticks. It’s a great way to use up any leftover sauce or chicken!
Precision Checkpoints and Troubleshooting
Fixing a Watery Dip Consistency
Sometimes, despite our best efforts, the dip can feel a bit thin. This usually happens if the chicken wasn't drained well enough or if you used a lower fat ranch. The solution is simple: don't panic. You can stir in an extra tablespoon of softened cream cheese or a handful of extra Jack cheese to act as a binder.
The starch in the cheese and the fat in the cream cheese will help pull that excess moisture back into the fold.
Resolving Oil Separation Issues
If you see pools of orange oil on top, it’s a sign that the emulsion has broken likely from overheating. This is why we stick to 350°F. If it happens, give the dip a gentle stir. The friction and the proteins in the chicken will often help re incorporate that fat into the sauce.
| Problem | Root Cause | Solution |
|---|---|---|
| Oily surface | Overheated fats or pre shredded cheese | Lower oven temp; stir gently to re emulsify. |
| Lumpy texture | Cold cream cheese | Ensure cream cheese is room temp before mixing. |
| Bland flavor | Lack of acidity or salt | Add a splash of apple cider vinegar or extra hot sauce. |
Common Mistakes Checklist
- ✓ Soften cream cheese for at least 60 minutes (prevents white lumps).
- ✓ Grate your own cheese from the block (prevents a grainy, sandy texture).
- ✓ Sear the chicken before mixing (adds a necessary savory depth).
- ✓ Use a heavy bottomed pan for the bake (ensures even heat distribution).
- ✓ Let the dip rest for 5 minutes after baking (allows the emulsion to set).
Adjusting for Different Crowd Sizes
Scaling down for a quiet night in is easy. For a half batch, use a small 6 inch cast iron skillet. Reduce the bake time to about 15 minutes, as the smaller thermal mass will heat through much faster. You still want to see those bubbles at the edges, so keep a close eye on it.
When you're scaling up for a massive party say, for a group of 20 you'll want to use a large 9x13 inch baking dish. Don't just double the time; instead, increase it by about 10-15 minutes and consider starting the dip on the stovetop to get the core temperature up before it ever hits the oven.
For spices and hot sauce, start with 1.5x the amount and taste. Spices don't always scale linearly, and you don't want to blow everyone's palates out in the first quarter.
If you're looking for more ways to feed a crowd, looking at 6 Snack Stadiums recipe provides some incredible inspiration for how to present your Buffalo Chicken Dip as the centerpiece of a larger spread.
Debunking Buffalo Chicken Dip Myths
One huge myth is that you must use a slow cooker for the "best" results. While convenient, a slow cooker often traps steam, leading to a watered down sauce. The oven provides dry heat, which allows the top to brown and the flavors to concentrate through evaporation.
You get a much more intense, revolutionizing flavor profile in the oven.
Another misconception is that blue cheese is the only "authentic" choice. Honestly, ranch has become the platform of choice for many modern cooks because its creamy, herby profile connects better with the Monterey Jack. Blue cheese can sometimes overpower the delicate chicken, while ranch acts as a bridge for the heat.
Preservation and Waste Reduction Strategies
Storage Guidelines:Fridge: Keep in an airtight container for up to 4 days. The flavors actually deepen overnight as the garlic and cayenne permeate the chicken fibers.
Freezer: I don't recommend freezing the fully assembled dip because the dairy will likely break and become grainy upon thawing. However, you can freeze the shredded, sauced chicken for up to 3 months.
Zero Waste Tips: If you have leftovers (a rare occurrence!), don't just reheat them for chips. This dip makes an incredible filling for grilled cheese sandwiches or a "connected" topping for a baked potato.
You can even stir a few spoonfuls into mac and cheese to turn a standard side into a Buffalo Chicken Dip The Ultimate Game day masterpiece. The goal is to keep the flavor platform active in new and interesting ways.
Presenting Your Creation with Style
How you present this dish can change the entire experience. We’re moving through three levels of plating to help you match the vibe of your event.
| Plating Level | Serving Vessel | Topping Strategy | Vibe |
|---|---|---|---|
| Simple | Ceramic Bowl | Extra drizzle of hot sauce | Casual, "let's eat" |
| Polished | Cast Iron Skillet | Green onion curls | Rustic, home cooked |
| Restaurant | Individual Ramekins | Blue cheese crumbles + Celery leaves | Sophisticated, upscale |
Level 1: The Simple Social Bowl
Transfer the dip to a warm ceramic bowl. Surround it with a generous pile of sturdy tortilla chips or celery sticks. This is about accessibility and speed. It’s the platform for a busy game where people are dipping and moving.
Level 2: The Polished Skillet Look
Bake and serve directly in a well seasoned cast iron skillet. The black iron provides a beautiful contrast to the orange dip and golden cheese. Scatter thinly sliced green onions over the top right before serving to add a fresh, crunchy element that cuts through the richness.
This feels more intentional and connected to the cooking process.
Level 3: The Restaurant Experience
For a more refined look, top the golden cheese crust with a few crumbles of high-quality gorgonzola and some tender, pale green celery leaves. Serve with a side of toasted baguette slices similar to what you’d find in The Homemade Crunchwrap recipe for that perfect crunch. This version is about texture and contrast, making the humble dip feel like a high end appetizer.
No matter how you serve it, remember that the "Ultimate Game" is really about the community you're feeding. This Buffalo Chicken Dip is just the platform to get everyone talking. Trust the science, follow the steps, and watch that bowl disappear. Happy cooking!

Recipe FAQs
Can I substitute low-fat cream cheese instead of full fat blocks?
No, stick with full fat blocks. low-fat versions contain excess water which causes the dip to weep oil and separate during the bake.
How to achieve the best melted cheese texture without graininess?
Grate your cheese fresh from the block immediately before use. Pre-shredded cheeses are coated in anti caking starches that prevent a smooth, velvety melt.
Is it true that searing the chicken before mixing is unnecessary?
False. Searing the chicken for 2-3 minutes with oil before adding the hot sauce creates crucial Maillard reaction flavors that deepen the profile beyond simple heat.
How long should the dip bake at 350°F to ensure it's fully heated through?
Bake for 20 minutes in a standard 9x9 inch dish. You are looking for the edges to bubble vigorously before applying the optional broiler finish for color.
How to prevent the dip from becoming watery or separating after baking?
Ensure your cream cheese is fully softened before mixing everything together. The high fat, room temperature cream cheese acts as the primary emulsifier stabilizing the sauce; cold cream cheese creates lumps and separation.
This focus on controlled mixing principles is also key when preparing a stable sauce base, similar to what we employ in My Family's Favorite recipe.
What is the best way to scale this recipe up for a large crowd?
Increase all ingredients proportionally and use a 9x13 inch baking dish. For larger batches, start the pre-heating process on the stovetop slightly to ensure the core reaches temperature faster without over browning the top layer.
Can I prepare the chicken component ahead of time to save game day effort?
Yes, you can safely prepare the sauced chicken component up to two days in advance. Store the hot sauce coated chicken separately, then fold it into the room temperature cream cheese mixture just before the final bake. If you want to practice cooking chicken thoroughly ahead of time, review How to Cook recipe for foundational techniques.
Ultimate Buffalo Chicken Dip
Ingredients:
Instructions:
Nutrition Facts:
| Calories | 292 kcal |
|---|---|
| Protein | 21.3 g |
| Fat | 21.9 g |
| Carbs | 2.1 g |
| Fiber | 0.1 g |
| Sugar | 1.4 g |
| Sodium | 645 mg |
