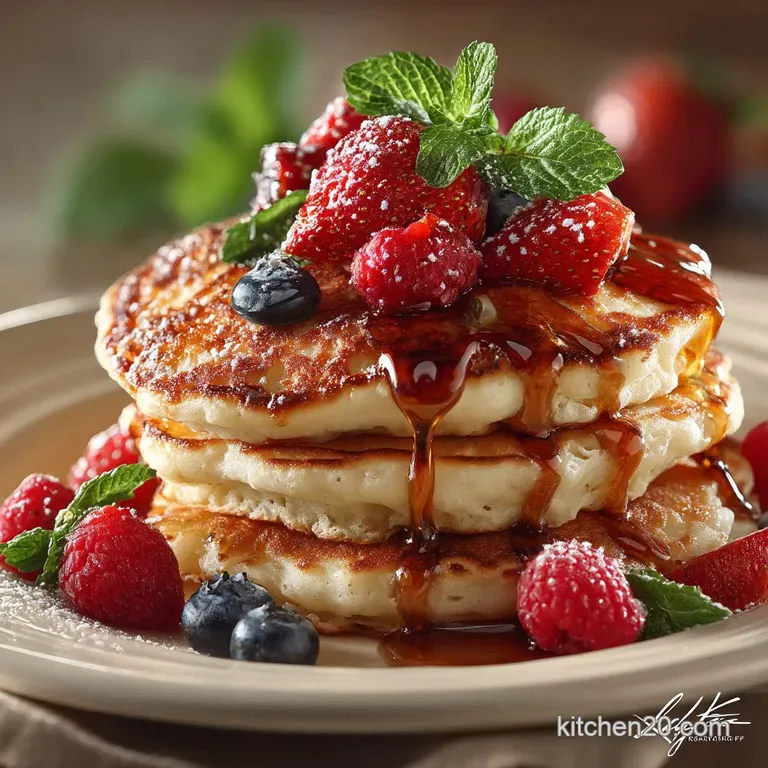
The Perfect Fluffy American Diner Pancakes Ready in Under 30 Minutes
- Bypassing the Bland: Why This Recipe Reimagines Easy Fluffy Pancakes
- The Secret to Truly Cloud-Like Breakfast Stacks
- Curating Your Components: The Essential Toolkit for Success
- Decoding the Dry Mix: Precision in Your Base Ingredients
- The Gentle Art of Batter Construction: Avoiding the Gluten Trap
- Mastering the Griddle: Heat Control for Golden Perfection
- Troubleshooting & Advanced Techniques for Next-Level Fluff
- Recipe FAQs
- 📝 Recipe Card
Bypassing the Bland: Why This Recipe Reimagines Easy Fluffy Pancakes
There’s a specific joy that accompanies the first bite of a perfect, towering pancake stack a joy often missing when relying on boxed mixes or overly complicated techniques. If your previous attempts have yielded flat, rubbery discs, prepare for a delightful transformation.
This recipe isn't just about convenience; it’s engineered to deliver the ultimate breakfast experience. We are focusing squarely on creating Easy Fluffy Pancakes that rival any professional diner, using nothing more than pantry staples and a few crucial, easy-to-master steps.
This Fluffy Pancake Recipe strips away the complexity while retaining all the luxurious lift, ensuring your weekend mornings feel celebratory from the first pour.
The Secret to Truly Cloud Like Breakfast Stacks
Achieving that coveted height and airy texture requires understanding a few basic chemical interactions within the batter. This Simple Pancake Recipe leverages standard leavening agents in a specific ratio designed to interact perfectly with the acidity of buttermilk, guaranteeing maximum expansion when they hit the heat.
Defining 'Fluffy': What Makes This Recipe Superior?
Superior fluffiness comes down to two main factors: the freshness of your leavening agents and the gentle handling of the flour. We incorporate both baking powder (for initial rise) and baking soda (to react with the buttermilk), providing a double action lift.
On top of that,, the texture we aim for is tender, not dense, which means we must actively prevent gluten formation, a common pitfall when making Homemade Pancakes Fluffy .
A Weekend Wake-Up Call: Time Commitment Breakdown
One of the most attractive aspects of this Pancake Recipe Easy Fluffy is its speed. While the flavour profile suggests hours of slow preparation, the reality is quite the opposite.
With just 10 minutes dedicated to active preparation, and about 15 minutes spent griddling, you can have a family sized stack ready in under 30 minutes total. This efficiency makes them perfect for a slightly more leisurely weekday breakfast too.
Setting Expectations: The Goal is Tall, Tender Rounds
When you pour the batter, envision tall, soft rounds rather than thin crepes. Our aim is a pancake that holds its structure but remains pillowy soft inside. We’re using 1 ¼ cups of buttermilk to 1 ½ cups of flour a slightly wetter ratio than some recipes use which encourages spread while still allowing the chemical lift to create height.
This recipe yields about 8 medium (4 inch) pancakes, serving 2 to 3 hungry people, though you can easily scale this up for an Easy Fluffy Pancakes Small Batch or a larger crowd.
Curating Your Components: The Essential Toolkit for Success
Before we dive into the mixing bowl, ensuring you have the right ingredients and equipment ready will streamline the process significantly. For the best results in crafting these Easy Fluffy Pancakes From Scratch , using quality, room temperature ingredients is key to maximizing their rise.
Related Recipes Worth Trying
- Easy Keto Buffalo Chicken Casserole Recipe Low Carb Creamy — Whip up this incredibly creamy Keto Buffalo Chicken Casserole in under an hour A low carb bake that tastes just like your favourite wings So simple
- The Best Fluffy Blueberry Muffins with Crunchy Topping — Learn how to bake truly light and fluffy homemade blueberry muffins with a perfect dome and a delightful sugary crunch This easy recipe is foolproof
- Easy Homemade Peach Cobbler Recipe with Fluffy Biscuit Topping — Forget soggy fruit bakes This Easy Peach Cobbler recipe features juicy spiced peaches under a light golden biscuit topping Perfect for a simple comforting...
Decoding the Dry Mix: Precision in Your Base Ingredients
Accuracy in measuring the dry ingredients sets the structural foundation. You will need 1 ½ cups (180g) of all-purpose flour, spooned lightly into the measuring cup and leveled off, not packed down.
To this, add 2 tablespoons of granulated sugar for subtle sweetness and necessary browning, alongside the critical leavening duo and salt.
The Leavening Duo: Maximizing Lift in Your Batter
For true fluff, you must use 2 teaspoons of fresh baking powder and ½ teaspoon of baking soda. Baking powder provides the bulk of the initial lift, while the baking soda reacts dynamically with the acidity in the buttermilk, creating carbon dioxide bubbles that expand rapidly upon heating.
If your baking powder is old, your pancakes will be flat, regardless of technique. The ½ teaspoon of salt is essential not for saltiness, but for rounding out the sweet and buttery notes.
Dairy Depth: Choosing the Right Liquid for Richness
The essential liquid here is 1 ¼ cups of buttermilk. Buttermilk’s lactic acid is crucial because it activates the baking soda, creating a richer flavour and superior texture compared to using plain milk alone.
If buttermilk isn't available, a simple substitute can be made by adding one tablespoon of white vinegar or lemon juice to regular milk and letting it sit for five minutes until it gently curdles.
For an added layer of comforting flavour, consider adding 1 teaspoon of Vanilla Pancakes extract to the wet mixture.
Must Have Equipment for Perfect Pancake Geometry
You'll need two medium mixing bowls one for dry, one for wet a whisk for the wet ingredients, and a rubber spatula for the final gentle fold. For cooking, a large, flat griddle or a heavy bottomed non-stick frying pan works best.
Always have a ladle or a ¼ cup measuring cup ready for consistent pouring, which leads to uniform pancake sizes.
The Gentle Art of Batter Construction: Avoiding the Gluten Trap
This stage is where most people inadvertently sabotage their pancakes. The goal is minimal agitation to keep the final product light.
Dry Meets Wet: The Critical Mixing Technique
Once your dry components are thoroughly whisked together and your wet ingredients (buttermilk, a lightly beaten egg, melted butter, and vanilla) are combined, it’s time to unite them. Pour the wet mixture into the dry. Now, switch from your whisk to a rubber spatula.
The technique is folding: use the spatula to gently scrape down the sides and bring the bottom mixture over the top. Continue this motion just until the flour streaks mostly disappear.
Why Lumps Are Your Friend: Interpreting Batter Texture
Stop mixing when you still see a few streaks of dry flour remaining. Resist the urge to smooth out every single lump. These small pockets of flour, if left slightly unmixed, will absorb moisture slowly as the batter rests, leading to a more tender final crumb.
Over mixing develops the gluten in the flour, resulting in a tough, chewy pancake rather than a wonderfully light one.
The Rest Period: Why Batter Should Pause Before the Pan
Allow the batter to rest at room temperature for 5 to 10 minutes after mixing. This short pause is incredibly beneficial. It gives the liquids time to fully hydrate the flour, and more importantly, it allows the baking powder and soda to begin their activation process, resulting in a noticeably thicker, airier batter ready to climb high on the griddle.
Mastering the Griddle: Heat Control for Golden Perfection
The cooking surface temperature is the single most influential factor after the batter itself.
Heat Control for Golden Perfection
Set your griddle or pan to medium heat. If the pan is too cool, the batter will spread out and dry before it has a chance to rise, yielding flat, pale results. If it’s too hot, the exterior will scorch before the centre cooks through.
A good indicator: if a drop of water sizzles immediately and evaporates quickly, the heat is correct.
Visual Cues: Knowing Exactly When to Flip Your Easy Fluffy Pancakes
Pour ¼ cup of batter onto the preheated, lightly buttered surface for each pancake. Now, watch patiently. You are looking for two key signals: bubbles will begin to break on the surface and will not immediately fill back in with raw batter, and the edges around the circumference will look set and dry.
This usually takes 2 to 3 minutes on the first side. Flipping before this stage guarantees deflation. Flip swiftly and confidently onto the uncooked side. The second side cooks much faster, typically needing only 1 to 2 minutes until it achieves that beautiful golden brown hue.
Patience Pays: Keeping the Stack Warm While You Finish
As you finish each batch, remove the cooked Vanilla Pancakes from the heat. To keep them perfectly warm and tender while you finish the remaining batter, place them on a wire rack set inside a baking sheet and keep them in a very low oven (around 200° F or 95° C).
This prevents the bottom pancakes from steaming and becoming soggy while awaiting their companions.
Troubleshooting & Advanced Techniques for Next Level Fluff
Even with the best instructions, hiccups occur. If your pancakes are coming out too thin, double check the freshness of your baking powder, or slightly reduce your buttermilk measurement next time. If they are pale, increase the heat slightly to medium high.
Storage Strategies: Keeping Leftover Fluff Tender
If you have any remaining Easy Fluffy Pancakes , allow them to cool completely before storing them in an airtight container at room temperature for up to two days, or freeze them for longer preservation.
To reheat, a quick blast in the toaster or 10 minutes in a 350° F oven brings back most of their fresh texture.
Nutritional Snapshot: Calorie Considerations
While these are undoubtedly a treat, understanding the base nutrition helps balance your meal. An estimated two to three pancakes (without toppings) hover around 250 280 calories, primarily from carbohydrates and a small amount of fat derived from the butter and buttermilk.
Remember, the lion's share of calories comes from the syrup you add later!
Beyond Maple: Unexpected Enhancements for Your Pancakes
While maple syrup is the undisputed champion, consider flavourful alternatives. Try a dusting of powdered sugar mixed with lemon zest, or spoon warm, lightly sweetened stewed apples over the top.
For a richer flavour profile, substitute half the melted butter with browned butter stirred into the wet ingredients before mixing it adds a phenomenal depth to every bite.
Recipe FAQs
How do I make sure my Easy Fluffy Pancakes actually turn out fluffy and not rubbery?
The secret lies in minimal mixing! Whisk your wet and dry ingredients separately, then combine them just until the flour streaks mostly disappear. A few lumps are your friends here over-mixing develops gluten, which is what makes things tough, not tall.
A short 5-minute rest for the batter also helps the leavening agents work their magic before they hit the pan.
My pancakes keep burning on the outside before the inside cooks. What heat setting should I use?
It sounds like your pan is running a tad too hot. For perfect golden results, you need medium heat, not medium high. If you drop a tiny bit of water on the pan and it sizzles immediately and evaporates, you’re good to go!
If it jumps and sputters aggressively, turn the heat down a notch; you want a patient cook for those fluffy interiors.
Can I make the batter ahead of time? I want to be quick on a busy Tuesday morning.
While the batter is best used fresh, you can certainly make it an hour or two ahead and keep it covered in the fridge. If you do chill it, you’ll likely need to whisk in an extra splash of milk or buttermilk before cooking, as the leavening agents will start to settle down.
For next day cooking, it’s better to prep the dry ingredients the night before.
I’ve run out of buttermilk! What’s the best substitute for this Easy Fluffy Pancakes recipe?
Don’t fret, we all forget a trip to the shop sometimes! The best home substitute is simple: take one cup of regular milk and stir in one tablespoon of white vinegar or fresh lemon juice.
Let it sit for five minutes until it looks slightly curdled that acidic tang does the same job as buttermilk by reacting with the baking soda for lift.
How should I store leftovers if I have too many pancakes?
If you must have leftovers (though usually they disappear rapidly!), let them cool completely on a wire rack first this prevents them from steaming and going soggy. Store them in an airtight container in the fridge for up to three days.
To reheat, a quick zap in the toaster or a minute or two in a dry, medium hot pan works a treat!
Easy Fluffy Pancakes

