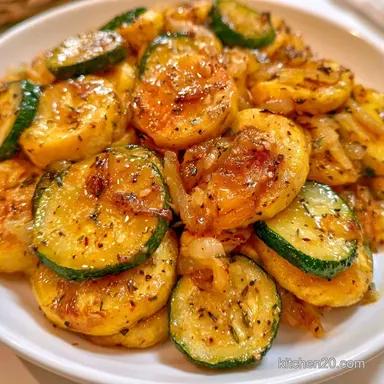
Golden Sautéed Summer Squash
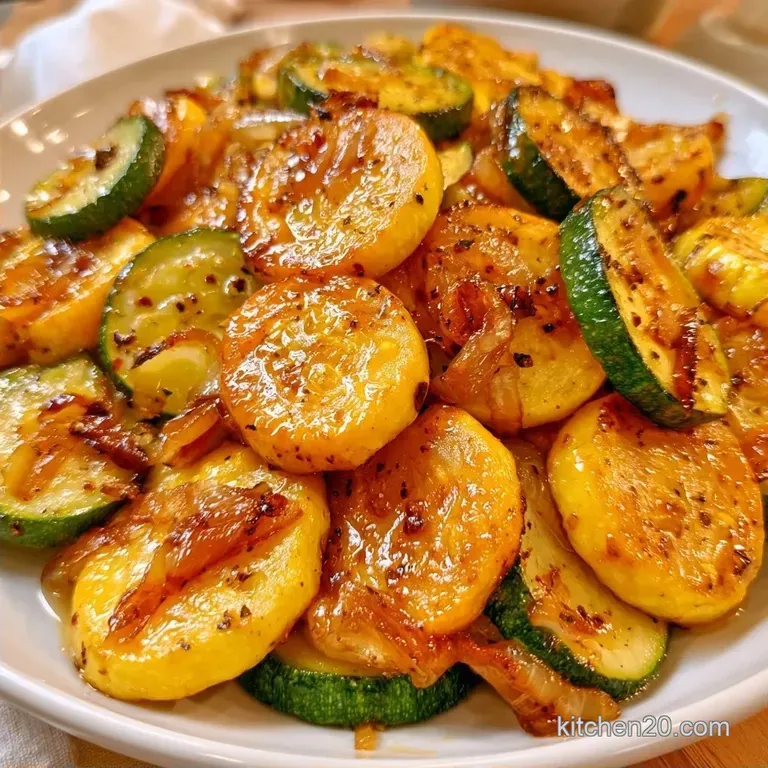
- Active: 5 min / Cook: 15 min
- Flavor & Texture: Deeply caramelized outside with a tender-crisp center
- Great for: Rapid weeknight sides or peak garden dinners
The scent of foaming butter and garlic always marks the end of August for me. It's that season when the garden is overflowing, and my menu depends on whatever the earth decides to produce.
I remember one family dinner where we had an excess of yellow squash, and I wanted to move away from the limp, steamed versions we usually served.
I wanted something that captured the intensity of the summer heat. I began experimenting with pan temperatures and the timing of the salt to understand why the squash typically devolved into a watery soup. Once I adjusted the process, I ended up with a side dish that actually maintained its structure on the plate.
The result is a dish that feels refined yet requires almost no work. This Sautéed Summer Squash has a rich, browned exterior and a bright note from a splash of lemon. It’s the kind of side that makes people realize vegetables don't have to be the soggy variety found at a diner.
Why the Texture Stays Crisp
The Moisture Trap: Summer squash is mostly water. Using a over high heat sear locks in the structure before the internal liquid can leak out and steam the batch.
Salt Timing: Adding salt at the end prevents the vegetables from "weeping." If you salt too early, the salt draws out water, which kills your chance of getting a brown crust.
Fat Synergy: Combining olive oil and butter revolutionizes the sear. The oil raises the smoke point, while the butter provides the flavor and browning.
Essential Tools for Searing
A large stainless steel or cast iron skillet is your best bet here. You need a surface that can handle high heat without warping. If the pan is too small, you'll crowd the vegetables, which drops the temperature and leads to steaming rather than sautéing.
I usually reach for a 12 inch skillet. This gives the rounds enough room to sit in a single layer. If you only have a small pan, work in two batches. It takes an extra five minutes, but it's the only way to ensure that the Sautéed Summer Squash actually browns.
The Ingredient Breakdown
| Ingredient | Role | If You Don't Have It |
|---|---|---|
| Yellow Summer Squash | Primary base and color | Zucchini or Pattypan squash |
| Zucchini | Textural variety | Additional yellow squash |
| Yellow Onion | Sweet aromatic foundation | Shallots or white onion |
| Unsalted Butter | Browning and depth | Ghee or coconut oil |
What You'll Need
- 680g yellow summer squash, cut into 1/4 inch rounds Why this? Delivers that quintessential summer flavor and hue
- 285g zucchini, cut into 1/4 inch rounds Why this? Provides a slightly firmer consistency
- 115g yellow onion, thinly sliced Why this? Adds complexity through caramelization
- 15g garlic, minced Why this? Provides a sharp, savory note
- 30ml extra virgin olive oil Why this? Remains stable under heat
- 14g unsalted butter Why this? Crucial for a perfectly browned crust
- 2g dried Italian seasoning Why this? Introduces earthy herbal notes
- 3g kosher salt Why this? Intensifies the overall flavor profile
- 1g black pepper Why this? Adds a touch of warmth
- 15ml fresh lemon juice Why this? Balances the richness of the butter
Timing and Portion Specs
This recipe is designed for a quick turnaround. You won't spend all night in the kitchen, making it a great option for when you're already juggling a main protein.
- Prep time:5 minutes
- Cook time:15 minutes
- Total time:20 minutes
- Yield: 6 portions
Chef's Note: For the best results, pat your sliced squash dry with a paper towel. Even a little surface moisture can stop the browning process.
Cooking Steps for Success
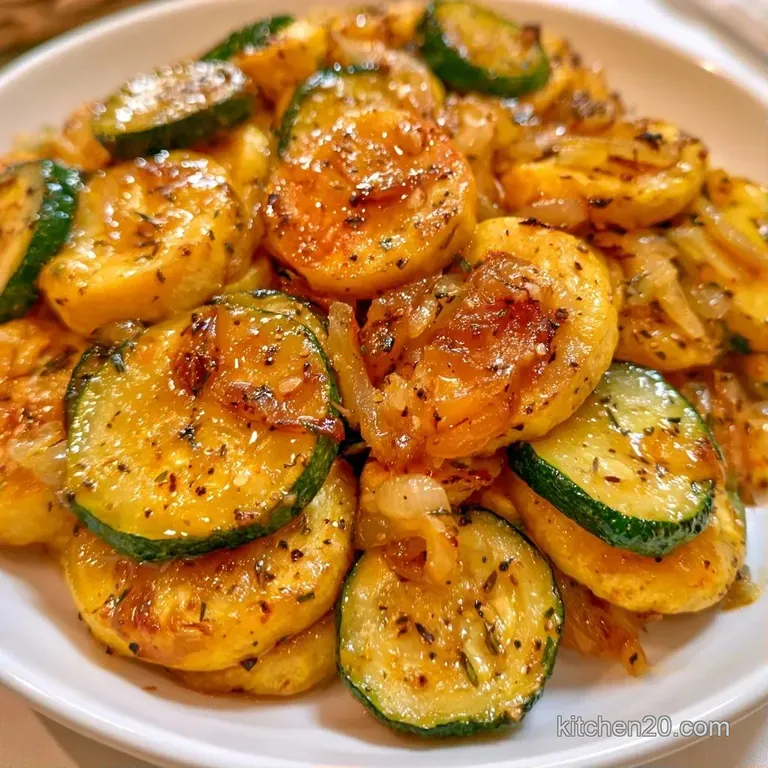
1. The Prep Phase
Rinse and pat dry the yellow squash and zucchini. Cut both into uniform 1/4 inch rounds to ensure they cook at the same rate.
2. Heating the Pan
Warm the butter and olive oil over medium high heat in your pan. Wait until the butter foams and smells nutty.
3. Sautéing Aromatics
Toss in the sliced onions. Sauté for 2-3 minutes until they become translucent.
4. The Initial Sear
Add the zucchini and squash, arranging them in a single layer. Let them sit undisturbed for 3 minutes until a deep golden brown crust forms.
5. Adding Flavor
Mix in the Italian seasoning and minced garlic. Sauté for another 3-5 minutes, stirring occasionally, until the vegetables are just tender.
6. The Final Touch
Immediately remove the pan from the heat. Stir in the lemon juice, salt, and black pepper.
7. Final Plate
Move the Sautéed Summer Squash to a warm platter. Serve right away while the edges are still slightly crisp.
Solving Texture Problems
The biggest issue people face is ending up with a watery pan. This usually happens because the heat is too low or the pan is too full. When the squash releases its water and there isn't enough heat to evaporate it, you get a steamed vegetable instead of a sautéed one.
If you see liquid pooling, your pan is too crowded. You can't fix it by just turning up the heat, as you'll likely burn the garlic. The only real fix is to remove some of the vegetables and finish them in a second batch.
The Mushy Texture
This happens when you stir too often. Every time you move the squash, you break the crust and release moisture.
Burnt Garlic
Garlic cooks much faster than squash. Adding it too early leads to a bitter taste. Always add it in the final few minutes.
Lack of Color
This is usually a result of using a pan that isn't hot enough or using too much oil, which "fries" the squash rather than searing it.
| Problem | Fix |
|---|---|
| Watery pan | Cook in smaller batches |
| Mushy squash | Stop stirring for 3 minutes |
| Bitter taste | Add garlic only at the end |
| Pale color | Increase heat to medium high |
Storage and Waste Tips
Keep leftovers in a sealed glass container in the cooler for up to 3 days. Note that the squash will lose its crispness as it sits. To revive it, reheat in a dry skillet over medium heat for 2 minutes rather than using a microwave.
Don't toss the squash ends or the onion skins. I keep a bag in the freezer for veggie scraps. Once the bag is full, I simmer them with water and a bay leaf to make a simple vegetable stock for soups.
Variations and Substitutes
You can easily tweak the flavor profile of Sautéed Summer Squash to fit your mood. For a heartier version, I love adding 50g of diced pancetta or bacon at the start. The rendered fat connects beautifully with the butter.
If you want something more indulgent, try drizzling a bit of Easy Cheese Sauce over the top right before serving. It turns a light side into a rich comfort dish.
Decision Shortcut:
- For a smokier flavor: Use a seasoned cast iron skillet.
- For a tangier bite: Add 5ml extra lemon juice.
- For a heartier side: Add 50g diced pancetta.
| Original Ingredient | Substitute | Why It Works |
|---|---|---|
| Unsalted Butter | Ghee | Higher smoke point. Note: Slightly nuttier taste |
| Italian Seasoning | Thyme and Rosemary | Similar earthy profile. Note: Use fresh for more punch |
| Lemon Juice | Apple Cider Vinegar | Similar acidity. Note: Less citrusy, more tangy |
For a different cooking method, you can try roasting them, though you'll lose that specific stovetop char.
| Method | Texture | Time |
|---|---|---|
| Stovetop | Browned crust, tender crisp | 15 minutes |
| Oven | Softer edges, uniform cook | 30 minutes |
Serving and Plating Ideas
You can adjust the presentation of this Sautéed Summer Squash based on your guests. I prefer tailoring the look to match the overall mood of the meal.
Simple Level: Simply scoop the squash into a heated bowl. This is a relaxed approach, perfect for a Tuesday night.
Polished Level: Arrange the squash rounds into a tidy cylinder in the middle of the plate. Finish with a sprinkle of fresh parsley.
Restaurant Level: Shingle the rounds in a linear overlap across the plate. Top it off with a bit of microplaned lemon zest and a drizzle of premium olive oil.
| Plating Level | Technique | Visual Result |
|---|---|---|
| Simple | Heaped bowl | Rustic and casual |
| Polished | Cylinder mold | Structured and clean |
| Restaurant | Shingled rounds | Elegant and modern |
This dish pairs wonderfully with a lean protein. I often serve it alongside my Sautéed Chicken with Zesty Lemon Sauce to keep the flavors bright and harmonious.
Debunking Squash Myths
Some believe that searing vegetables "locks in" nutrients. This is actually a misconception. Searing is all about enhancing flavor and texture, not nutrition. While a few vitamins are lost to the heat, you gain a significant amount of taste.
Another common myth is that salting the squash before it hits the pan improves the flavor. In reality, salting too early draws out moisture, which makes the Sautéed Summer Squash mushy. Always add salt at the end.
You now have all the essential tips to master this dish. Just remember: high heat, no stirring, and salt at the very end. Your garden harvest deserves a technique that truly respects the produce. Let's get cooking.
Recipe FAQs
How long should the squash sauté?
Sauté for 8 to 11 minutes total. This covers the initial onion softening and the final garlic sear.
What prevents summer squash from getting mushy?
Slice the vegetables into consistent 1/4 inch rounds. Leave them undisturbed for 3 minutes to develop a golden brown crust.
Which seasonings work best for this dish?
Use dried Italian seasoning, salt, and black pepper. A splash of fresh lemon juice added at the end provides a bright, clean flavor.
How to prepare yellow crookneck squash?
Wash and dry the squash thoroughly. Cut the vegetable into uniform 1/4 inch rounds.
Is it true that salting squash first improves texture?
Actually, no. Adding salt at the end preserves the structure and prevents the squash from releasing too much water in the skillet.
Pair this side dish with which meals?
Serve this dish alongside seared chicken Marsala for an ideal pairing. The lemon in the squash provides a bright contrast to the savory sauce.
Golden Sauteed Summer Squash