Over Easy Eggs: Velvety Yolks
- Time: Active 1 min, Passive 3 min, Total 4 min
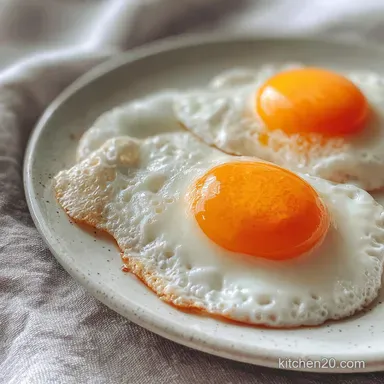
- Flavor/Texture Hook: Velvety yolks with a buttery, savory finish
- Perfect for: High protein breakfast, quick weeknight dinners, or topping avocado toast
- Mastering Silky Whites with These Over Easy Eggs
- Why This Cooking Method Works
- Essential Recipe Performance Specifications
- Sourcing Your Quality Ingredients
- Essential Kitchen Tools Required
- Step-By-Step Cooking Execution
- Resolving Common Egg Mistakes
- Creative Garnishes and Flavor Twists
- Proper Storage and Handling
- Ideal Pairings for Your Plate
- Recipe FAQs
- 📝 Recipe Card
Mastering Silky Whites with These Over Easy Eggs
There is a specific sound that happens when 14 grams of butter hits a preheated pan. It is a rhythmic hiss, followed by that sweet, nutty aroma of the solids beginning to foam. For years, I was terrified of the flip. I would stand there, spatula in hand, heart racing, only to end up with a "scrambled easy" mess.
But once I realized that the skillet is just a platform for experimentation, everything changed.
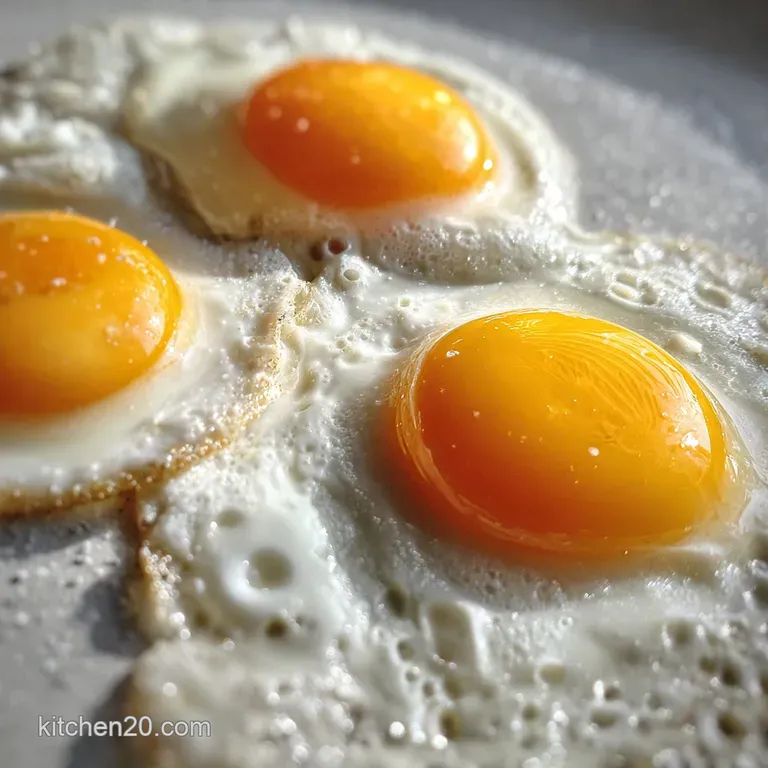
We have all been there. You want that velvety yolk that creates a natural sauce for your sourdough, but you are tired of the slimy whites that sometimes haunt sunnyside up versions. This is where we bridge the gap.
I'm revolutionizing how you look at the humble egg because, honestly, a well executed breakfast is the ultimate connective tissue for a productive day.
This isn't about some secret chef magic. It is about understanding the heat mapping of your skillet and having the confidence to let the pan do the heavy lifting. We are going to dive into the physics of proteins and how to get that perfect "slump" onto the plate without a single yolk casualty.
Trust me, once you nail this, your morning routine is effectively upgraded.
Why This Cooking Method Works
- Thermal Conductivity: The butter creates a slick, conductive barrier that transfers heat evenly across the egg's surface.
- Protein Denaturation: Gentle heat allows the albumen to uncoil and bond slowly, preventing a rubbery texture.
- Carryover Dynamics: The brief 30 second post flip cook uses residual pan heat to film over the yolk without solidifying the center.
- Steam Trapping: The fat helps the edges of the white set quickly, creating a structure that supports the weight of the yolk during the flip.
| Method | Cook Time | Resulting Texture | Best For |
|---|---|---|---|
| Stovetop | 3 minutes | Crispy edges, liquid yolk | Quick daily breakfast |
| Oven (Baked) | 6 minutes | Uniform, tender whites | Large brunch crowds |
| Steamed (Lidded) | 4 minutes | Softest "skin" on yolk | low-fat preferences |
Using the stovetop method remains the gold standard for that specific buttery sizzle we crave. If you find yourself cooking for a crowd, however, the oven method provides a consistent platform for several servings at once. If you prefer a different style of yolk entirely, you might enjoy learning How to Cook recipe for a sunnyside variation.
Essential Recipe Performance Specifications
The Fluidity of the Flip
The secret to this texture lies in the timing. Mechanism: Conduction sets the base, while carryover heat ensures the yolk remains liquid under a thin, opaque film of set protein.
| Component | Science Role | Pro Secret |
|---|---|---|
| Large Eggs | Protein Structure | Use cold eggs to maintain yolk shape longer |
| Unsalted Butter | Lubrication & Flavor | Wait for the foam to subside before dropping eggs |
| Fine Sea Salt | Moisture Retention | Season the whites specifically to speed up setting |
Ensuring Even Protein Setting
By keeping the heat at a medium low setting, you allow the thick and thin albumen to merge into a single cohesive layer. This prevents the "pool" effect where the white spreads too far and becomes too thin to flip effectively.
Chef Tip: Crack your eggs into a small ramekin first rather than directly into the pan. This allows you to check for shells and ensures the yolk is centered before it hits the heat.
Sourcing Your Quality Ingredients
For this recipe, we are keeping the list minimal but high-quality. Each element plays a functional role in the final architecture of the dish.
- 2 large eggs: These provide the bulk of the protein. Why this? Larger yolks offer a better ratio for the "over easy" liquid effect.
- 14 grams (1 tbsp) unsalted butter: This is our primary fat source. Why this? Butter contains milk solids that brown slightly, adding a heritage nutty flavor.
- 0.75 grams (1/8 tsp) fine sea salt: To enhance the savory notes.
- 0.3 grams (1/8 tsp) freshly cracked black pepper: For a slight textural bite.
| Original Ingredient | Substitute | Why It Works |
|---|---|---|
| Unsalted Butter | Ghee (Clarified Butter) | Higher smoke point. Note: Lacks the nutty browning of milk solids. |
| Sea Salt | Smoked Salt | Adds a deep, wood fired aroma to the yolks. |
| Large Eggs | Duck Eggs | Larger, richer yolks. Note: Requires an extra 45 seconds of cook time. |
If you have leftover eggs and want to try something different later, check out this Deviled Eggs recipe for a classic crowd pleaser.
Essential Kitchen Tools Required

Skillet Heat Management
A high-quality non stick pan is non negotiable here. I prefer a ceramic coated skillet because it offers a frictionless surface without the chemicals often found in older pans. The weight of the pan matters; a heavy bottom prevents hot spots that could cause the white to shatter or brown too quickly.
Achieving a Smooth Flip
The spatula is your most important tool. You want a thin, flexible silicone or offset spatula that can slide under the delicate curve of the egg without piercing the yolk membrane. If the spatula is too thick, it will act like a wedge and potentially break the yolk before you even lift it.
step-by-step Cooking Execution
Heating the Pan Correctly
Place your skillet over medium low heat. Add the 14 grams of unsalted butter and let it melt until it begins to sizzle and foam. Wait for the bubbling to slow down - this indicates the water has evaporated.
Setting the Egg Whites
Gently pour the 2 eggs into the center of the pan. Note: Keep them close together so the whites touch, making them easier to flip as one unit.
The Final Seasoning Layer
Sprinkle the fine sea salt and black pepper over the yolks and whites immediately. This allows the seasoning to bond with the proteins as they begin to coagulate.
Monitoring the Doneness
Cook for 2 minutes until the whites are opaque and the edges are slightly curled. The yolk should still be wobbly and look completely raw at this stage.
Executing the Perfect Flip
Slide your flexible spatula under the yolks. Lift gently and turn the eggs over in one fluid motion. Note: Do not drop them; lower them into the butter to avoid splashing.
The Quick Finish
Cook on the second side for exactly 30 seconds. until a thin white film covers the yolk. This "seals" the yolk inside while keeping it liquid.
Sliding onto the Plate
Tilt the pan and use your spatula to guide the eggs onto a warm plate. until they slide effortlessly. Serve immediately while the thermal energy is still moving toward the center.
Resolving Common Egg Mistakes
Fixing Any Broken Yolks
If a yolk breaks during the flip, don't panic. Simply flip it back over and cook for an extra 20 seconds to "scramble" that section. It won't be over easy, but it will still be savory and rich.
Solving Undercooked White Issues
Sometimes the thick white near the yolk stays clear or "snotty." To fix this, you can put a lid on the pan for the last 30 seconds of the first side's cook time. This traps steam and sets the top of the whites before the flip.
| Problem | Root Cause | Solution |
|---|---|---|
| Rubbery Whites | Heat was too high | Reduce flame to medium low; use more butter. |
| Yolk Breaks on Impact | Spatula was too blunt | Use a thin, flexible silicone spatula. |
| Eggs Stick to Pan | Surface was not primed | Ensure butter is foamy before adding eggs. |
Common Mistakes Checklist: ✓ Never crack eggs directly on a flat surface; use the edge of a bowl for a cleaner break. ✓ Ensure the pan is preheated for at least 2 minutes before the butter goes in.
✓ Resist the urge to move the eggs for the first 60 seconds of cooking. ✓ Always use fresh eggs; older eggs have thinner whites that spread too thin.
Creative Garnishes and Flavor Twists
Adding Color and Garnish
To truly connect with your meal, the visual presentation matters. I like to use a specific garnish strategy that balances the richness of the yolk. Use these three color accents to make the plate pop:
- Emerald Green: Finely minced fresh chives or scallion tops. Add these the second the eggs hit the plate for a fresh, onion scented aroma.
- Crimson Red: A pinch of Aleppo pepper or red chili flakes. Add this during the last 10 seconds of cooking to slightly toast the spice.
- Jet Black: Extra coarse freshly cracked peppercorns. This adds a "shatter" of texture against the velvety yolk.
Creating Mediterranean Flavors
Swap the butter for high-quality extra virgin olive oil. Add a sprinkle of dried oregano and a squeeze of lemon juice right before serving. This version is revolutionizing how I think about "light" breakfasts.
Adding Savory Umami Depth
Before adding the eggs, fry a small spoonful of chili crunch or miso paste into the melting butter. This creates a deeply savory platform that permeates the whites as they set.
Proper Storage and Handling
Storage: Honestly, over easy eggs are meant to be eaten immediately. If you must store them, they will keep in the fridge for up to 24 hours in an airtight container. However, the yolk will likely firm up during reheating, turning them into "over hard" eggs.
Reheating: Avoid the microwave at all costs it will turn the yolk into a rubber ball. Instead, place them in a warm pan with a teaspoon of water and a lid for 60 seconds to gently steam them back to temperature.
Zero Waste Tip: Don't toss those eggshells! Crush them up and add them to your compost or sprinkle them around your garden plants. They are a fantastic source of calcium for your soil, keeping your kitchen connected to the earth.
Ideal Pairings for Your Plate
Selecting the Best Bread
You need a "sopping tool" that can handle the volume of the liquid gold yolk. A thick slice of toasted sourdough or a crusty ciabatta is the best choice. The porous structure of the bread acts like a sponge, ensuring not a single drop of yolk is wasted.
Low Carb Breakfast Ideas
If you are skipping the grains, serve these eggs over a bed of sautéed spinach or a pile of roasted asparagus. The runny yolk acts as a warm dressing for the greens, creating a cohesive, nutrient dense meal that keeps you fueled.
The Ultimate Breakfast Sandwich
Slide these eggs onto a toasted brioche bun with a slice of sharp cheddar and some crispy bacon. The moment you bite into it, the yolk will burst, creating a rich sauce that binds the entire sandwich together. It is a messy, beautiful experience that makes the effort of the "precision flip" totally worth it.
Right then, let's crack on and get those eggs in the pan! Trust me on this, once you master the medium low heat, you'll be the breakfast hero of your household. It's a platform for joy, one egg at a time.

Recipe FAQs
What is an over easy egg?
An egg with fully cooked whites and a liquid yolk. It's flipped briefly to set the thinnest part of the white while keeping the yolk runny.
Is over easy and sunny side up the same?
No, they are different. Sunny side up eggs are cooked only on one side and have a completely liquid yolk. Over easy eggs are flipped briefly, lightly setting the yolk's surface.
What's the difference between over easy, over medium, and over hard eggs?
The yolk consistency is the key difference. Over easy has a completely liquid yolk, over medium has a warm, jammy yolk that's slightly set on the outside but still runny inside, and over hard has a fully solid yolk.
How do chefs cook over easy eggs?
Melt butter over medium low heat until it foams, then crack eggs into the pan. Cook until whites are mostly set, then flip gently for about 30 seconds to film the yolk.
Can I use any pan to cook over easy eggs?
A non-stick skillet is highly recommended. This ensures the delicate eggs won't stick and makes the flip much easier, similar to how a properly seasoned cast iron works for searing.
Why do my over easy eggs sometimes break when I flip them?
Likely a spatula or heat issue. Use a thin, flexible spatula to slide completely underneath the egg, and ensure your heat isn't too high, which can make the whites brittle.
What's the best way to serve over easy eggs?
Serve them immediately to enjoy the runny yolk. They are fantastic on toast, alongside bacon, or even topping dishes like avocado toast, much like the rich topping you'd find in Homemade Stuffing: Crispy Sourdough Stuffing for Turkey Dinner.
Over Easy Eggs
Ingredients:
Instructions:
Nutrition Facts:
| Calories | 247 kcal |
|---|---|
| Protein | 12.7 g |
| Fat | 21.2 g |
| Carbs | 0.8 g |
| Fiber | 0 g |
| Sugar | 0.4 g |
| Sodium | 362 mg |
