Proper Classic Homemade Chili the Ultimate Ground Beef Stovetop Recipe
- Mastering the Depth of Flavor in Classic Homemade Chili
- Essential Pantry Staples for Your Best Chili Yet
- The Step-by-Step Guide to Cooking Your Classic Homemade Chili
- Perfect Pairings and Pro Tips for Serving Classic Homemade Chili
- Maximizing Shelf Life: Storage and Freezing Instructions
- Recipe FAQs
- 📝 Recipe Card
Mastering the Depth of Flavor in Classic Homemade Chili
The Philosophy of Layering Robust, Earthy Flavors
A truly exceptional bowl of Classic Homemade Chili is the result of careful, intentional layering, not merely mixing ingredients. We must focus on building a deep, savory foundation before any liquids are introduced. This technique ensures every single bite possesses profound complexity and richness.
Avoiding the Common Mistake of Under Seasoning
The primary error many cooks make is failing to season the meat adequately at the initial stage. Aggressively seasoning the ground beef with kosher salt and pepper before browning ensures a flavorful crust develops.
This deep, savory crust formed by the Maillard reaction is absolutely essential for anchoring the final flavor profile of the Best Ground Beef Chili Recipe.
Why Time is the Essential Ingredient
While this Chili Recipe Easy Stovetop Ground Beef is simple to assemble, the long simmer is non-negotiable for superior results. A minimum of 90 minutes allows the proteins, fats, and starches to fully integrate into a thick, cohesive sauce.
This patience is what transforms a quickly prepared meal into a memorable batch of Grandmas Chili.
Essential Pantry Staples for Your Best Chili Yet
Selecting the Right Cut of Beef for Maximum Richness
For the deepest flavor, I always recommend using a good quality 85/15 lean ground beef. The 15% fat content renders out during browning, creating the critical flavor carrier needed for blooming the spices. This fat prevents a dry outcome and is key to achieving a deeply satisfying Classic Homemade Beef Chili.
The Secret Role of Dark Chocolate or Coffee in Savory Dishes
A tiny square of 70% dark chocolate is a masterful addition to the Homemade Beef Chili Ingredients list. The deep, unsweetened cocoa powder intensifies the dark, earthy notes of the chili and balances the acidity of the tomatoes beautifully.
This simple addition imparts a restaurant quality depth that you will immediately recognize.
Necessary Equipment Checklist (Beyond the Stockpot)
A large, heavy bottomed Dutch oven is the best possible vessel for simmering this recipe. Its substantial weight provides even heat distribution, which prevents the base from scorching during the long cook time.
You will also need a solid, heatproof spatula to scrape up those priceless caramelized bits left behind after browning the meat.
Related Recipes Worth Trying
- Classic Homemade Chili Deep Flavor SlowCooked Beef Bean Recipe — This isnt just easy stovetop chiliits the best ground beef chili recipe youll ever make We use pro techniques like blooming spices for incredible depth and...
- DeepFlavour Classic Homemade Chili The Ultimate Weekend Warmer — Our Best Homemade Chili Recipe Beef is a proper deepflavour classic Learn the chefs secret steps searing blooming spices for a truly rich satisfying result...
- Creamy White Chicken Chili Ready in Under an Hour Easy Stovetop — This easy White Chicken Chili recipe is a proper hug in a bowl We use cream cheese and toasted spices to create a rich velvety soup base in just 50 minutes...
The step-by-step Guide to Cooking Your Classic Homemade Chili
Blooming the Chili Spices: A Crucial Flavor Accelerator
After softening your onions, garlic, and bell peppers, push them aside to expose the hot fat remaining in the pan. Immediately add the entire spice blend chili powder, cumin, smoked paprika, and oregano directly into the hot oil.
Toast the spices for a maximum of 60 seconds until they become intensely fragrant, releasing their oils and ensuring your Classic Homemade Chili is never powdery.
Achieving the Perfect Crust on Your Ground Meat
To achieve the best texture for this Best Ground Beef Chili Recipe, you must brown the seasoned meat in small, uncrowded batches over high heat. The goal is a deep, burnished exterior on the meat, not just gray clumps.
This crucial deep browning step creates the rich, savory complexity that defines the final flavor of the stew.
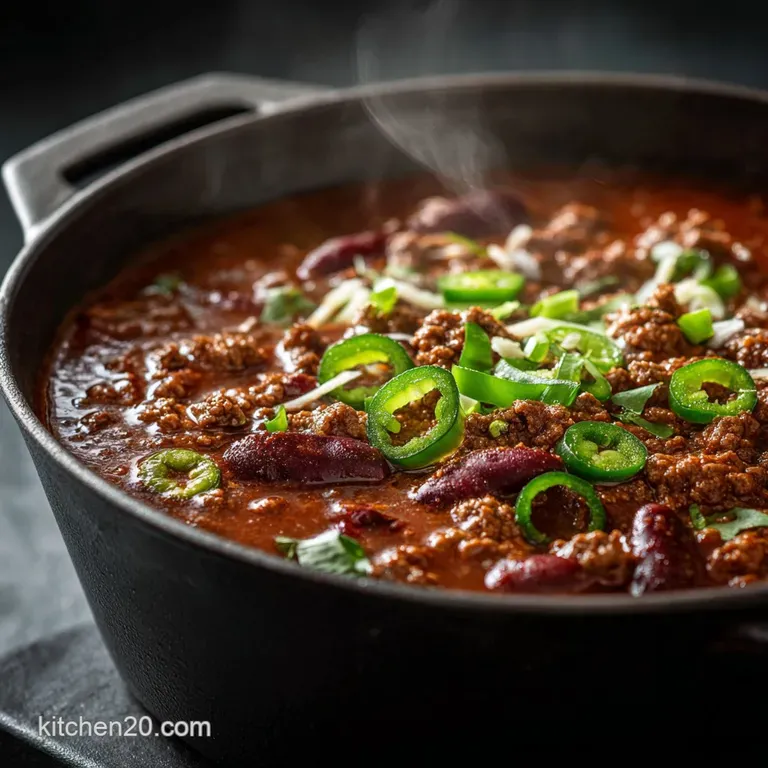
Deep Simmering for Ultimate Texture and Tenderness
Once you have added the crushed tomatoes, diced tomatoes, and beef stock, bring the chili up to a gentle simmer before immediately reducing the heat to low. Covering the pot only partially allows excess steam to escape, which encourages the sauce to thicken naturally over the 90-minute minimum cooking time.
Stirring every half hour ensures that no ingredients stick to the bottom, which is vital for preventing scorching.
Troubleshooting: Naturally Thickening a Runny Chili Base
If your Classic Easy Chili base seems too watery near the end of the required simmering period, simply remove the lid for the final 30 minutes. This allows maximum moisture to evaporate, concentrating the flavor and thickening the sauce.
Alternatively, you can use the back of a spoon to mash up a small handful of the rinsed kidney beans, using the released starches as a binder.
Perfect Pairings and Pro Tips for Serving Classic Homemade Chili
This hearty, robust meal deserves accompaniments that offer a satisfying contrast in texture and temperature. A large piece of warm, buttered cornbread is ideal for soaking up the rich, spiced sauce.
For a truly memorable pairing, serve your Best Classic Homemade Chili Recipe alongside a hoppy, bitter beer or a jammy Zinfandel wine.
Maximizing Shelf Life: Storage and Freezing Instructions
This Classic Homemade Chili stores exceptionally well and improves dramatically after a night in the refrigerator, often tasting even better the next day. For long term storage, portion the completely cooled chili into robust, airtight containers, leaving about an inch of headspace for expansion.
Frozen chili maintains its perfect flavor and texture for up to three months.
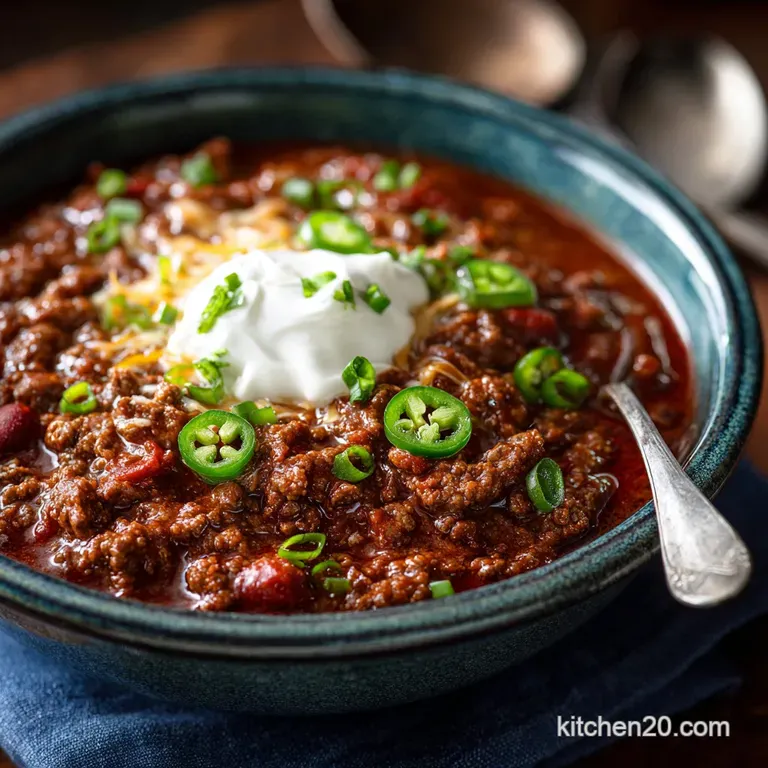
The Definitive List of Toppings and Condiments
A fantastic chili bowl requires a selection of fresh and cool contrasting toppings to cut through the richness. Always offer creamy options like full fat sour cream or thick Greek yogurt alongside sharp, freshly shredded Cheddar cheese.
Freshly diced red onion and a generous scattering of chopped cilantro add bright, essential final touches.
Reheating Chili Without Sacrificing Texture
The best method for reheating chili is always low and slow on the stovetop, which helps to preserve the tenderness of the meat and beans. If the chili has thickened considerably overnight, add a small splash of stock or water to loosen the consistency while stirring gently.
Avoid high heat in the microwave, which can result in rubbery meat and an unevenly hot final product.
How to Adjust Heat Levels for Different Palates
You can easily control the overall heat by adjusting the initial half teaspoon of cayenne pepper in the Homemade Beef Chili Ingredients. If you decide the chili needs more punch right before serving, stir in a dash or two of your favorite vinegar based hot sauce.
Conversely, a generous dollop of sour cream added to the individual serving bowl is the quickest way to neutralize excessive heat.
Adapting the Recipe: Vegetarian and Smoked Variations
The structure of this excellent Classic Easy Chili base is highly adaptable to various flavor profiles and dietary needs. For a complex vegetarian version, substitute the ground beef and stock with sautéed mixed mushrooms, lentils, and flavorful vegetable broth.
To infuse a profound smokiness into your Grandmas Chili, use 1 or 2 chopped chipotle peppers in adobo sauce, stirring them in with the canned tomatoes.

Recipe FAQs
What’s the single biggest secret to making this Classic Homemade Chili taste so deep and complex?
The key, old bean, is 'blooming' your spices in hot fat right before adding the liquid; this crucial 60-second step prevents a powdery taste and releases their full essential oils.
Also, don't skip the tiny square of dark chocolate and the dash of vinegar they add unmatched velvety depth and brightness, respectively.
Oi, how long can I keep leftovers, and does this chili freeze well?
It’s absolutely brilliant the next day (the flavour settles beautifully overnight!), and will store safely in the fridge for 3 4 days. For proper long term keeping, cool it completely, transfer to freezer safe containers, and freeze for up to three months.
My chili looks a bit thin and watery after the minimum cook time. What gives?
Don't panic; it just needs a bit more attention take the lid off and let it tick over gently for another 30 to 60 minutes. Extended simmering allows the liquids to reduce and the starches to naturally thicken the chili, giving you that rich, 'stick to your ribs' consistency.
I’m not a huge fan of kidney beans, or perhaps I want a Texas style chili is that alright?
You’re the boss! Feel free to swap kidney beans for black beans or pinto beans, or omit them entirely for a strict Texas chili con carne (in which case, slightly increase the ground beef quantity for better texture).
Can I use a slow cooker or an Instant Pot instead of simmering it on the hob?
Absolutely, but you must complete Steps 1 3 (browning the meat and blooming the spices in hot fat) in a separate pan first, as that foundation of flavour is non-negotiable. Then, transfer everything to your chosen cooker and let it do its magic.
Proper Classic Homemade Chili Recipe
Ingredients:
Instructions:
Nutrition Facts:
| Calories | 1576 kcal |
|---|---|
| Protein | 12.9 g |
| Fat | 25.7 g |
| Carbs | 70.3 g |
| Fiber | 25.6 g |
| Sodium | 652 mg |
