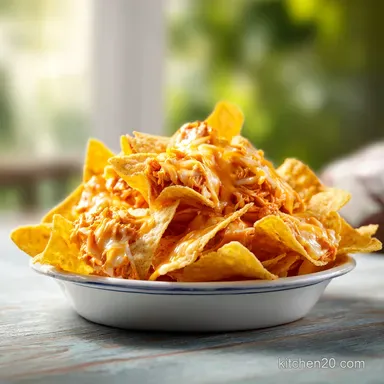
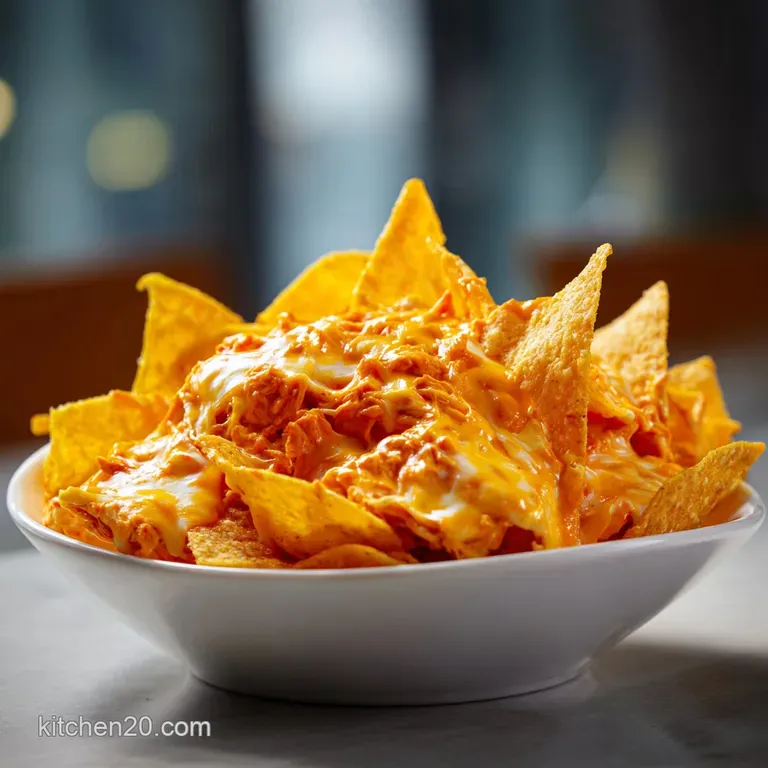
Buffalo Chicken Nachos: Loaded and Crispy
- Time:5 minutes active + 10 minutes cook = Total 15 minutes
- Flavor/Texture Hook: Shatter crisp chips topped with velvety melted cheese and zesty buffalo heat
- Perfect for: Game day crowds, casual party appetizers, or a bold weekend snack
- The Best Buffalo Chicken Nachos
- Quick Specs and Timing
- The Secret to the Crunch
- Component Analysis
- Selecting the Right Elements
- Necessary Gear for Success
- Step-by-Step Layering Guide
- Fixing Common Nacho Errors
- Flavor Twists and Swaps
- Scaling Your Platter
- Truth About Nacho Myths
- Storage and Zero Waste
- Serving Your Loaded Platter
- Critical in Sodium
- Recipe FAQs
- 📝 Recipe Card
The Best Buffalo Chicken Nachos
That sharp, vinegary scent of buffalo sauce hitting a hot pan is practically the official smell of a Saturday afternoon in Buffalo, New York. For anyone who grew up around the culture of "wing nights," this flavor profile isn't just a meal, it's a ritual.
It's the sound of a crowded sports bar, the sight of blue cheese dressing dripping down a chin, and the shared experience of a platter that everyone dives into at once.
The magic of this buffalo chicken nachos recipe is how it translates that classic wing experience into a street food format. We're taking the bold, punchy heat of the wings and layering it with the crunch of corn chips.
It's all about contrast, balancing the fiery buffalo sauce with the cooling touch of sour cream and the funky punch of blue cheese.
You can expect a tray that looks as vibrant as it tastes. We're talking about a mountain of melted Monterey Jack and sharp cheddar, topped with bright green cilantro and red onion. It's designed to be messy, loud, and incredibly satisfying.
Right then, let's get into how to make this happen without turning your chips into mush.
Quick Specs and Timing
Getting these right is all about the clock and the temperature. Because we're using rotisserie chicken, we don't have to worry about raw meat cooking times, which means the oven's only job is to fuse the cheese and warm the chicken. This keeps the process incredibly fast, but you can't rush the melt.
If you're feeding a crowd, remember that the 15 minutes total time doesn't include the time it takes to preheat your oven. Always get that oven to 200°C before you even think about shredding your chicken.
Trust me on this, putting nachos in a lukewarm oven is the fastest way to get soggy chips.
The Secret to the Crunch
I've spent a lot of time wondering why some nachos stay crisp while others turn into a sad, wet heap. It comes down to a couple of simple physics tricks that most people ignore.
The Cheese Shield: By putting a layer of cheese directly on the chips before the chicken, you create a fat based barrier. This prevents the liquid from the buffalo sauce from soaking into the corn, keeping the chips in that "shatter" zone.
Butter Emulsification: Adding melted butter to the buffalo sauce doesn't just add richness, it helps the sauce cling to the chicken. This means less sauce leaks out onto the chips, further protecting your crunch.
Over High heat Flash: Cooking at 200°C for a short window ensures the cheese bubbles and browns before the chips have time to absorb any moisture. It's a race against the clock, and high heat wins.
| Method | Time | Texture | Best For |
|---|---|---|---|
| Oven Bake | 10 min | Evenly melted, crisp edges | Large crowds, party platters |
| Microwave | 3 min | Soft chips, uneven melt | Single serving, extreme rush |
| Air Fryer | 6 min | Extra toasted, very crispy | Small batches, maximum crunch |
This comparison shows why the oven is the gold standard. While the air fryer is great for a few people, the sheet pan allows for that shared, community style eating experience that makes nachos a classic.
Component Analysis
Understanding what each ingredient does helps you make better choices when you're at the store. For this recipe, we aren't just throwing things together, we're building layers of flavor.
| Ingredient | Science Role | Pro Secret |
|---|---|---|
| Monterey Jack | High meltability | Mix with Cheddar for better "pull" |
| Buffalo Sauce | Acidity and heat | Use a vinegar based sauce for punch |
| Rotisserie Chicken | Lean protein base | Shred by hand for better sauce grip |
| Blue Cheese | Pungent contrast | Add at the end to keep the distinct flavor |
Selecting the Right Elements
When you're gathering your gear, don't settle for "any" chip. You need thick cut corn tortilla chips. Thin chips will fold under the weight of the cheese and chicken, and they'll lose their structural integrity within seconds of hitting the oven. Look for the "restaurant style" or "thick cut" labels.
For the cheese, I always use a mix. Sharp cheddar provides that deep, salty bite, while Monterey Jack is the workhorse that creates that velvety, gooey texture we're after. Honestly, don't even bother with pre shredded cheese if you have the time, as the cornstarch coating on bagged cheese can stop it from melting smoothly.
The Lineup: 2 cups (225g) shredded rotisserie chicken Why this? Fast prep and naturally juicy 1/3 cup (80ml) buffalo wing sauce Why this? Provides the signature vinegary heat 1 tbsp (14g) melted unsalted butter Why
This? Creates a glossy, rich coating 1/4 tsp (1.5g) garlic powder Why this? Adds a subtle savory depth 12 oz (340g) thick cut corn tortilla chips Why this? Holds up under heavy toppings 2 cups (225g) shredded sharp cheddar cheese
Why this? Bold, salty flavor profile 2 cups (225g) shredded Monterey Jack cheese Why this? Superior melting properties 1/2 cup (60g) diced red onion Why this? Sharp, fresh crunch 1/4 cup (15g) sliced fresh jalapeños
Why this? Fresh heat and acidity 2 tbsp (10g) chopped fresh cilantro Why this? Bright, herbaceous finish 1/2 cup (120ml) sour cream Why this? Cools the buffalo heat 1/4 cup (60ml) blue cheese crumbles Why
This? Classic funky pairing
Substitution Options:
| Original Ingredient | Substitute | Why It Works |
|---|---|---|
| Blue Cheese | Feta Cheese | Similar saltiness. Note: Less funky, more tangy |
| Rotisserie Chicken | Shredded Turkey | Very similar profile. Note: Leaner than chicken |
| Monterey Jack | Mozzarella | Great melt. Note: Milder flavor, less "zing" |
| Corn Chips | Flour Tortilla Chips | More neutral taste. Note: Softer texture, less "shatter" |
Necessary Gear for Success
You don't need a professional kitchen for this, but a few specific tools make the process a breeze. A large rimmed baking sheet is non negotiable. The rim prevents the melted cheese from escaping and creating a smoky mess in the bottom of your oven.
I always line my pan with parchment paper. It's a lifesaver for cleanup, and it prevents the chips from sticking to the metal. If you're feeling fancy, a sturdy spatula is great for folding the chicken, but a big spoon works just as well.
Step-by-step Layering Guide

Let's crack on. The key here is the double layer. If you just pile everything on top, the bottom chips will be bare and boring, while the top ones will be soggy. We want every single chip to have a piece of chicken and a blanket of cheese.
- Mix the chicken, buffalo sauce, melted butter, and garlic powder in a medium bowl. Fold with a spatula until the chicken is glossy and evenly coated. Note: Don't over mix or the chicken will break down into mush.
- Line your large rimmed baking sheet with parchment paper to prevent sticking.
- Spread half of the tortilla chips in an even layer on the pan.
- Immediately cover those chips with half of the combined cheddar and Monterey Jack cheeses.
- Distribute the buffalo chicken mixture evenly over that cheese layer. Note: Use a spoon to spread it out so you don't get big clumps in one spot.
- Add the remaining chips on top, creating a second layer.
- Cover the final layer of chips with the remaining shredded cheese.
- Bake in your preheated 200°C oven for 8-10 minutes until the cheese is bubbling and starting to brown at the edges.
- Remove from the oven and immediately top with red onion, sliced jalapeños, and chopped cilantro.
- Finish with a drizzle of sour cream and a sprinkle of blue cheese crumbles.
Fixing Common Nacho Errors
Even with a plan, things can go sideways. The most common complaint is "soggy chips," but that's usually a result of the layering order or the oven temperature. If your chips are soft, you likely skipped the first cheese layer or your oven wasn't hot enough.
Why Your Chips Get Soggy
If the buffalo sauce touches the chip directly, the moisture seeps in. This is why the "cheese shield" is so important. Another culprit is overcrowding the pan, which creates steam pockets.
| Problem | Root Cause | Solution |
|---|---|---|
| Soggy Bottoms | No cheese base layer | Always put cheese before chicken |
| Cheese Not Melted | Oven temp too low | Ensure oven is at a full 200°C |
| Bland Flavor | Too many chips | Increase the chicken to chip ratio |
The "No Fail" Checklist:
- ✓ Pat your rotisserie chicken dry if it's overly moist before adding sauce.
- ✓ Use a baking sheet with a rim to avoid cheese leaks.
- ✓ Check that your oven is fully preheated for 3-5 minutes.
- ✓ Avoid "piling" the chicken in the center; spread it to the edges.
- ✓ Apply cold toppings (sour cream/onion) only AFTER the pan leaves the oven.
Flavor Twists and Swaps
Once you've got the base down, you can really play with the toppings. If you find the buffalo heat a bit too intense, you can swap the sauce for a mild BBQ sauce. For a different protein vibe, you could even try using my Mushroom Chicken as a creamy, non spicy alternative that still pairs great with chips.
If you're hosting a larger party and want more variety, these nachos pair perfectly with Buffalo Pizza Sticks for a full blown game day spread. You could also try adding black beans or corn for a bit more texture and color.
- For less heat
- Use half buffalo sauce and half melted butter.
- For more funk
- Double the blue cheese crumbles and add a dash of Worcestershire sauce to the chicken.
- For a "Street" feel
- Add diced avocado and a squeeze of fresh lime juice at the end.
Scaling Your Platter
Adjusting the size of this recipe is pretty straightforward, but you have to be careful with the pan size and the timing.
Scaling Down (1/2 Batch): Use a smaller baking sheet or a 9x13 inch pan. Because there's less mass in the oven, you might find the cheese melts faster. Reduce the baking time by about 20%, checking at the 6 minute mark.
If you're using a single egg for a binder in any variation, beat it first and use half.
Scaling Up (2x-4x Batch): Do not try to fit four batches on one pan, or you'll end up with a giant pile of steamed chips. Work in batches using multiple sheet pans. Be careful with the salt and garlic powder, as these can become overpowering in large quantities.
Scale the spices to only 1.5x the original amount for a double batch, and reduce the total liquid (sauce/butter) by about 10% to prevent sogginess.
Truth About Nacho Myths
There's a lot of bad advice out there about making these. Let's clear a few things up.
Myth: Searing the chicken first makes it taste better. Truth: Since we're using rotisserie chicken, it's already cooked. Searing it again in buffalo sauce often just burns the sugars in the sauce, making it bitter rather than flavorful.
Folding it in raw and letting it heat through in the oven is better.
Myth: low-fat cheese melts better. Truth: low-fat cheeses often have stabilizers that prevent them from melting smoothly. They can become "rubbery" or separate into oil. Stick to full fat sharp cheddar and Monterey Jack for that velvet flow.
Storage and Zero Waste
Leftover nachos are a bit of a challenge because the chips inevitably lose their crunch. However, you can save the components.
Storage Guidelines: Store the buffalo chicken mixture in an airtight container in the fridge for up to 3 days. Keep your fresh toppings (onion, cilantro, jalapeños) in a separate container. The assembled nachos can be kept in the fridge for 24 hours, but they won't be as crisp.
Freezing: You can freeze the buffalo chicken mixture for up to 2 months. Thaw it in the fridge overnight before assembling your nachos. Do not freeze the assembled chips and cheese.
Zero Waste Tips: If you have leftover rotisserie chicken carcass, simmer it with water and a few veggie scraps to make a quick stock. Any leftover blue cheese crumbles can be tossed into a salad or melted into a gourmet grilled cheese sandwich.
Serving Your Loaded Platter
The presentation is half the fun. Serve these directly on the parchment paper or slide them onto a large wooden board. The goal is a "community style" feast where everyone can grab their favorite section.
To keep the experience vibrant, make sure the cold toppings are added at the very last second. The contrast between the scorching, bubbly cheese and the cold, velvety sour cream is what makes the dish feel professional.
If you're serving a crowd, put a few bowls of extra blue cheese dressing and sliced celery on the side, just like you would with traditional wings.
Let the platter sit for about 2 minutes before diving in. This allows the cheese to set slightly, meaning you'll get a better "pull" and fewer chips will break when you lift them. It's a simple wait, but it makes a huge difference in the eating experience.
Critical in Sodium
1450 mg 1450 mg of sodium per serving (63% 63% of daily value)
The American Heart Association recommends a daily sodium limit of no more than 2,300 mg for most adults to maintain heart health.
Ways to Reduce Sodium
-
Swap Rotisserie Chicken-25%
Replace pre-cooked rotisserie chicken with home poached or roasted chicken breast to avoid the high sodium brines used in commercial processing.
-
Low-Sodium Buffalo Sauce-20%
Substitute the store-bought wing sauce with a low-sodium version or make your own using cayenne pepper, white vinegar, and unsalted butter.
-
Use Unsalted Chips-20%
Swap the thick cut corn tortilla chips for unsalted corn chips or home baked corn tortillas to eliminate added surface salt.
-
Optimize Cheese Use-15%
Use a smaller amount of extra sharp cheddar for a stronger flavor profile, allowing you to reduce the total volume of cheese used.
-
Limit Blue Cheese-15%
Reduce the amount of blue cheese crumbles or replace them with a small dollop of plain Greek yogurt for a similar tang.
-
Enhance with Fresh Herbs
Double the amount of fresh cilantro and diced red onion to add brightness and depth of flavor without adding sodium.
Recipe FAQs
What are buffalo chicken nachos?
A layered appetizer featuring corn tortilla chips topped with spicy buffalo chicken and melted cheese. They are finished with fresh toppings like blue cheese and jalapeños to balance the heat.
What cheese goes best with buffalo chicken?
A blend of sharp cheddar and Monterey Jack. The cheddar provides a bold flavor, while the Monterey Jack creates a creamy, smooth melt.
What are some common nacho mistakes?
Single layering the toppings. Piling everything on the top layer leaves the bottom chips bare and often makes the top chips soggy.
What toppings go on buffalo chicken nachos?
Diced red onion, sliced jalapeños, chopped cilantro, sour cream, and blue cheese crumbles. These additions provide a fresh contrast to the rich, spicy chicken.
How to prevent the chips from getting soggy?
Double layer the chips and cheese. Spread half the chips and cheese first, then the chicken, and repeat to create a structural barrier. If you enjoy this approach to maintaining crunch, see how we ensure stability in our crispy baked shells.
Can I freeze the assembled nachos?
No, only freeze the buffalo chicken mixture. Freezing the chips themselves causes them to lose their texture and become stale.
Is it true that using only one type of cheese is best for the melt?
No, this is a common misconception. A combination of sharp cheddar for flavor and Monterey Jack for meltability produces a much better result.
Buffalo Chicken Nachos