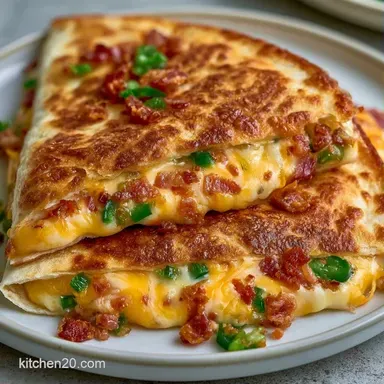
Jalapeno Popper Chicken Quesadillas: Golden and Crispy
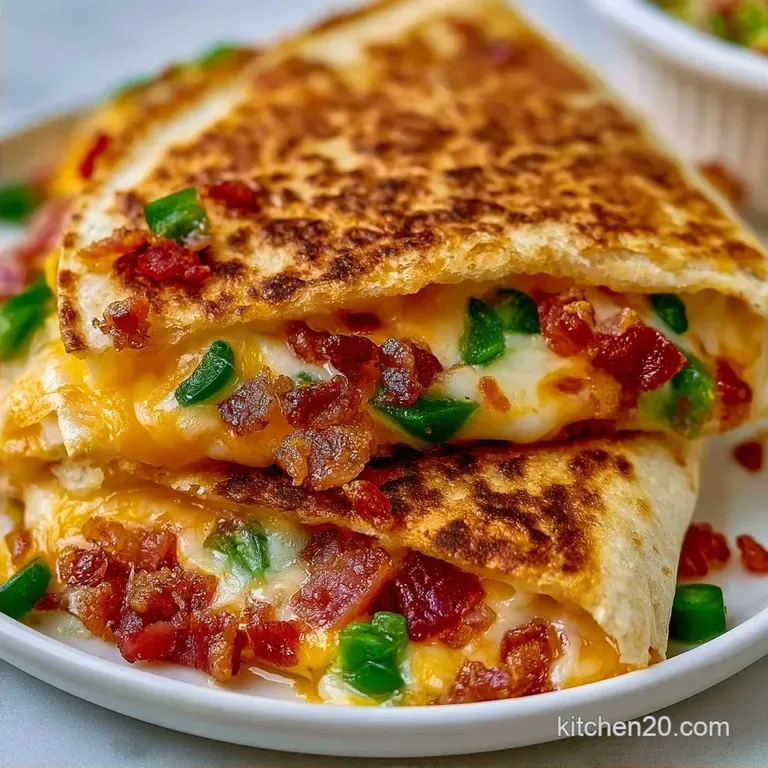
- Time: 15 minutes prep + 10 minutes cooking
- Key Highlight: A deep golden-brown shell with a gooey, piquant filling
- Perfect for: Game day snacks or a quick dinner
The smell of crisping bacon and browned tortillas is immediately inviting. It has that unmistakable street food quality that draws you in. This dish is a tasty fusion, blending a staple American bar snack with a traditional Mexican tortilla.
I once believed a deep fryer was the only way to achieve that signature popper crunch, but a cast iron skillet is actually superior. It creates a brittle, golden exterior that supports the dense filling. The magic lies in the juxtaposition of the scorched crust and the velvety, hot core.
This handheld dish satisfies every craving. These Jalapeno Popper Quesadillas pair the zing of fresh peppers with the indulgence of melted cheddar. It is an easy method that yields a result far more sophisticated than the effort required.
How to Actually Nail This
The goal here is a crisp shell and a gooey middle. Most people end up with a soggy tortilla because they don't manage the moisture in the vegetables or use too much filling.
Cheese Stability: Mixing cream cheese with shredded cheddar creates a thick base that doesn't separate into oil when it hits the heat.
Fat Based Searing: Using bacon fat or butter instead of oil creates a deeper brown color and a nuttier flavor on the flour tortilla.
| Style | Cook Time | Texture | Best For |
|---|---|---|---|
| Fast (Non stick) | 8 mins | Soft/Golden | Quick lunch |
| Classic (Cast Iron) | 10 mins | Shattering/Mahogany | Appetizers |
Shopping List Breakdown
To keep the filling smooth, opt for high fat cheeses. A sharp cheddar is ideal here to balance the richness of the cream cheese.
| Ingredient | What It Does | Best Swap |
|---|---|---|
| Cream Cheese (225g) | Acts as a binder and adds creaminess | Mascarpone (milder and richer) |
| Sharp Cheddar (240ml) | Gives that salty, stretchy melt | Pepper Jack (adds spice) |
| Fresh Jalapeños (120ml) | Contributes zest and heat | Poblano (earthier, less spicy) |
| Cooked Chicken (450g) | Provides substance and protein | Shredded Shrimp (a lighter choice) |
For the Creamy Filling
- 225g cream cheese, softened Why this? Creates the stable base
- 240ml sharp cheddar cheese, shredded
- 120ml fresh jalapeños, finely diced Why this? Fresh peppers offer a better heat profile than pickled
- 1/2 tsp garlic powder
- 1/4 tsp salt
For the Protein & Crunch
- 450g chicken breast, cooked and shredded Why this? A neutral canvas for the other flavors
- 6 slices thick cut bacon, cooked and crumbled
- 4 large flour tortillas
- 30ml unsalted butter Why this? Ensures a golden, buttery crust
| Original Ingredient | Substitute | Why It Works |
|---|---|---|
| Flour Tortilla | Corn Tortilla | gluten-free alternative. Note: May crack more easily; heat slowly |
| Chicken Breast | Shredded Pork | Comparable texture. Note: Provides a smokier, deeper taste |
| Sharp Cheddar | Gruyère | Excellent melting properties. Note: Nuttier flavor and higher cost |
Gear You'll Need
While you don't need high end equipment, a few tools make the process more efficient. A medium mixing bowl is key to preparing the filling without making a mess.
A cast iron skillet is the preferred choice for distributing heat evenly across the tortilla, although a stainless steel pan works just as well. Use a wide spatula for flipping to ensure the tortilla doesn't tear while the cheese is molten.
Bringing It Together
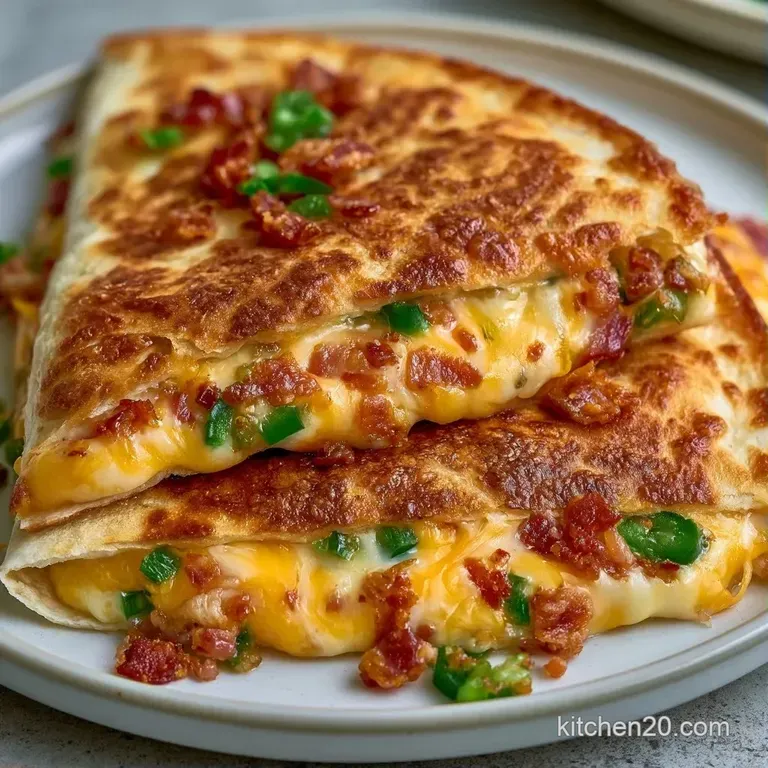
Time to get these going. Ensure your cream cheese is completely softened, otherwise, your filling will have lumps.
- In a medium bowl, whip the 225g of softened cream cheese until it is completely smooth.
- Stir in the 240ml shredded cheddar, 120ml diced jalapeños, and 1/2 tsp garlic powder Note: mix until the ingredients are well combined.
- Carefully fold the 450g shredded chicken and crumbled bacon into the cheese until the meat is evenly distributed.
- Heat a cast iron skillet over medium and melt a bit of the 30ml butter Note: substituting with reserved bacon grease adds extra flavor.
- Place one flour tortilla in the pan and spread roughly 1/2 cup of the filling across one half.
- Fold the empty side over the filling to create a semi circle.
- Use your spatula to press down firmly and seal the edges.
- Fry for 3–4 minutes per side until the tortilla is deep golden brown and the cheese has melted.
- Remove from the heat and let the Jalapeno Popper Quesadillas sit for 60 seconds Note: this prevents the filling from leaking out.
- Cut into wedges using a pizza cutter for clean slices.
Troubleshooting Guide
Preventing Tortilla Tearing
If your wrap rips during the flip, you've likely overloaded the filling. Stick to the 1/2 cup limit per tortilla. Overstuffing prevents the edges from sealing and puts too much pressure on the center of the flour wrap.
Fixing an Under browned Crust
When the cheese is melted but the tortilla looks pale, your pan heat is too low. Turn it up to medium high and add another small pat of butter. The fat is what creates that shattering, dark golden finish.
Managing the Spice
If the jalapeños are too hot, remove the seeds and white membranes before dicing. You can also add a pinch of sugar to the cream cheese mixture to balance the capsaicin.
Variations and Swaps
If you want to switch up the protein, these work beautifully with shrimp. Just sauté the shrimp with a bit of lime juice first to keep the flavors bright. For a different vibe, try using a sourdough wrap for a tangier base.
For those who love a bit of sweetness, add a drizzle of honey or a side of raspberry jam. The sweet and spicy contrast is a huge trend in street food right now. If you're looking for other handheld ideas, you might like my crispy Colombian empanadas for your next party.
Decision Shortcuts
- For a spicier kick: leave the jalapeño seeds in.
- For a lighter version: swap chicken for baby spinach and mushrooms.
- For a firmer set: chill the filling for 30 minutes before filling the tortillas.
Storage and Freshness
Store any remaining filling in a closed container in the fridge for up to 3 days. Already assembled Jalapeno Popper Quesadillas will last for 2 days when refrigerated.
For reheating, skip the microwave to prevent the tortilla from becoming rubbery. Instead, warm them in a pan over medium heat for 2 minutes on each side to restore that crunch.
To minimize waste, save the jalapeño stems. Store them in the freezer to add to your next batch of vegetable stock or use them to create a spicy infused vinegar for other recipes.
Serving Ideas
These are rich, so you need something acidic to cut through the fat. A side of sour cream mixed with lime juice or a chunky pico de gallo works best.
If you're serving this as a full dinner, a side of authentic Mexican rice adds a great textural balance. For a little extra flair, garnish the plate with fresh cilantro and a few slices of avocado.
The contrast of the hot, mahogany crusted tortilla against a cold dip is what makes this dish. I usually serve them on a wooden board with the wedges standing up to show off that velvety cheese center.
Once you've tried these Jalapeno Popper Quesadillas, you'll realize that the simplicity of the skillet is where the real flavor lives. Just remember to let them rest for that one minute before slicing. It makes all the difference.
Recipe FAQs
Can these be prepared in advance?
Keep the filling in a sealed tub in the cooler for up to 3 days. Assemble and cook them right before serving to ensure the tortilla stays crisp.
What ingredients create the popper flavor?
Combine cream cheese, sharp cheddar, fresh jalapeños, garlic powder, and salt. Mix in shredded chicken and crumbled bacon, then serve with a side of Peruvian green sauce for added acidity.
How to assemble the filling properly?
Fold the shredded chicken and crumbled bacon into the cream cheese mixture. Ensure an even distribution of protein before spreading it on the tortilla.
Is it true that deep frying is necessary for a crispy shell?
No, and here's why. A cast iron skillet with butter or bacon fat produces a mahogany colored crust that is just as satisfying as frying.
Which heat setting is ideal for the skillet?
Use medium heat to ensure the tortilla browns without burning. This gives the cheese enough time to become molten.
Why should you wait before slicing?
Let the quesadillas rest for 60 seconds after removing them from the heat. This keeps the filling intact when you cut them into wedges.
Jalapeno Popper Quesadillas