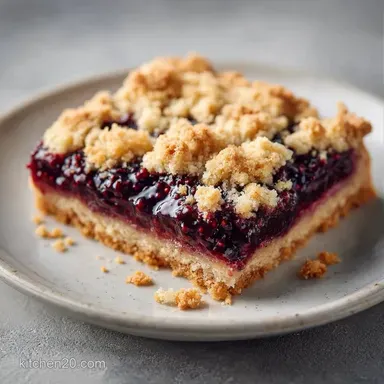
Traditional Mulberry Slice: Shatter Crisp
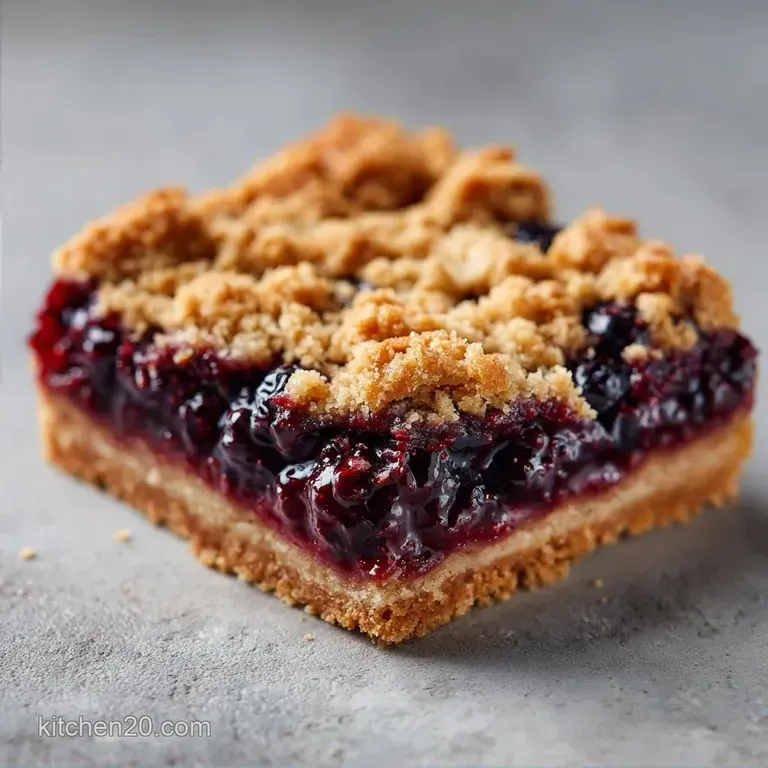
- Time: 15 min active + 45 min baking
- Flavor/Texture Hook: Shatter crisp topping with a velvety purple center
- Perfect for: Weekend brunches or summer potlucks
- Easy Mulberry Slice for Summer
- How the Components Work
- The Ingredient Breakdown
- What You'll Need
- Essential Kitchen Tools
- Step by Step Guide
- Fixing Common Mistakes
- Troubleshooting Common Issues
- Swaps and Adaptations
- Scaling Guidelines
- Berry Myths
- Keep and Store
- Best Serving Ideas
- Recipe FAQs
- 📝 Recipe Card
Easy Mulberry Slice for Summer
The smell of bubbling berries and browned butter hitting the oven air is one of those things that just stops you in your tracks. I remember the first time I tried making these. I was so excited to use the berries from my neighbor's tree that I just tossed them in raw with the flour.
The result was a purple, soggy mess that looked more like a soup than a dessert. It was a disaster, but it taught me that berries need a little help to behave.
That's why this version is a quick win. Instead of hoping for the best, we simmer the fruit first. You get a concentrated, glossy filling that stays put, and the crust stays crisp. It's the kind of recipe that makes you look like a pro without needing any fancy equipment or hours of prep.
You can expect a treat that's deeply purple and richly sweet, balanced by a hit of lemon. This Mulberry Slice is essentially a platform for the fruit to shine. It's an easy way to connect with the season, especially when you're sharing a tray of these with friends on a sunny afternoon.
How the Components Work
Starch Gelatinization: The cornstarch bonds with the berry juices when heated, creating a thick gel that prevents the fruit from leaking into the crust.
Fat Coating: Rubbing chilled butter into the flour coats the proteins in fat, which limits gluten development and ensures the crust stays sandy and short.
Acid Balance: Lemon juice breaks down the pectin in the mulberries, allowing them to soften faster and brightening the overall flavor.
Temperature Contrast: Using cold butter in the crust and a hot filling creates a structural difference that prevents the bottom from becoming a gummy layer.
| Method | Time | Texture | Best For |
|---|---|---|---|
| Fast (Raw Fill) | 40 min | Soft/Soggy | Quick home snacks |
| Classic (Reduced) | 60 min | Jammy/Crisp | Guests and parties |
The Ingredient Breakdown
| Ingredient | Science Role | Pro Secret |
|---|---|---|
| Chilled Butter | Texture Agent | Keep it in the fridge until the second you need it |
| Cornstarch | Thickener | Whisk it into the berries early to avoid lumps |
| Lemon Juice | Flavor Modifier | Use fresh juice for the most punchy acidity |
| All Purpose Flour | Structure | Don't overmix or the crust becomes tough |
What You'll Need
For the crust and the crumble, we need a few basics. The butter is the star here, so don't use a low-fat version or the texture will be off.
- 2 cups (250g) all purpose flour Why this? Provides the necessary structure for a sturdy slice
- 1.25 cups (250g) granulated sugar Why this? Divided between crust and filling for balanced sweetness
- 0.75 cup (170g) unsalted butter, chilled and cubed Why this? Cold fat creates those coveted flaky pockets
- 0.5 tsp (3g) salt Why this? Cuts through the sugar and enhances the berry flavor
For the mulberry filling, the fresh fruit is where the magic happens. If you can't find fresh, frozen works, but you'll need to drain them slightly first.
- 3 cups (450g) fresh mulberries, washed and stemmed Why this? Natural sweetness and deep color
- 1 tbsp (15ml) lemon juice Why this? Brightens the dark fruit notes
- 2 tbsp (16g) cornstarch Why this? Stabilizes the jammy center
- 1 tsp (2g) vanilla extract Why this? Adds a creamy aromatic undertone
Essential Kitchen Tools
You don't need a professional setup for this. A standard 8x8-inch baking pan is the heart of the operation. Using parchment paper is a non negotiable for me. I've had too many slices stick to the pan in the past, and having that paper overhang means you can just lift the whole block out once it's cooled.
A pastry cutter is great, but two forks work just as well for the rubbing in process. If you want to see how professionals handle dough, King Arthur Baking has some great visual guides on the "rubbing in" technique. You'll also need a medium saucepan to reduce the berries. A silicone spatula is helpful for scraping every last bit of that purple jam into the pan.
Step by step Guide
Phase 1: Building the Foundation
- Preheat your oven to 350°F (175°C). Line your 8x8-inch pan with parchment paper, leaving a bit of a lip on the sides.
- Whisk the flour, 150g of the sugar, and salt in a large bowl.
- Cut in the chilled butter cubes using a pastry cutter or forks. Work it until the mix looks like coarse crumbs with some pea sized lumps left. Note: These lumps create the flaky texture.
- Press about two thirds of this mix into the bottom of the pan. Use the bottom of a measuring cup to flatten it until it is firm and even.
Phase 2: Creating the Jammy Center
- Put the mulberries, the remaining 100g of sugar, and lemon juice in a saucepan over medium heat.
- Stir in the cornstarch and vanilla extract. Simmer for 5-8 minutes, stirring occasionally, until the berries break down and look glossy.
- Pour the thickened fruit over your pressed crust. Spread it right to the edges so no crust is exposed.
Phase 3: The Golden Finish
- Sprinkle the last third of the crumble mixture over the top. Don't press it down, just let it sit naturally.
- Bake for 30-35 minutes until the topping is golden brown and the edges are bubbling.
- Let the Mulberry Slice cool completely in the pan before lifting it out. This is the hardest part, but it prevents the slices from falling apart.
Fixing Common Mistakes
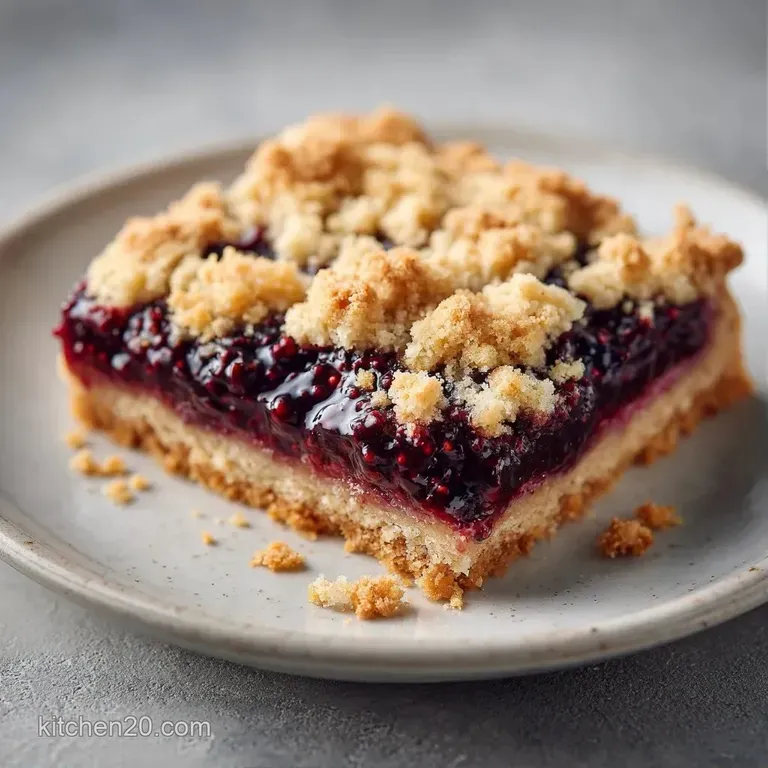
Troubleshooting Common Issues
| Issue | Solution |
|---|---|
| Why Your Slice Is Soggy | This usually happens if the berries weren't reduced enough on the stove. If the liquid is still watery when it hits the oven, it sinks into the crust. |
| Why Your Crust Is Tough | Overworking the dough is the culprit here. If you mix the butter in until it's a smooth paste, you've developed too much gluten. Keep those little lumps of butter visible. |
| Why Your Topping Burnt | If your oven runs hot, the crumble can brown too quickly. Keep an eye on it at the 25 minute mark. If it's already dark, tent a piece of foil over the top. |
Common Mistakes Checklist
- ✓ Butter stayed chilled until the last second.
- ✓ Filling was simmered until glossy, not watery.
- ✓ Crust was pressed firmly to avoid air gaps.
- ✓ Slices were cooled completely before cutting.
Swaps and Adaptations
If you're looking to change things up, this recipe is very flexible. For a different texture, you can swap the all purpose flour for almond flour, though it will be denser. If you want something even more cake like, you might enjoy my mulberry pound cake instead.
For those avoiding refined sugar, coconut sugar works well in the crust, though the color will be darker. For the filling, you can use maple syrup, but be careful with the liquid ratios. Too much syrup can make the filling too thin, so you may need an extra teaspoon of cornstarch.
2 Diet Swaps
- dairy-free: Use chilled vegan butter blocks. Avoid oil based spreads as they don't hold the structure.
- gluten-free: A 1:1 GF baking flour works well here. The texture remains sandy and crisp.
2 Flavor Twists
- Zesty: Add a teaspoon of orange zest to the crumble for a citrusy pop.
- Nutty: Mix 1/4 cup of slivered almonds into the topping for extra crunch.
Scaling Guidelines
If you're making this for a small group, you can half the recipe. Use a loaf pan instead of the 8x8 square. Reduce the baking time by about 20%, but still look for that golden brown cue. If you need to use a single egg in any variation, beat it first and use half.
Scaling up to a double batch requires a larger sheet pan. I recommend working in batches for the berry reduction. If you crowd the pan too much, the berries will steam instead of simmer, taking much longer to thicken.
For the crust, lower the oven temp to 325°F and extend the time by 10 minutes to ensure the center bakes through without burning the edges.
Berry Myths
Some people think you need to peel mulberries or remove every single tiny stem. Honestly, don't bother. The stems are small and soften completely during the simmer. It's not worth the hour of tedious work.
Another common myth is that you should avoid sugar in the fruit to keep it "healthy." According to USDA FoodData, mulberries are naturally sweet, but sugar is what helps the cornstarch set. Without it, you get a watery mess instead of a slice.
Keep and Store
Keep your Mulberry Slice in an airtight container in the fridge for up to 4 days. It actually tastes better on day two once the flavors have settled. If you're not eating them within a few days, these freeze beautifully. Wrap individual slices in parchment paper and toss them in a freezer bag for up to 2 months.
To reheat, pop a slice in the oven at 300°F for 10 minutes. This brings back the crunch to the topping. Avoid the microwave if you can, as it makes the crust soft.
For zero waste, if you have leftover berry reduction that didn't make it into the pan, stir it into some Greek yogurt or oatmeal the next morning.
Best Serving Ideas
To make this look like it came from a bakery, focus on the color balance. The deep purple of the berries and the gold of the crust are a great start. Add a bright green mint leaf on top for a sharp color contrast. A dusting of powdered sugar adds a snowy white accent that makes the purple pop.
Serve these warm with a scoop of vanilla bean ice cream. The cold cream melting into the warm, jammy center is a winning combo. If you want something lighter, a dollop of whipped cream with a hint of lemon zest works wonders. For another fruit forward treat, you might like my mulberry fruit shortcake for a different take on the berry theme.
Recipe FAQs
Why is the bottom of my mulberry slice soggy?
Simmer the filling longer. The berries must be reduced until thick and glossy on the stove to prevent excess moisture from soaking into the crust during baking.
Is it true that mixing the dough until smooth ensures a better crust?
No, this is a common misconception. Overworking the dough develops too much gluten, which makes the crust tough; keep those pea-sized butter lumps visible for a tender result.
What should I do if the crumble topping browns too quickly?
Monitor the bake at the 25-minute mark. If the topping is already golden brown, cover it loosely with foil to prevent burning while the filling finishes setting.
How to ensure the mulberry filling sets properly?
Simmer the berries with cornstarch for 5 8 minutes. This activates the thickening agent and ensures the liquid is glossy before it bakes for 30 35 minutes.
Is the fruit from a backyard mulberry tree safe to eat?
Yes, it is safe. Just make sure to wash and stem the berries thoroughly to remove any debris before adding them to your recipe.
In what other recipes can I use fresh mulberries?
Try them in cakes or cobblers. If you loved the sweet tart balance here, see how we apply the same fruit filling technique in our mulberry cobbler.
Why must the butter be chilled for the crust?
Cold butter creates a flaky texture. It prevents the fat from blending entirely into the flour, leaving small pockets that steam in the oven to create a tender crumb.
Traditional Mulberry Slice