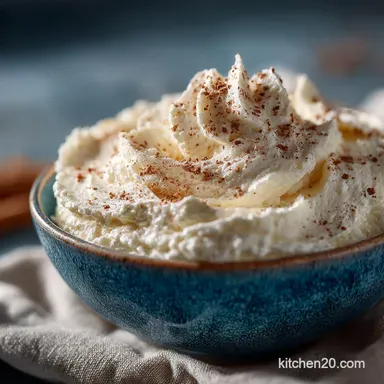
The Classic Cloud Perfect Homemade Whipped Cream Tutorial
Why Canned Topping Just Doesn't Cut It
If you’ve spent precious time baking a magnificent cake, crafting a flawless pie, or preparing fresh, seasonal fruit, why would you compromise the final presentation with a flimsy, chemical tasting topping from an aerosol can?
The difference between that store-bought foam and true Homemade Whipped Cream is transformative. A proper dollop of the homemade version elevates a simple dessert into a luxurious moment, providing a velvety texture and depth of flavor that packaged products simply cannot replicate.
This is the cornerstone of great pastry, and thankfully, mastering the whipped cream recipe is surprisingly simple.
The Defining Difference: Texture and Flavor
Canned toppings rely heavily on stabilizers and propellants, resulting in a thin, fleeting texture that collapses almost immediately upon contact with anything warm. Conversely, cream made from scratch using this Easy 3 Ingredient Recipe offers unmatched richness and stability.
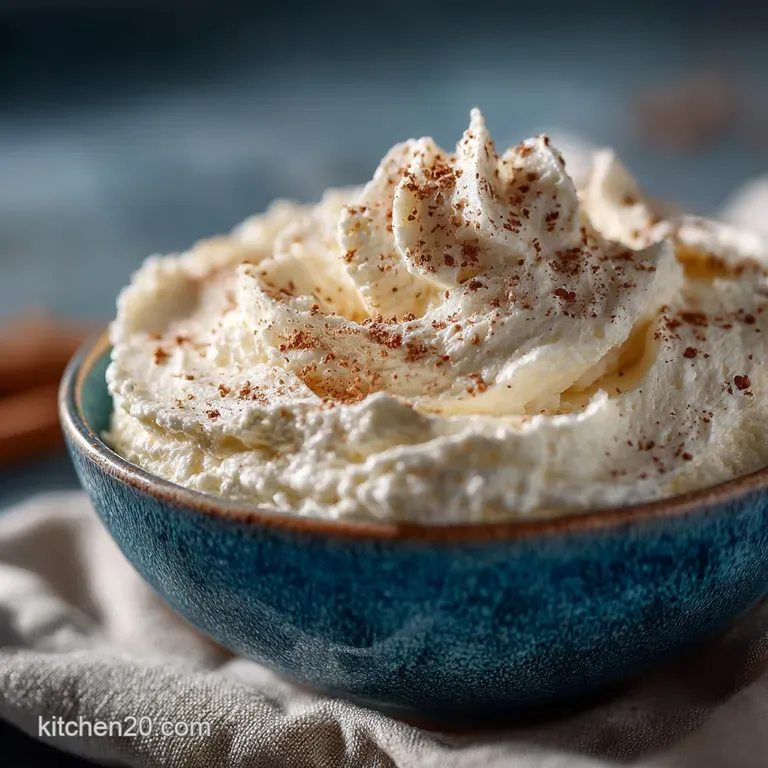
Because we use real, high fat cream, the resulting structure is dense yet airy, holding sharp, beautiful peaks ideal for piping or generously spooning over an Eton Mess. The pure flavor of quality heavy cream, subtly sweetened and accented with vanilla, makes it the ideal Simple Dessert Topping Ideas base.
From Liquid to Luxury: Understanding the Science
The process of whipping cream is a beautiful exercise in simple food chemistry. Heavy cream contains fat globules suspended in water. When we introduce air (via a whisk or mixer), the fat molecules begin to clump together around the tiny air bubbles.
Maintaining a low temperature is absolutely crucial, as cold fat molecules remain solid enough to form a rigid matrix, encapsulating the air and forming a stable, light foam. This is how we transform liquid cream into the cloud like structure of the Perfect Homemade Whipped Cream —and why proper chilling is non-negotiable.
Essential Provisions for a Fluffy Batch
Success in whipping cream is less about technique and more about preparation and temperature control. Understanding your ingredients and ensuring everything is adequately cold guarantees a speedy and stable result.
Heavy Cream vs. Whipping Cream: Making the Right Selection
When setting out to discover How To Make Whipped Cream At Home , the most critical ingredient choice is the cream itself. Always opt for Heavy Cream, which is sometimes labeled as Double Cream or Heavy Whipping Cream. This classification signifies a fat content of at least 35%.
The higher the percentage of butterfat, the more stable your final whip will be, allowing it to hold its peaks longer without weeping. Avoid light creams or half and-half, as they simply do not contain enough fat to form a stable foam structure.
Choosing Your Sweetener (Granulated vs. Confectioners') Process
While many recipes call for granulated sugar, the secret to the smoothest, most stable whip lies in using powdered sugar (icing sugar). We use 1/4 cup of powdered sugar for 2 cups of cold heavy cream. Powdered sugar dissolves instantaneously into the cold fat emulsion, preventing any grittiness.
Crucially, powdered sugar contains a small amount of cornstarch, which acts as a gentle stabilizer, binding moisture and helping the cream maintain its volume for longer. We also highly recommend adding 1 teaspoon of pure vanilla extract and a tiny pinch of salt to balance the sweetness and deepen the overall flavor.
The Secret Power of the Cold Bowl
Temperature is the single greatest determinant of success in any Whipped Cream recipe . If the cream warms even slightly during the whipping process, the fat molecules lose their rigidity, making it impossible for them to entrap the air.
For this Quick Whipped Cream Tutorial , you must chill your mixing bowl (preferably stainless steel or glass, as they retain cold well) and your whisk attachment or beater in the freezer or refrigerator for a minimum of 15 minutes before starting.
This simple step vastly reduces the total whipping time and ensures your cream achieves the best possible structure.
Step-by-step Guide to Silky Peaks
The process itself takes mere minutes, but requires focused attention, especially during the final stages of aeration. This is the heart of the How To Make Whipped Cream At Home guide.
Initial Mixing: Integrating the Sugar and Vanilla
Once your bowl and cream (2 cups) are ice-cold, pour the heavy cream into the chilled bowl. Begin whipping on the lowest speed for about 30 seconds. This initial low-speed mixing starts to incorporate air gently. Once the cream looks opaque and slightly foamy, stop the mixer.
Add the measured powdered sugar, vanilla extract, and the pinch of fine sea salt. Resume whipping immediately, increasing the speed to medium or medium high.
The Stages of Whipping: Soft Peaks to Stiff Peaks
As you continue whipping (which typically takes 3 to 8 minutes depending on your method a stand mixer is fastest), the cream will pass through distinct stages.
First, it will reach soft peaks —when you lift the whisk, the peaks will stand up but curl over gently. This stage is perfect if you plan to fold the cream into a mousse or use it as a light filling.
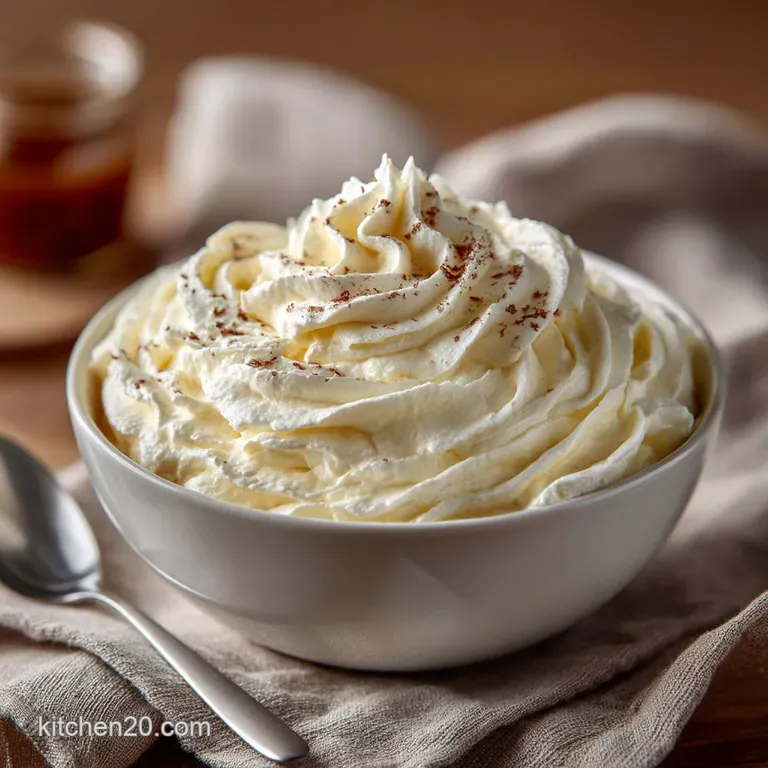
For the Perfect Homemade Whipped Cream topping, continue whipping until you reach stiff peaks . Here, the cream holds a rigid shape when the whisk is lifted, though the very tips may still curve slightly.
This firm texture is ideal for piping onto desserts and makes for excellent Simple Dessert Topping Ideas.
Avoiding Disaster: Troubleshooting Common Whipped Cream Flips
The moment you pass stiff peaks, you enter the "Danger Zone." Over whipping introduces too much friction, causing the fat molecules to bind too tightly, pushing out the liquid buttermilk. The resulting texture will become grainy, yellow, and greasy it’s on its way to becoming butter.
If your cream looks slightly grainy but hasn't fully separated, you can often save it by gently whisking in 1 2 tablespoons of fresh, cold heavy cream by hand, which helps re-emulsify the mixture. Stop immediately once you hit stiff peaks; never walk away from the mixer during this final minute.
Related Recipes Worth Trying
- Foolproof Mochi Ice Cream Recipe Chewy Dough Secrets — Learn how to make perfect Mochi Ice Cream at home We tackle the tricky dough to get that ideal elastic wrap around your favourite frozen filling Get the recipe
- Easy Keto Buffalo Chicken Casserole Recipe Low Carb Creamy — Whip up this incredibly creamy Keto Buffalo Chicken Casserole in under an hour A low carb bake that tastes just like your favourite wings So simple
- The 30Minute Marvel Creamy Instant Pot Beef Stroganoff — Need a fantastic weeknight hug in a bowl This Easy Instant Pot Stroganoff delivers rich tender beef flavour in under 40 minutes A foolproof classic dinner...
Mastering the Whip: Knowing When to Stop
The definitive sign that your whipped cream recipe is complete is the visual cue of the stiff peak, complemented by a distinct change in sound. As the cream thickens, the loud splashing sound of the whisk against the bowl will soften significantly almost to a muffled whir.
Slow down at this point and observe the peaks. If you are using an electric mixer, it is safer to stop just before you think it's ready and finish the final few strokes with a hand whisk. This gives you ultimate control, guaranteeing that beautiful, silky texture without the risk of over processing.
Keeping the Cloud Fresh: Storage and Prep
While this Easy 3 Ingredient Recipe yields truly remarkable results, it is always best served immediately, within minutes of whipping. If you must prepare it ahead of time, transfer the finished whipped cream to an airtight container and refrigerate it.
It will hold its structure for about 24 hours without significant degradation. After a full day, you may notice some slight weeping (separation of liquid), but a very gentle, quick stir by hand can often reincorporate the moisture and revitalize the texture.
Elevating Flavor: Exciting Whipped Cream Variations
The basic foundation provides a fantastic canvas for flavor experimentation, moving far beyond the classic vanilla. For example, whisk in 2 tablespoons of sifted cocoa powder for a rich chocolate version, or introduce the finely grated zest of an orange for a zesty, bright finish.
Stabilizing Your Whipped Cream: Pro Tips for Longevity
For desserts that require piping and need to sit out at room temperature perhaps for a party or buffet stabilization is key. The cornstarch in the powdered sugar helps, but for professional level firmness, consider adding gelatine.
Whisk 1/2 teaspoon of bloomed (softened and dissolved) unflavored gelatine into the cold cream just as it begins to thicken. This creates an internal scaffold that ensures the cream maintains its lofty height and beautiful piping definition for several hours.
Shelf Life: How Long Does Homemade Whipped Cream Last?
Stored correctly in the refrigerator, Homemade Whipped Cream will remain safe to eat for up to 2 3 days. However, quality diminishes over time. The peak texture is maintained for about the first 12 hours.
Any longer, and you risk minor weeping and volume loss, making immediate use the superior choice.
Dairy-free Alternatives: Coconut Cream Whipping
If you require a dairy-free version of this whipped cream recipe , full fat canned coconut cream works beautifully. Chill a can of coconut cream overnight without shaking it.
Scoop out the thick layer of cream solids from the top (discarding the watery liquid underneath) and whip it exactly as you would heavy cream. Note that coconut cream whips up slightly faster, and you may wish to slightly reduce the sugar amount.
Quick Glance: Nutritional Profile of the Classic Recipe
Using high fat heavy cream means this delightful topping is rich. Based on a generous half cup serving of the finished product, the classic Perfect Homemade Whipped Cream contains an estimated 200 220 calories, providing about 21 grams of total fat (13 grams of which are saturated) and 5 grams of sugar (primarily from the powdered sugar).
This profile reflects its function as a decadent, enriching element in a dessert.
Recipe FAQs
My lovely Homemade Whipped Cream keeps collapsing or weeping later on. How do I keep it stable, especially for a large party?
That’s frustrating, like a soggy biscuit! The secret to stability is often a stabilizer. We recommend using icing sugar (powdered sugar) because the small amount of cornstarch it contains helps hold the structure and prevents that dreaded 'weeping.' For serious stability say, if you’re leaving a trifle out for a proper Sunday lunch you can lightly whisk in a tiny bit of plain gelatine or cream of tartar just before the cream hits the soft peak stage.
I’ve heard about soft peaks and stiff peaks what’s the difference, and which should I aim for in my Whipped Cream?
Soft peaks are fluffy and droop gently when you lift the whisk, perfect for folding into mousses or layering lightly into an Eton Mess. Stiff peaks stand straight up like little mountain ranges; this is the ideal point for piping decorations or topping dense desserts like a classic chocolate fudge cake.
Always stop whipping the very second the cream is firm enough for your purpose; over whipping turns it straight into grainy butter, which is an absolute tragedy!
Oh dear, my cream won't thicken! Is there a quick fix, or have I wasted my beautiful double cream?
Temperature is almost always the villain here! Make absolutely certain your bowl, whisk, and cream are all ice-cold. If they aren't, put the mixing bowl over a larger bowl filled with ice water a classic kitchen hack and continue whipping.
If you’ve used cream with less than 35% fat content (often labelled single cream), unfortunately, it just doesn't have the required oomph to achieve a stable peak, so always check the label for "Heavy" or "Double" cream.
I’ve made a massive batch. How long can I safely store homemade whipped cream in the fridge?
Homemade whipped cream is best enjoyed immediately, like a perfectly brewed cuppa, but it will keep quite well. Store it in an airtight container in the fridge for up to 2 days, making sure to avoid strong odours like onions or garlic.
After the 48-hour mark, it tends to lose volume and might start to weep a bit, so plan to use it swiftly for that truly "ace" texture.
I want to jazz it up beyond vanilla. What are some easy flavour variations for this recipe?
There are loads of ways to elevate this! For a real autumnal treat, whisk in half a teaspoon of cinnamon and a pinch of nutmeg to pair beautifully with crumbles or pies. You can also omit the vanilla and add the finely grated zest of a lemon or orange for a zesty, fresh lift.
For a grown-up twist, a tiny splash (about a teaspoon) of brandy or a coffee liqueur mixed in at the end is absolutely splendid when serving it over hot desserts.
Classic Homemade Whipped Cream